Fabrication
Part 3 - Fabrication work March - May 2026
Much of the fabrication work was done sporadically over the period.
I didn't really keep track much of the dates because of all the trouble at the day job.
Nonetheless, this is a fairly chronological sequence of events...
Fabrication of the bottom half of the enclosure
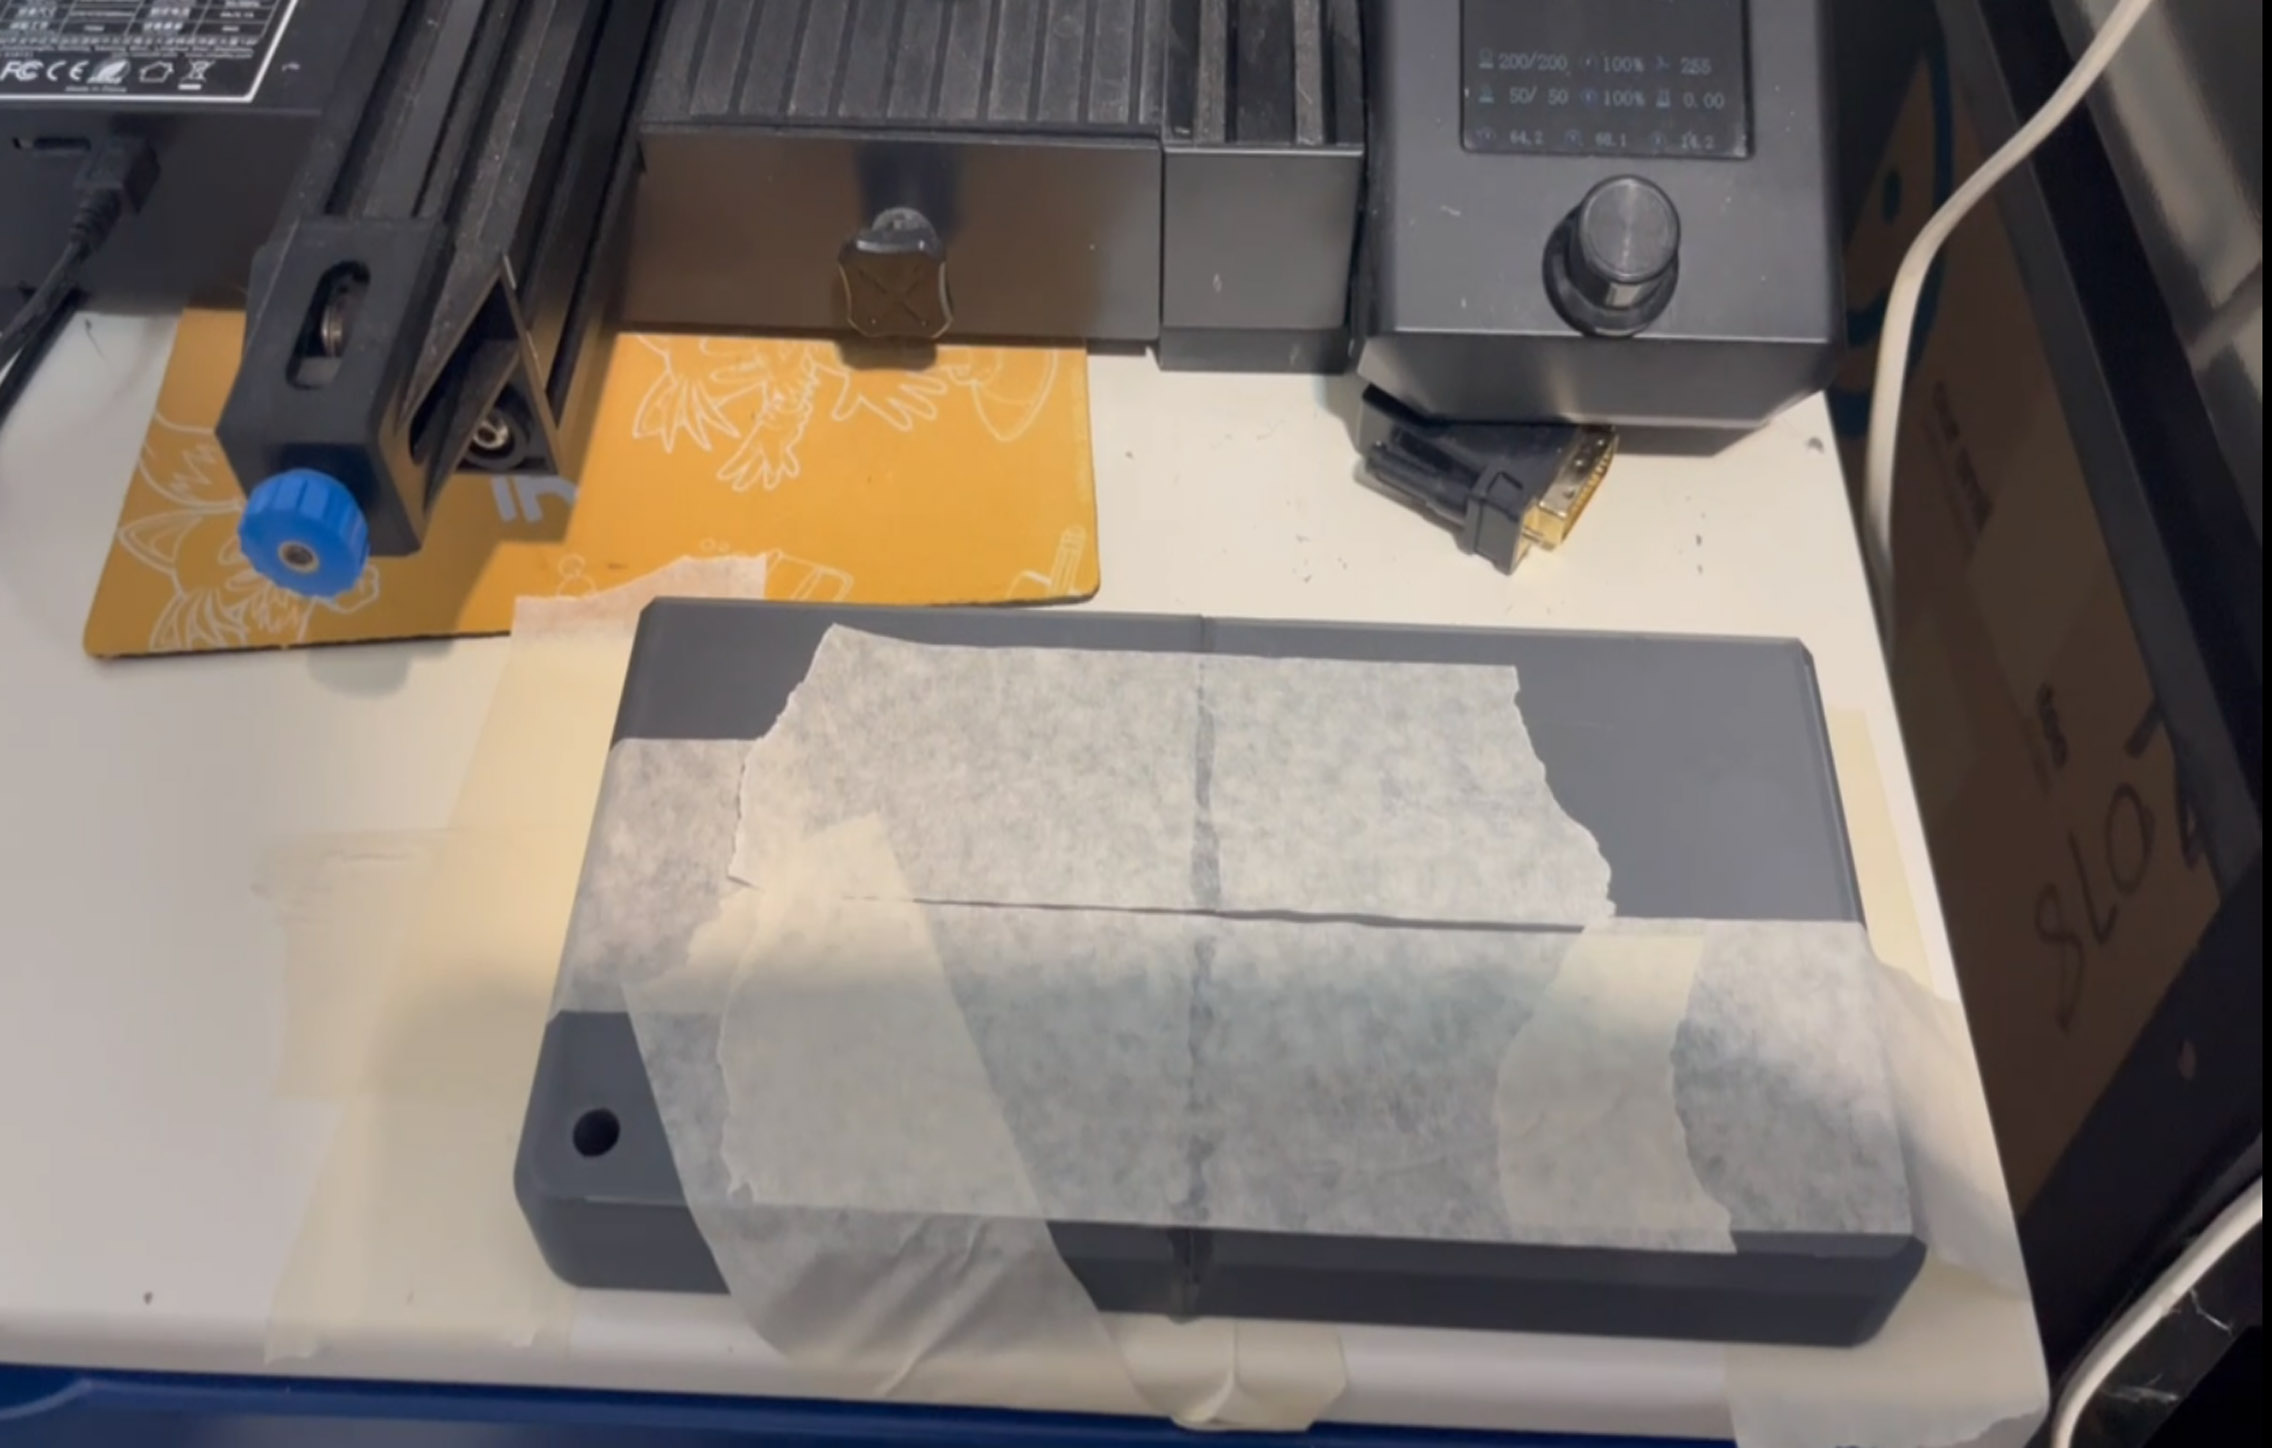
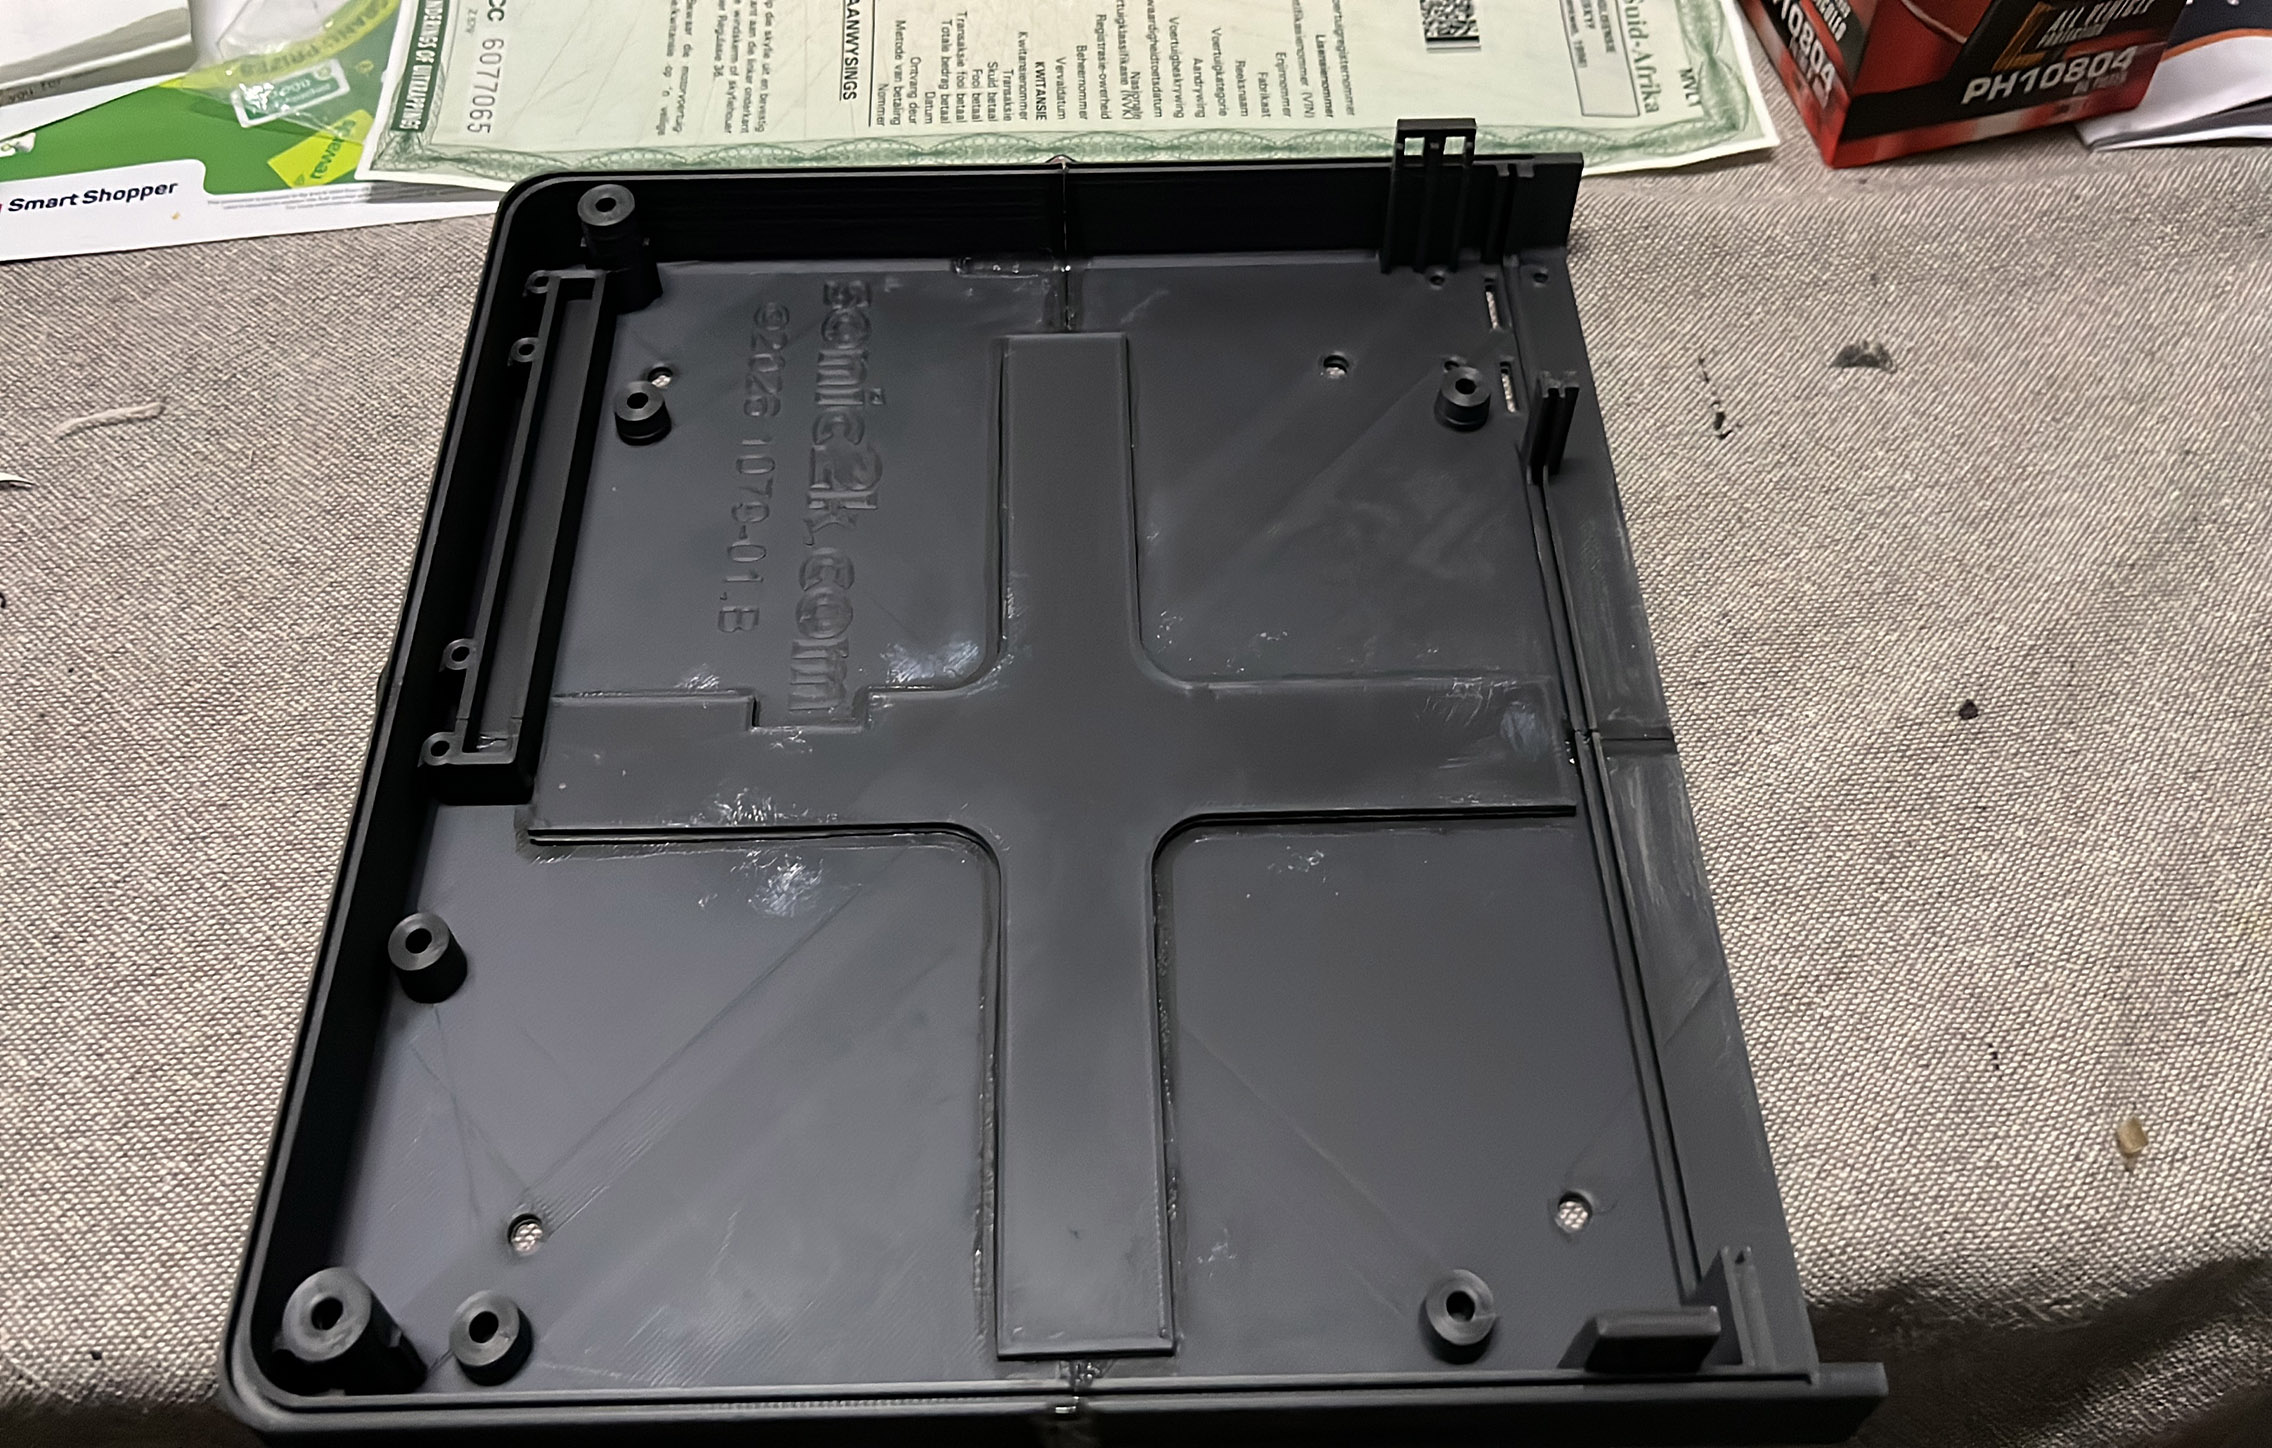
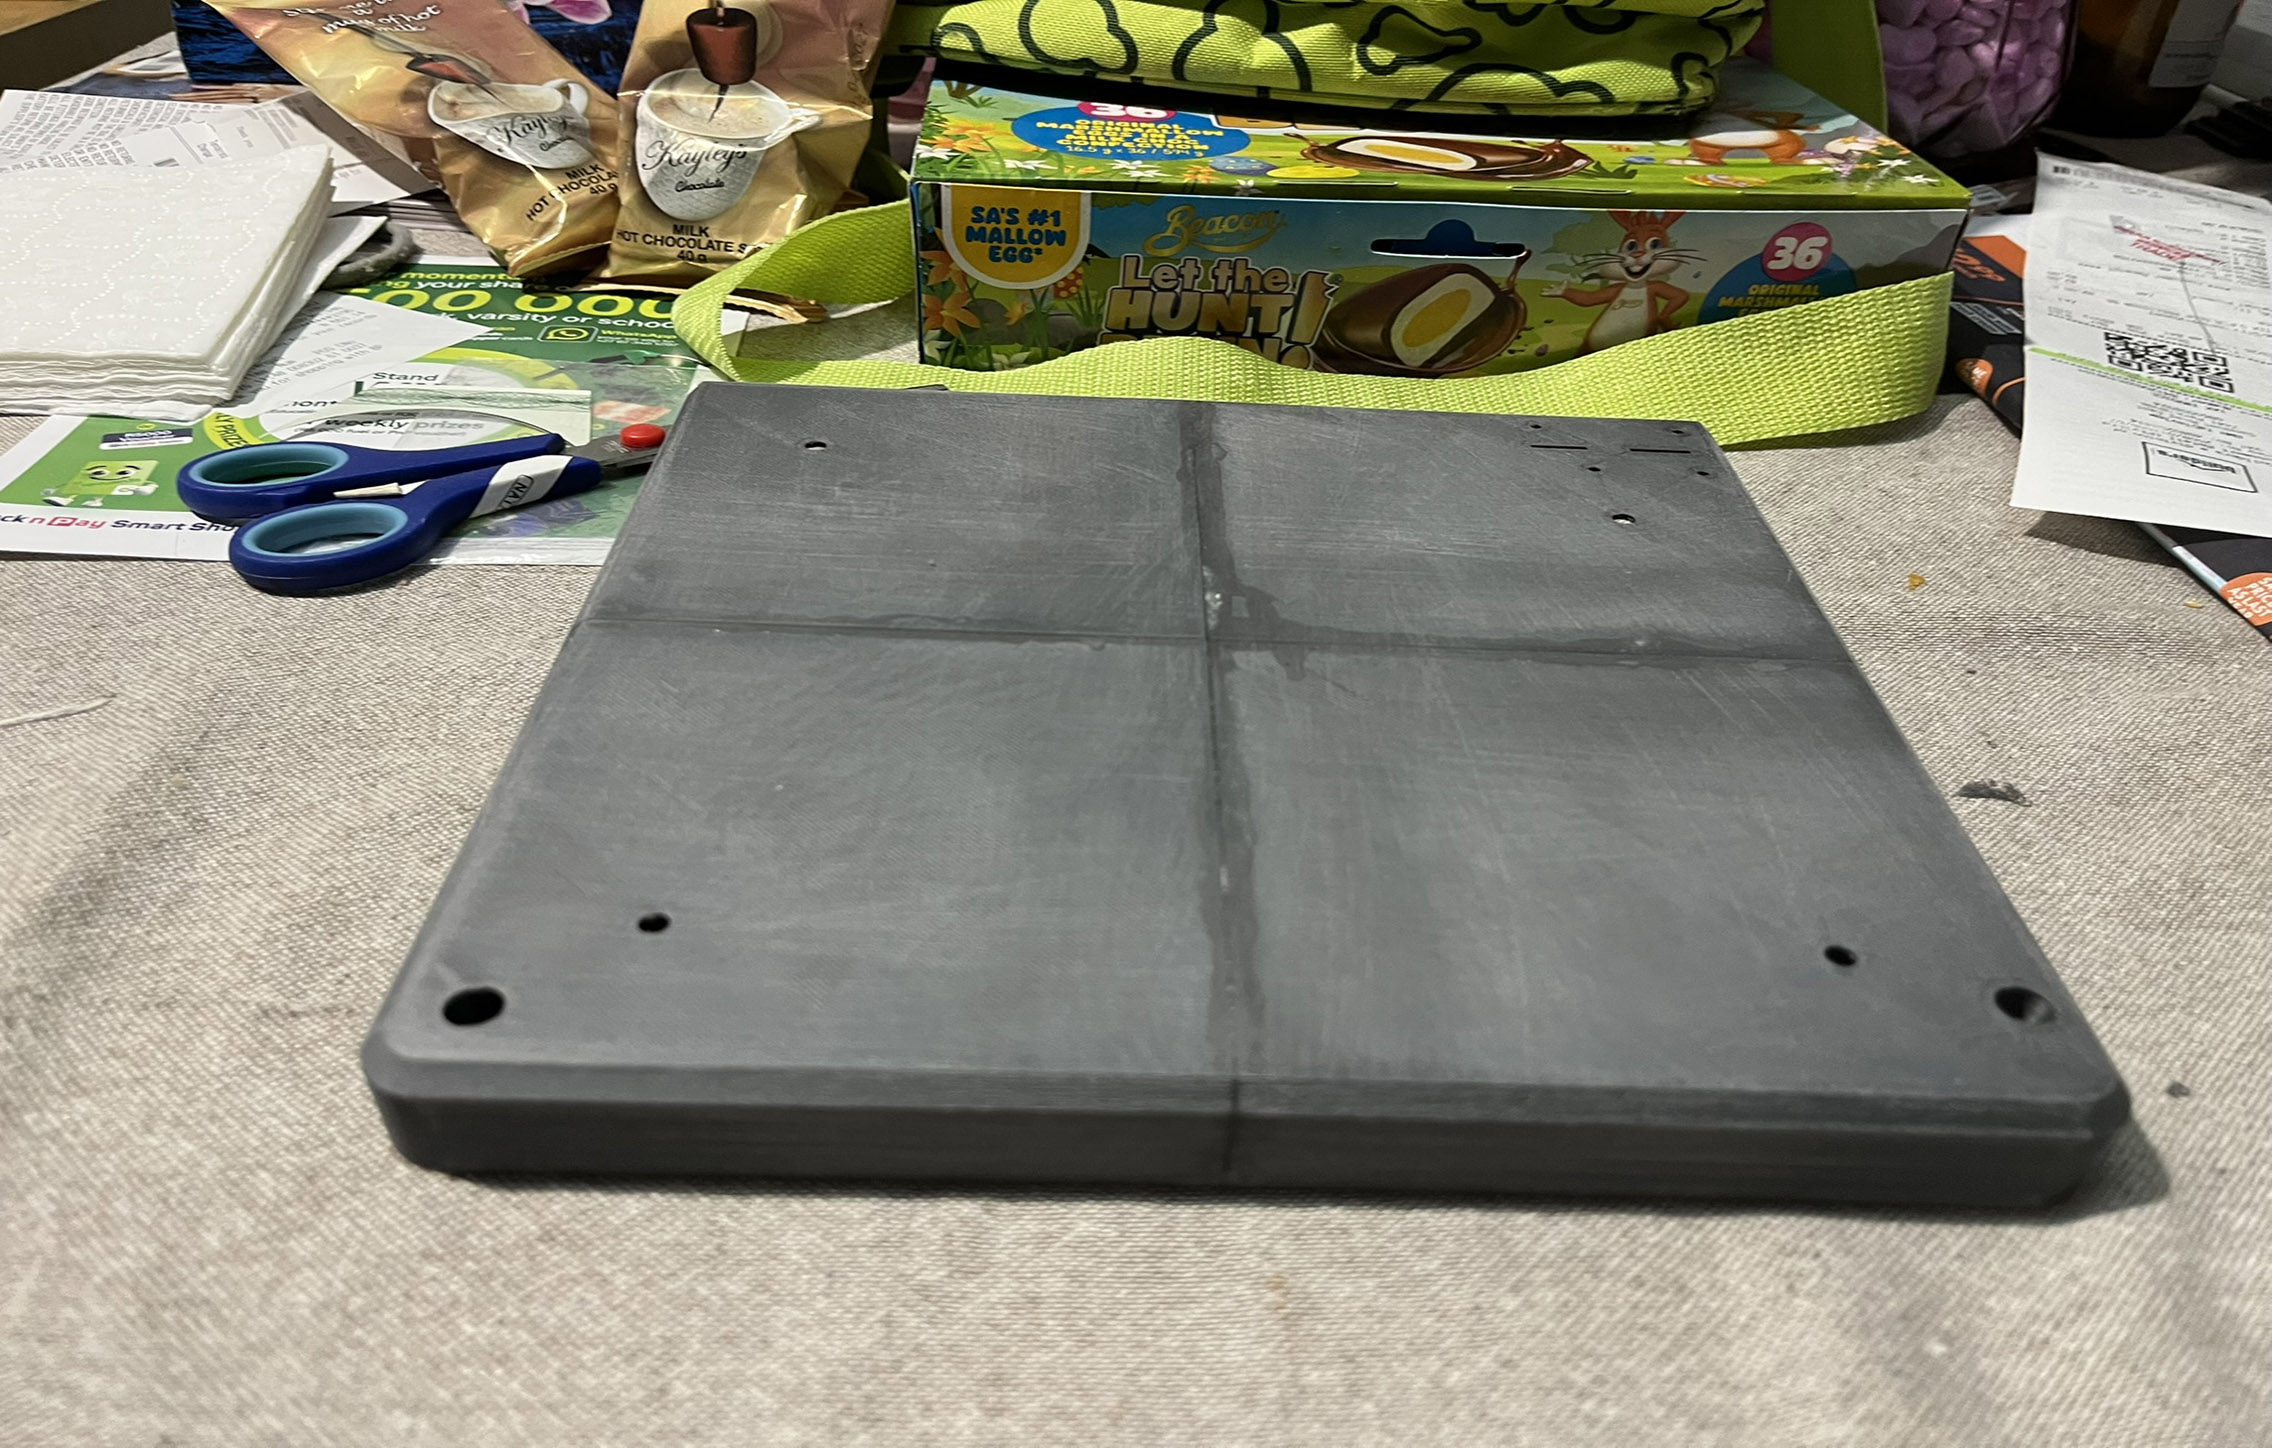
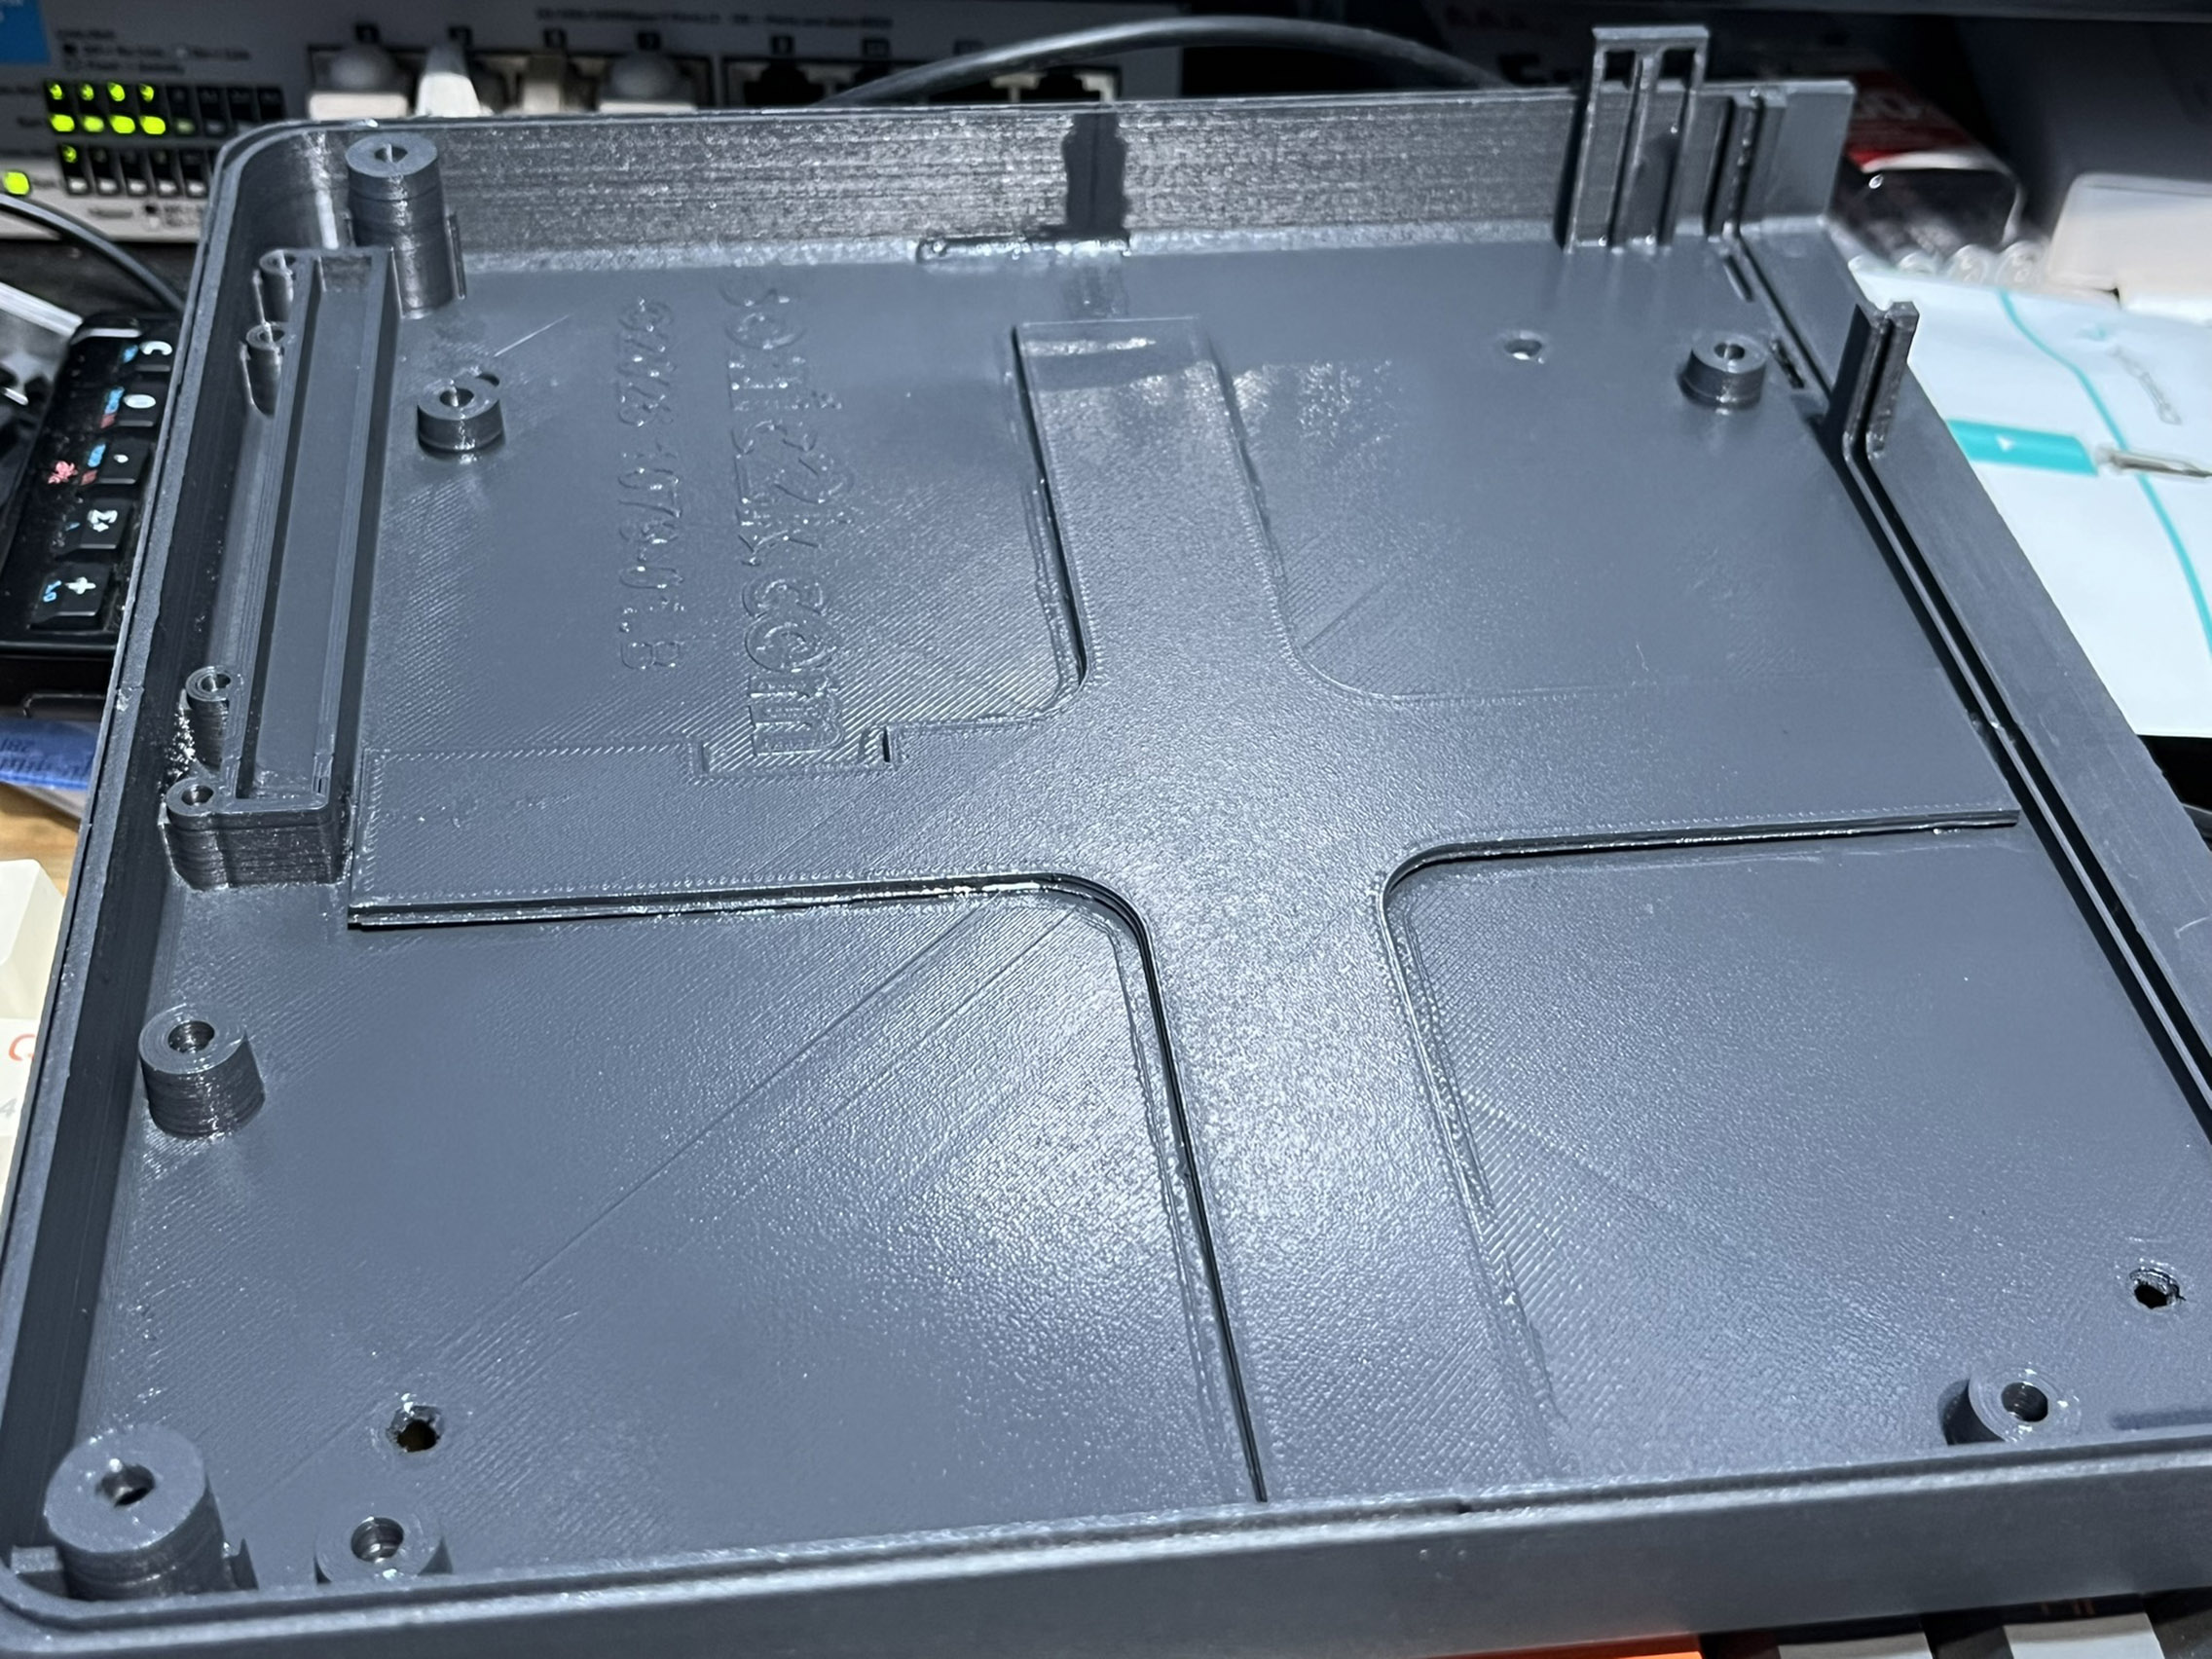
Initially I tried to tape the quadrants together and glue them together with cyanocrylate adhesive. This did not work!
PLA filament does not bond well with that kind of adhesive. Don't bother, learn from my experience!
The photo above middle shows that I printed a doubler plate, and bonded that in with clear epoxy resin, using cyanocrylate as a filler in the gaps!
The photo above right shows that eventually I got all the quadrants bonded and aligned properly.
Work on the Power Supply
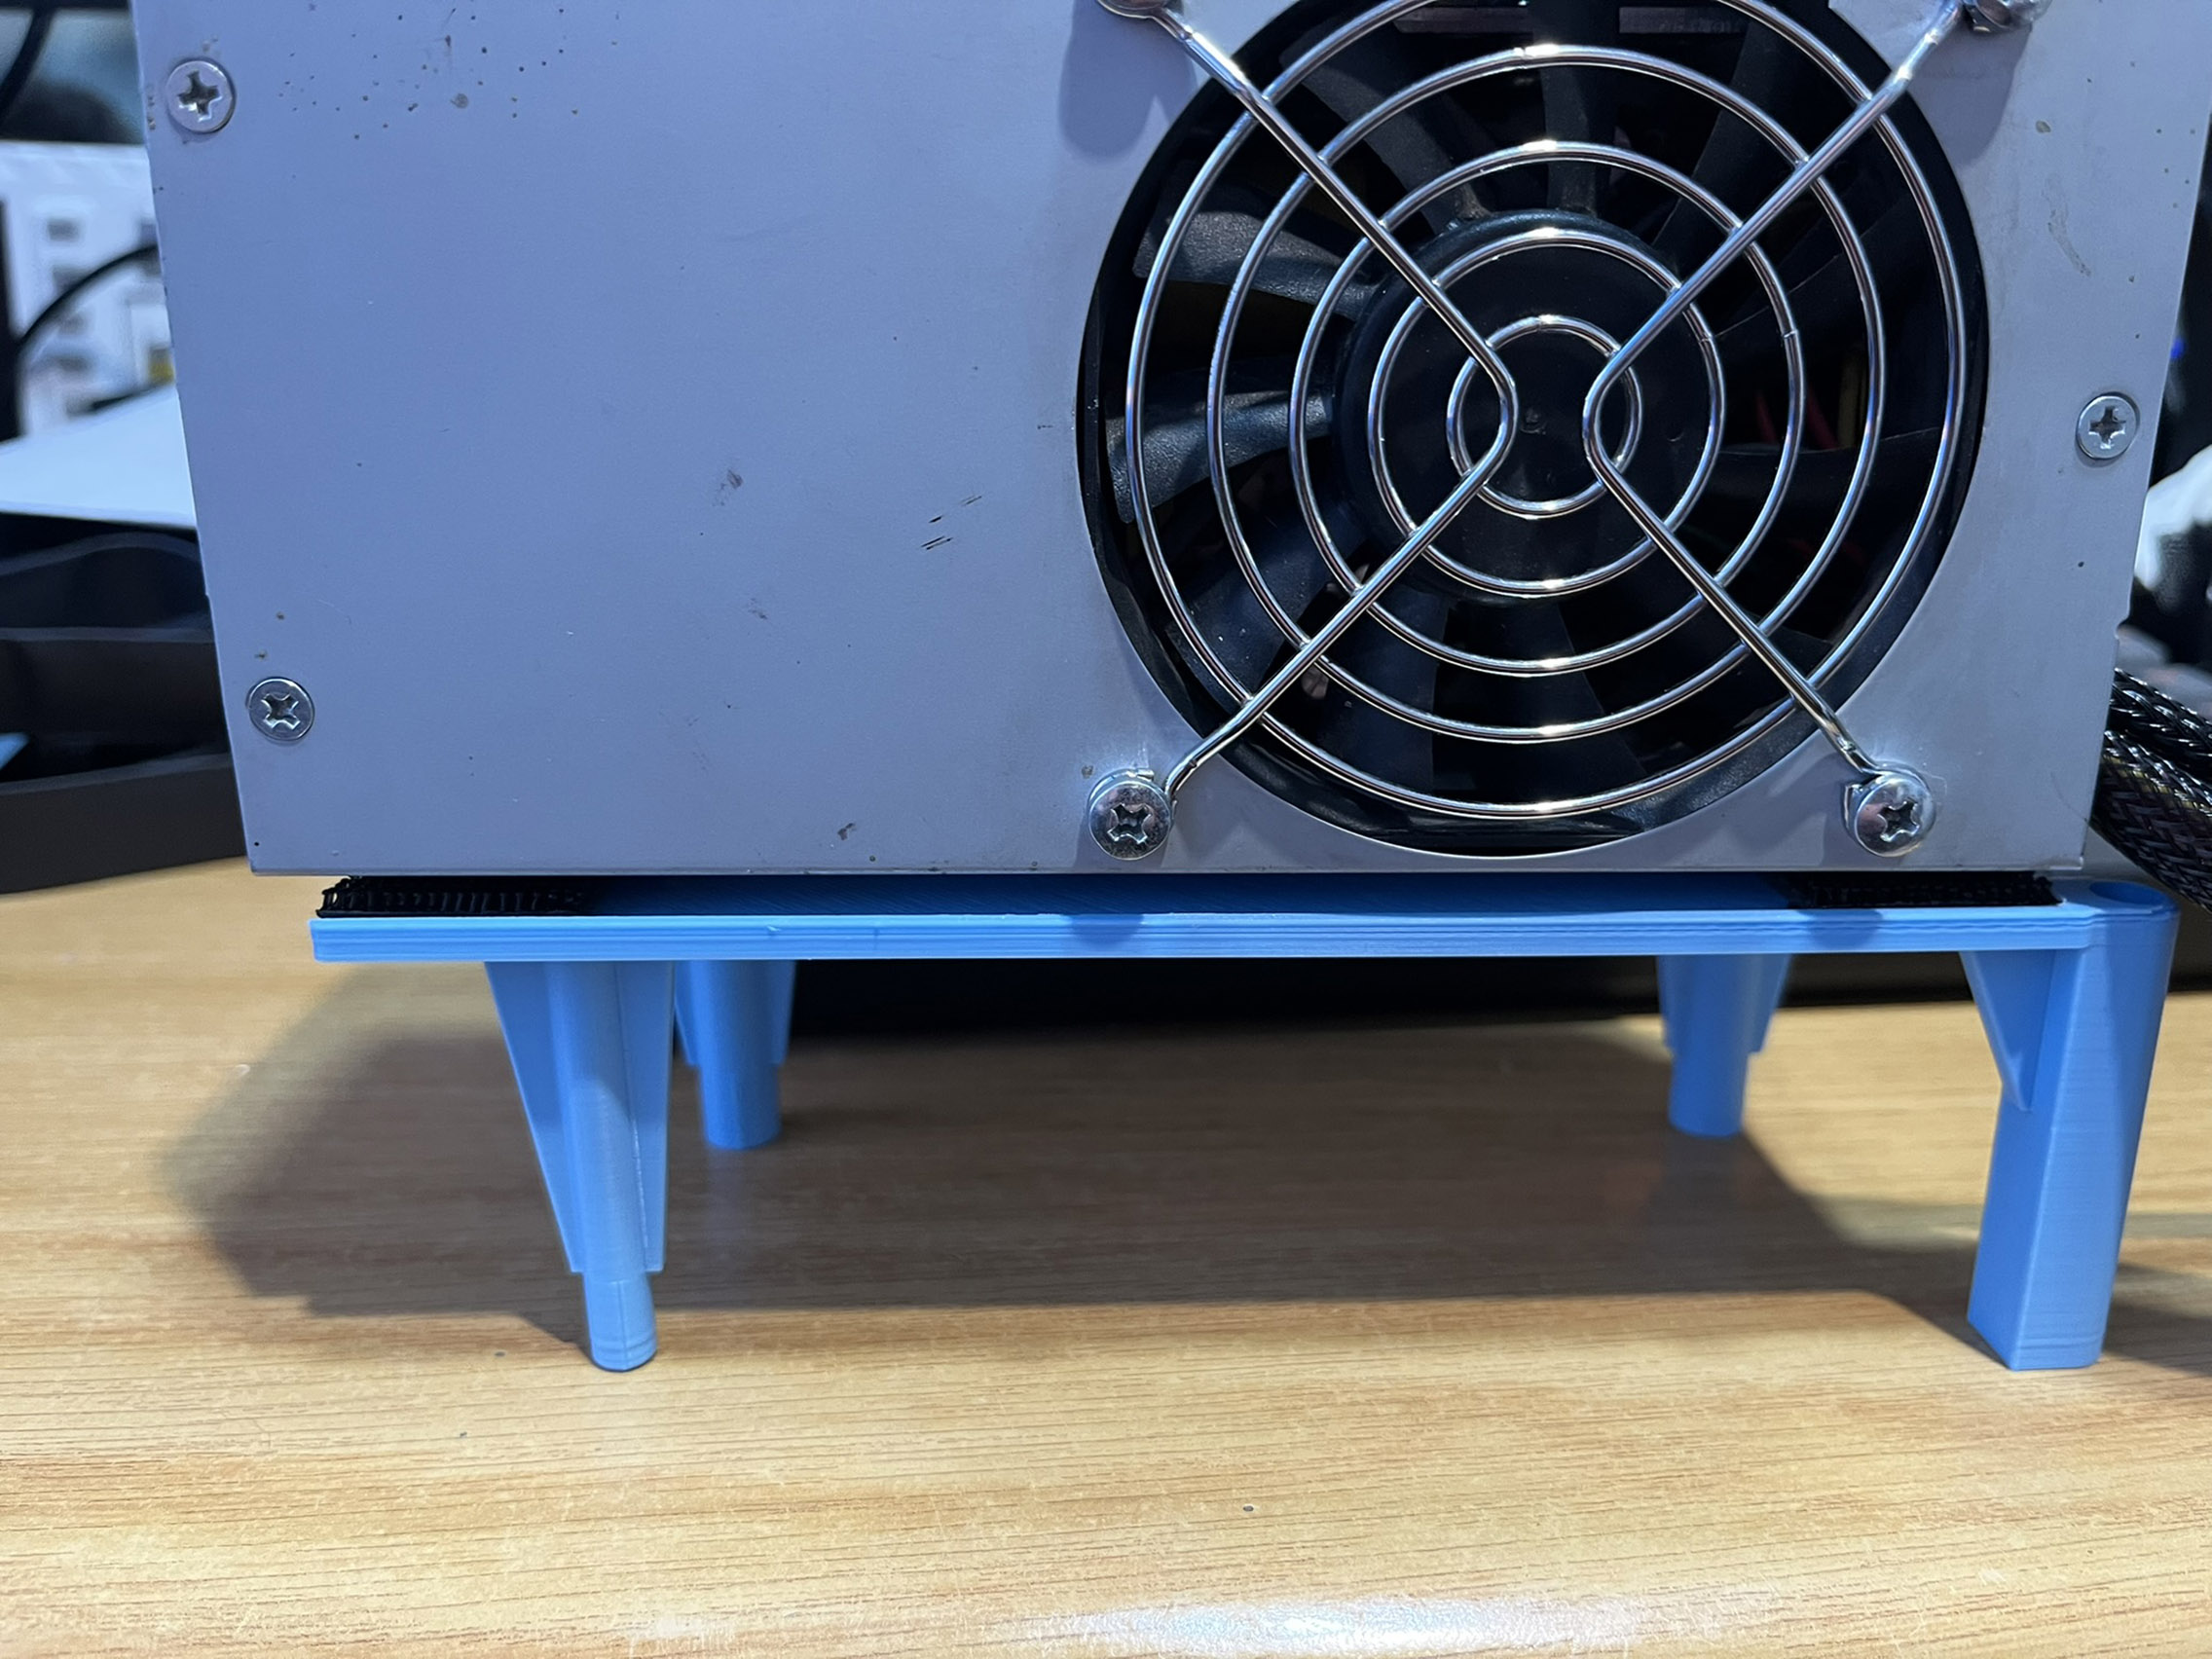
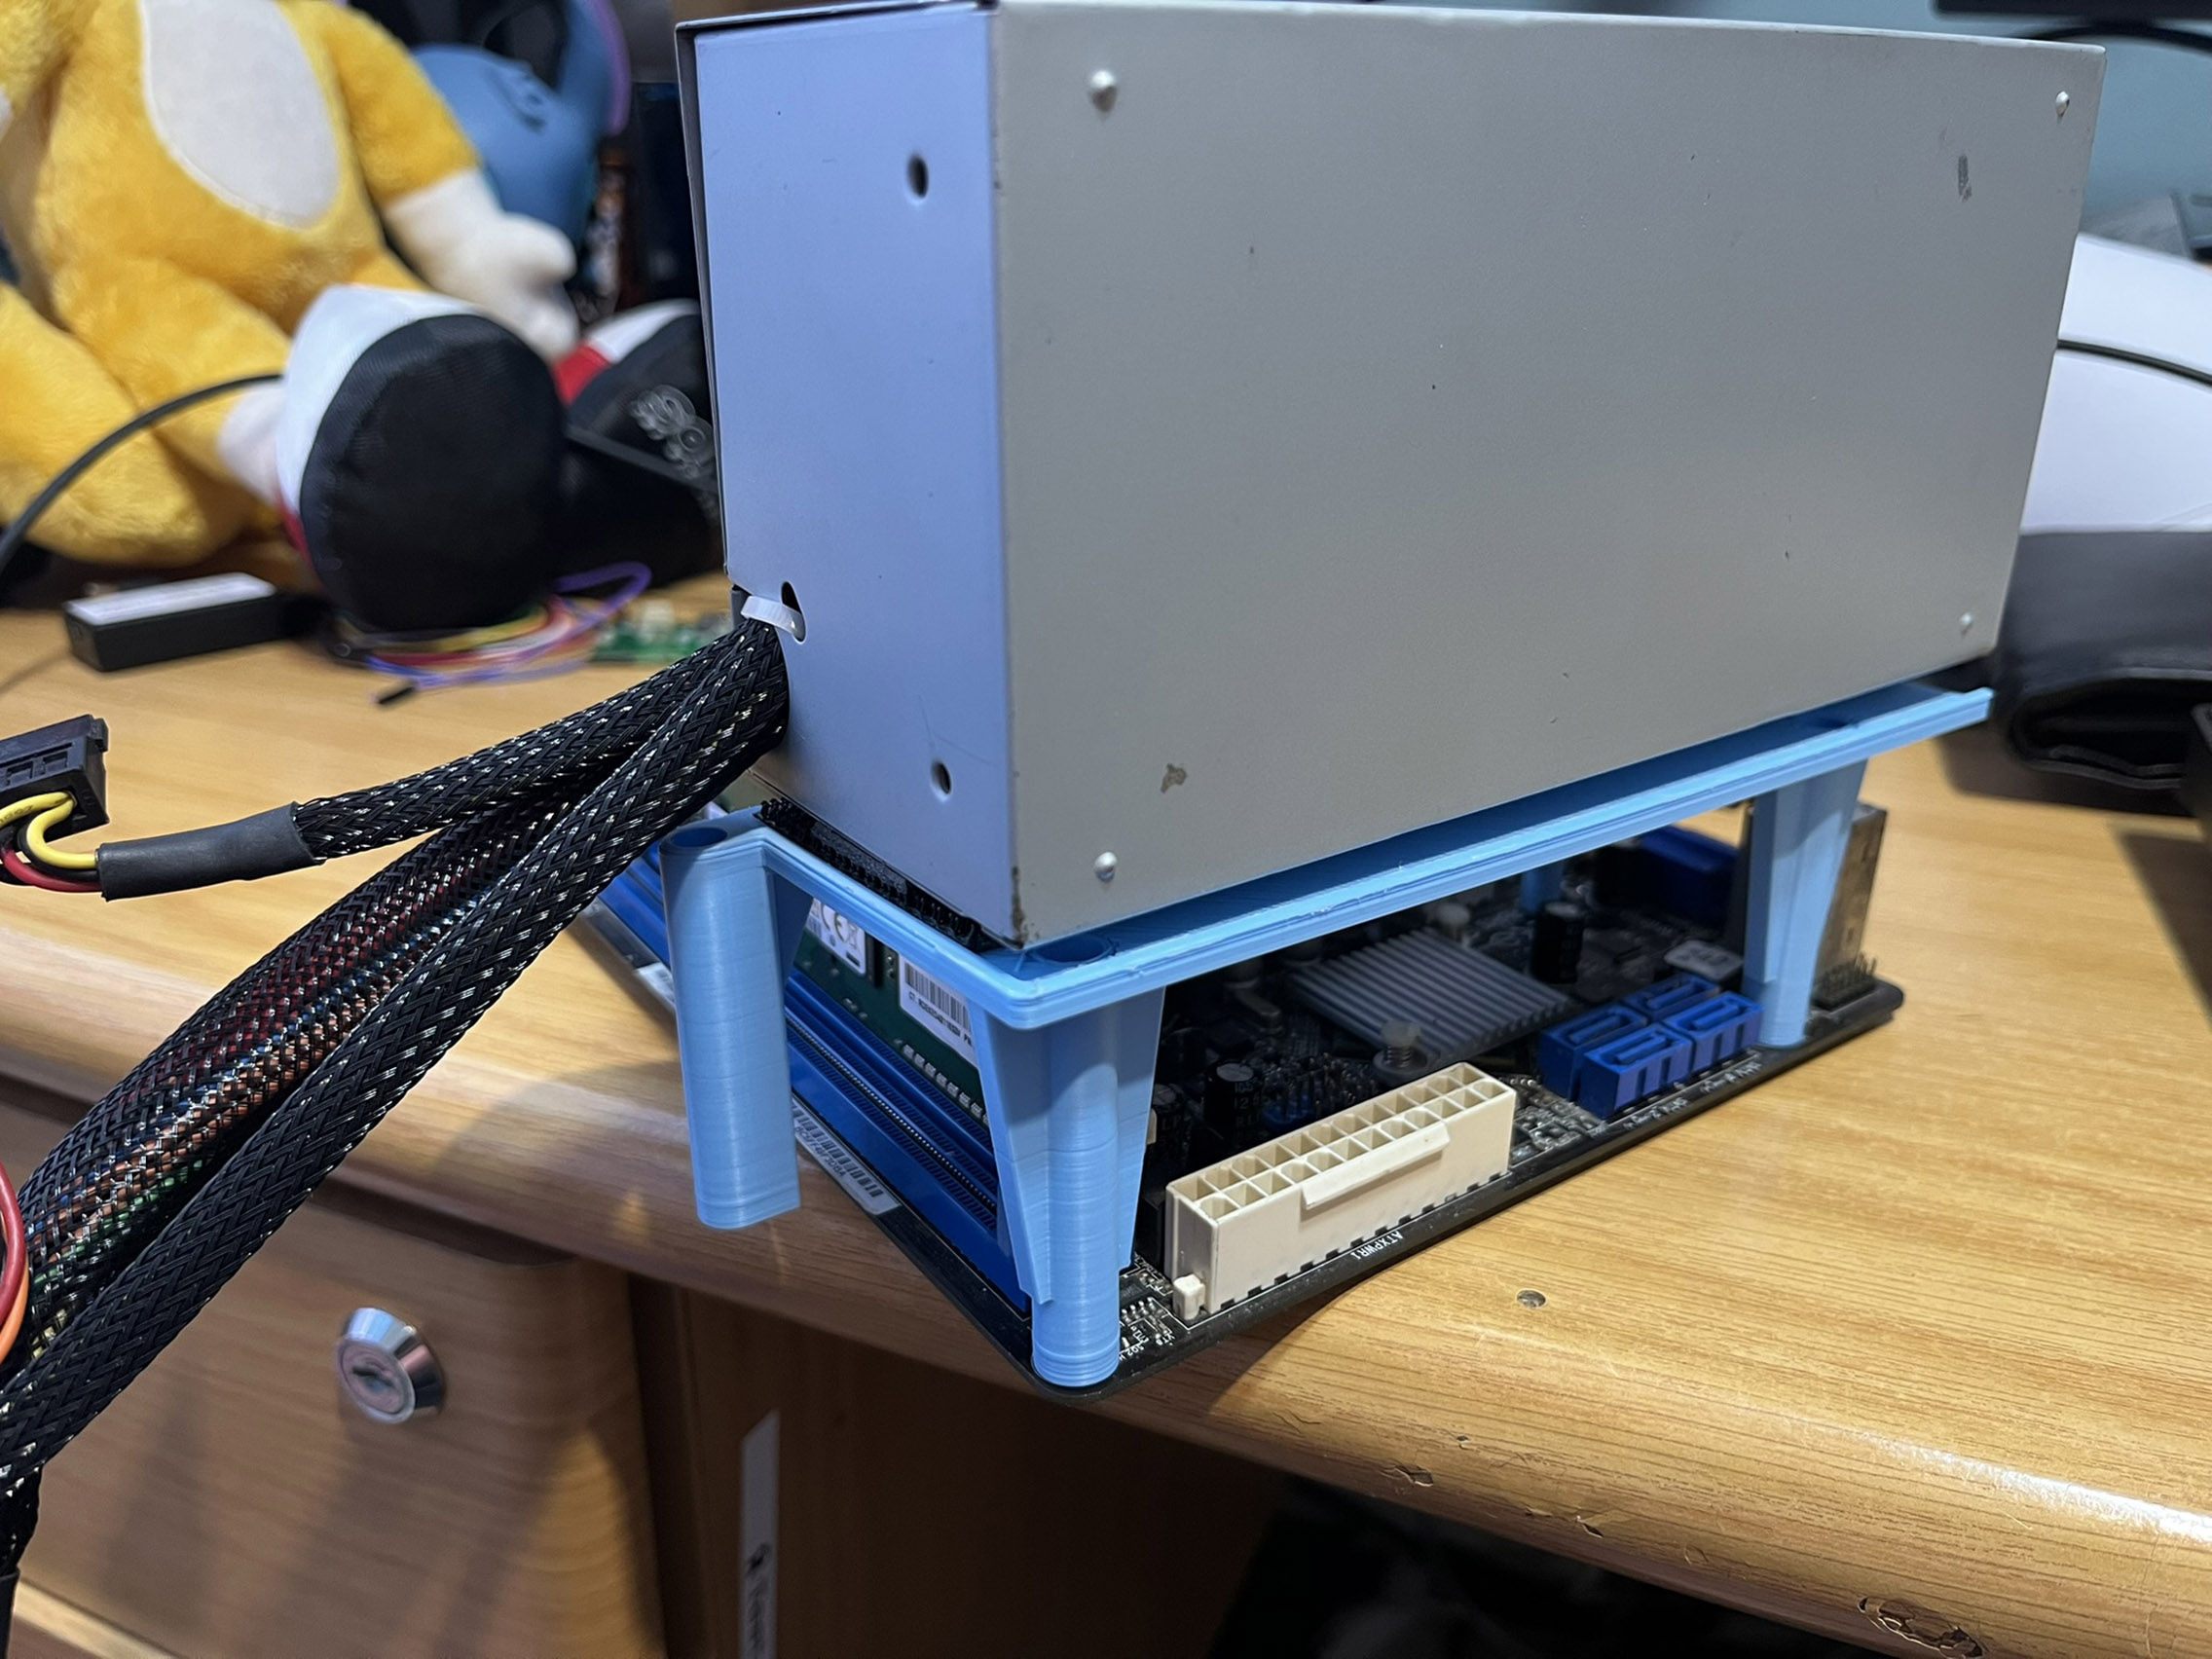
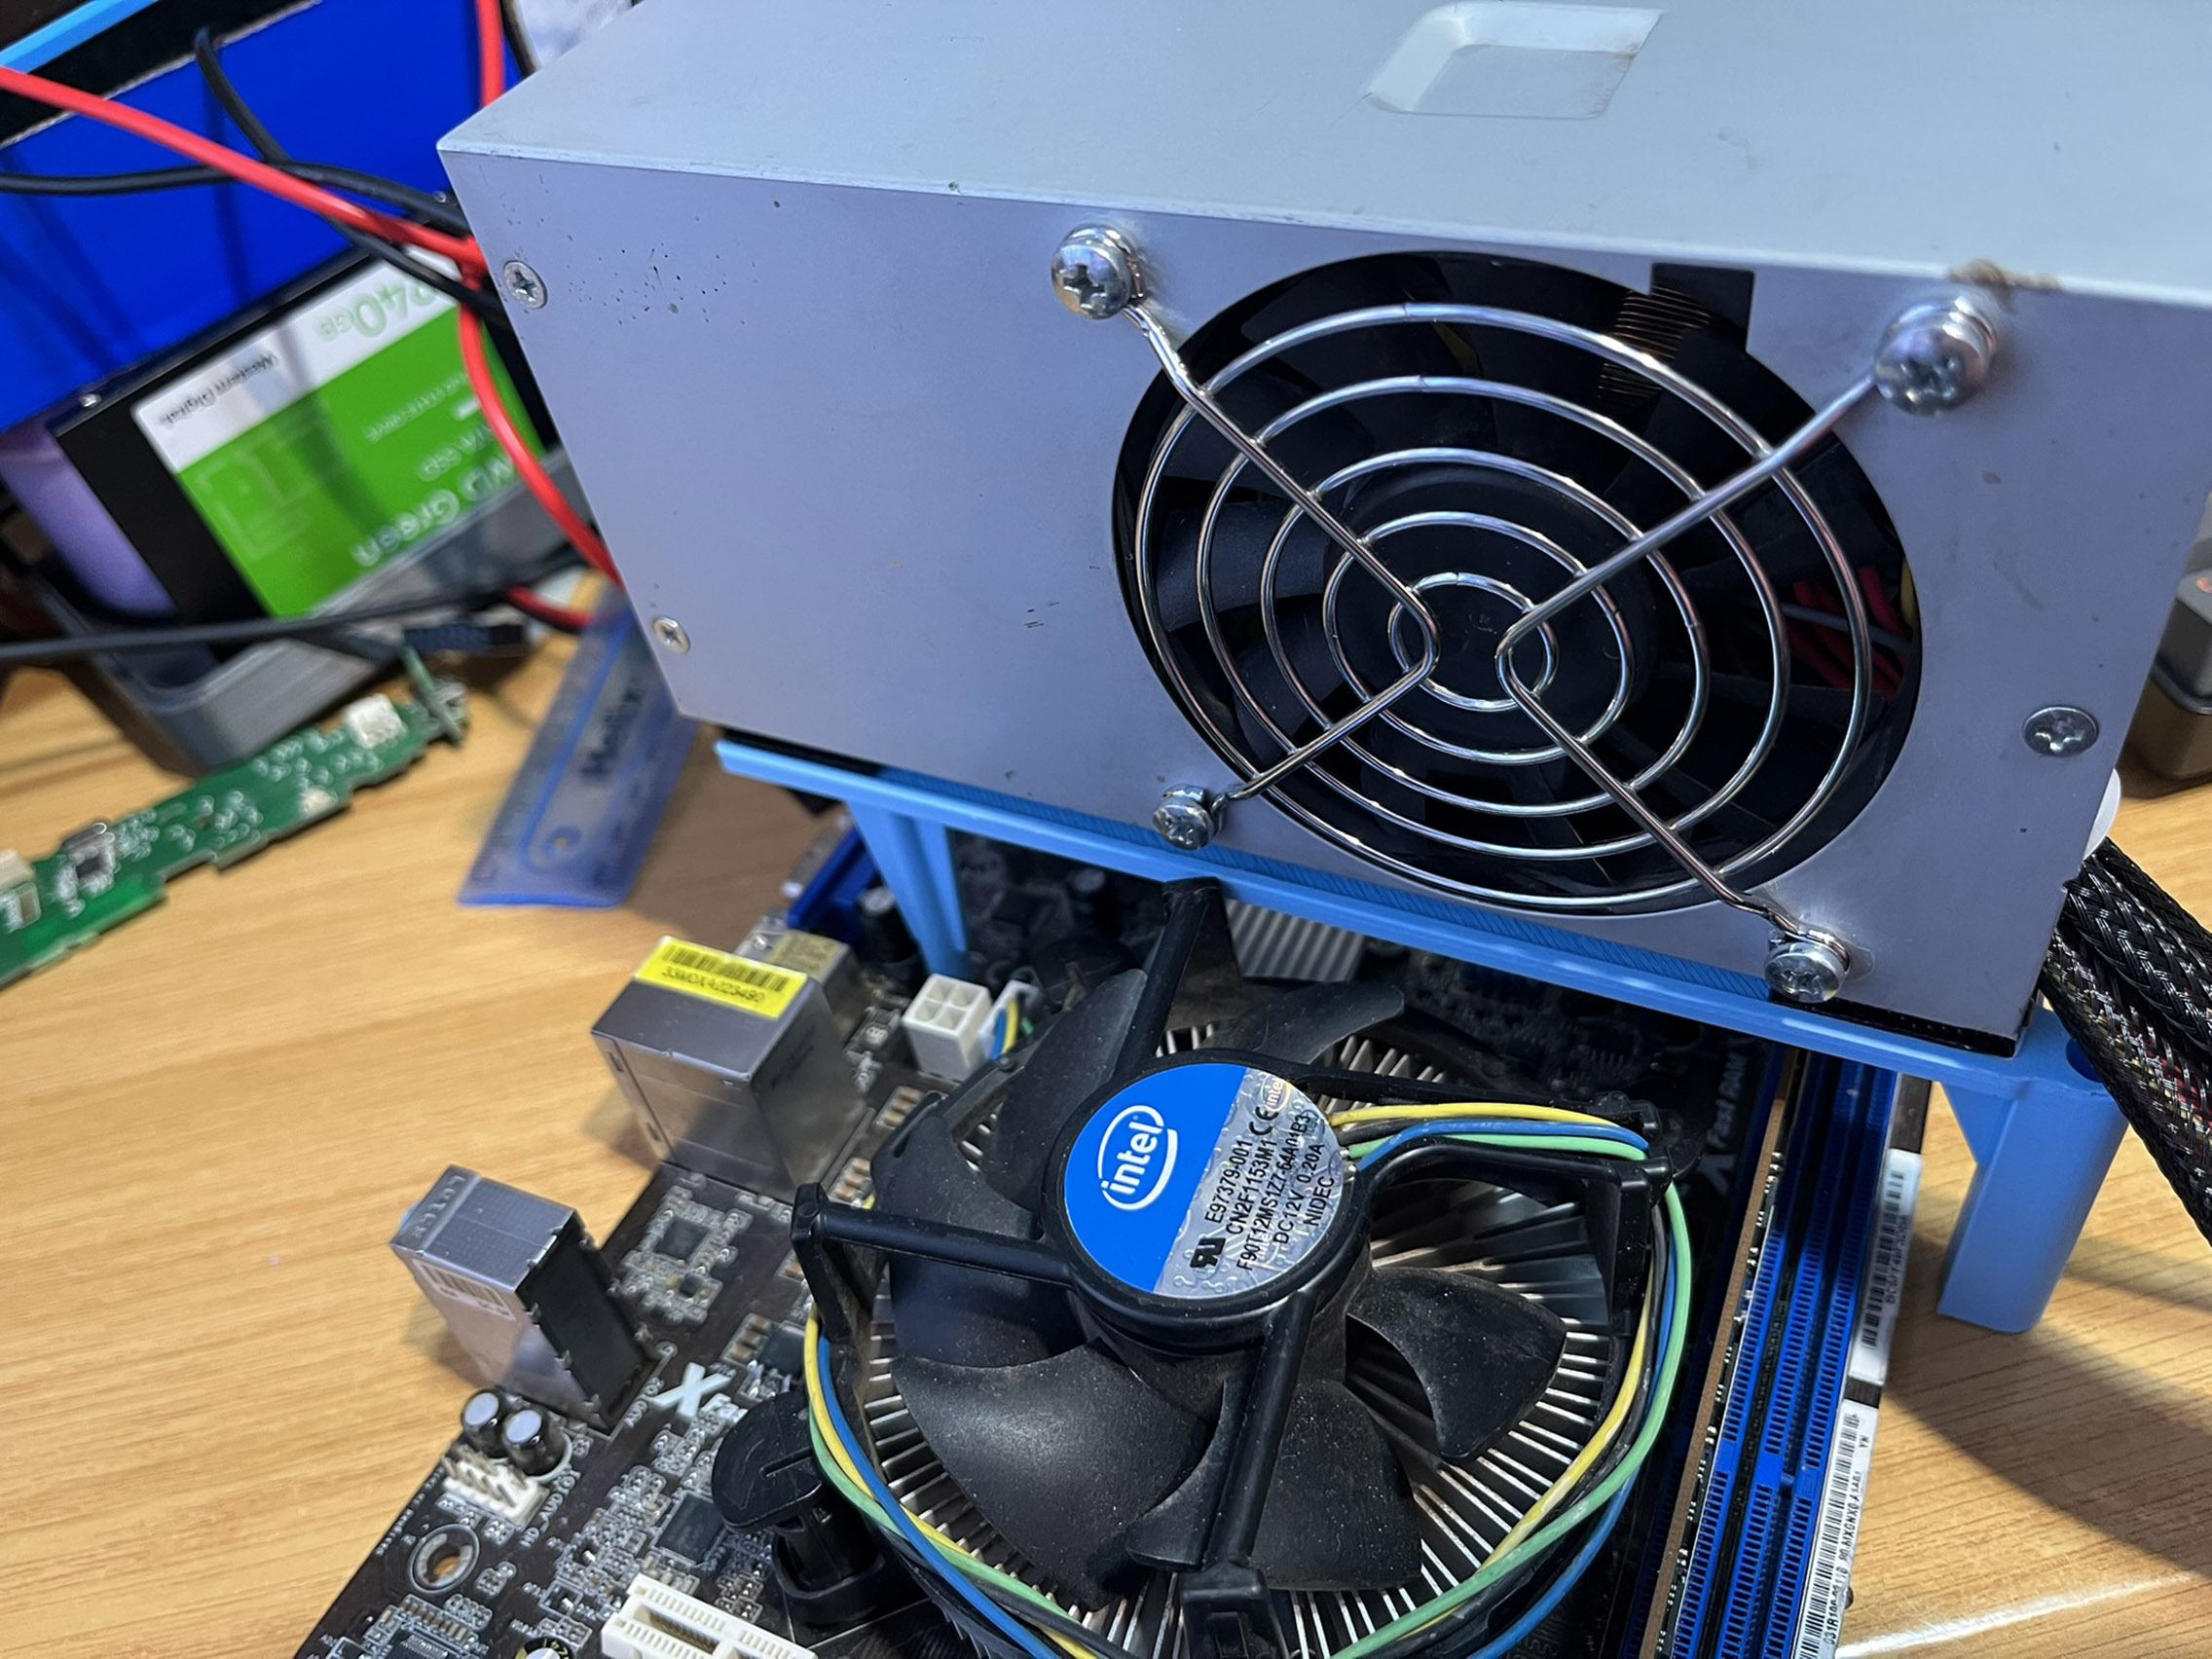
The power supply that I got from the e-waste came out of a Point of Sale. Consequently it had some of the ATX style connectors but not all. This means its existing wiring loom was not compatible with the ASRock motherboard I wanted to use. So I made a new loom, using wire ended connectors from a dead, donor PC power supply. I soldered all of the wires into the correct places on the cleaned up power supply board. I added woven sleeving and terminated the ends with shrink tubing just like they do on expensive gaming PSUs nowadays.
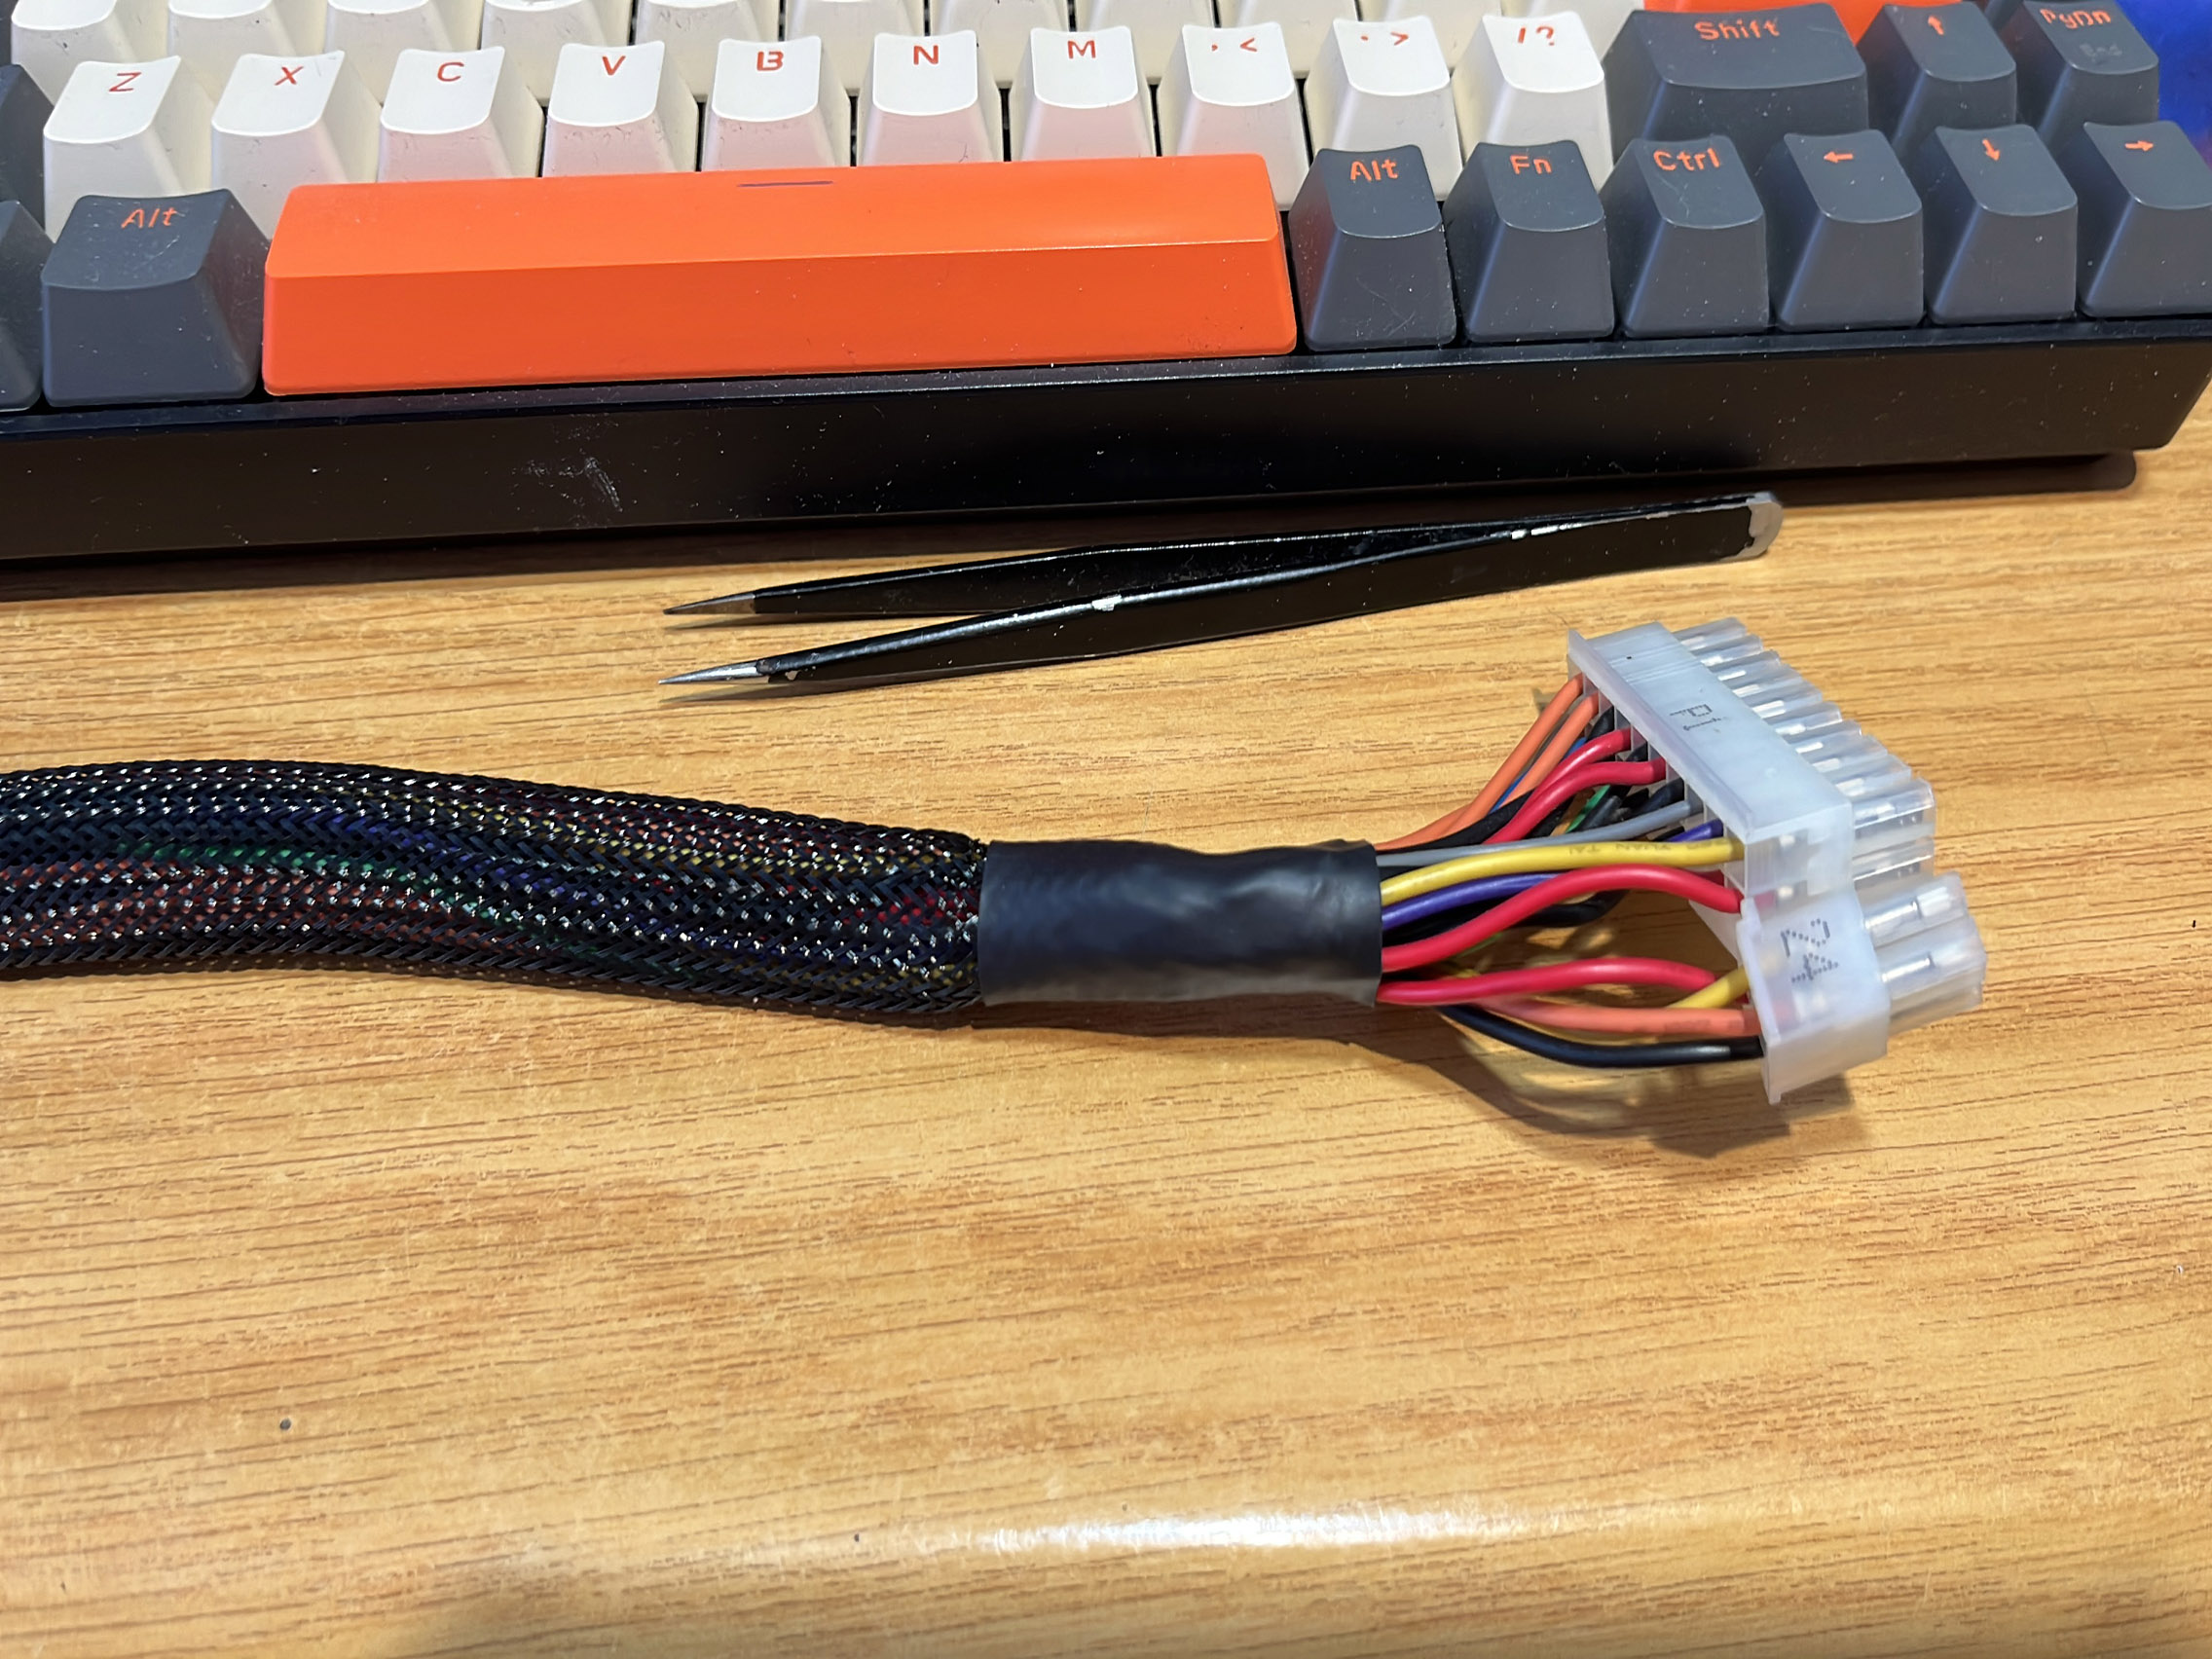

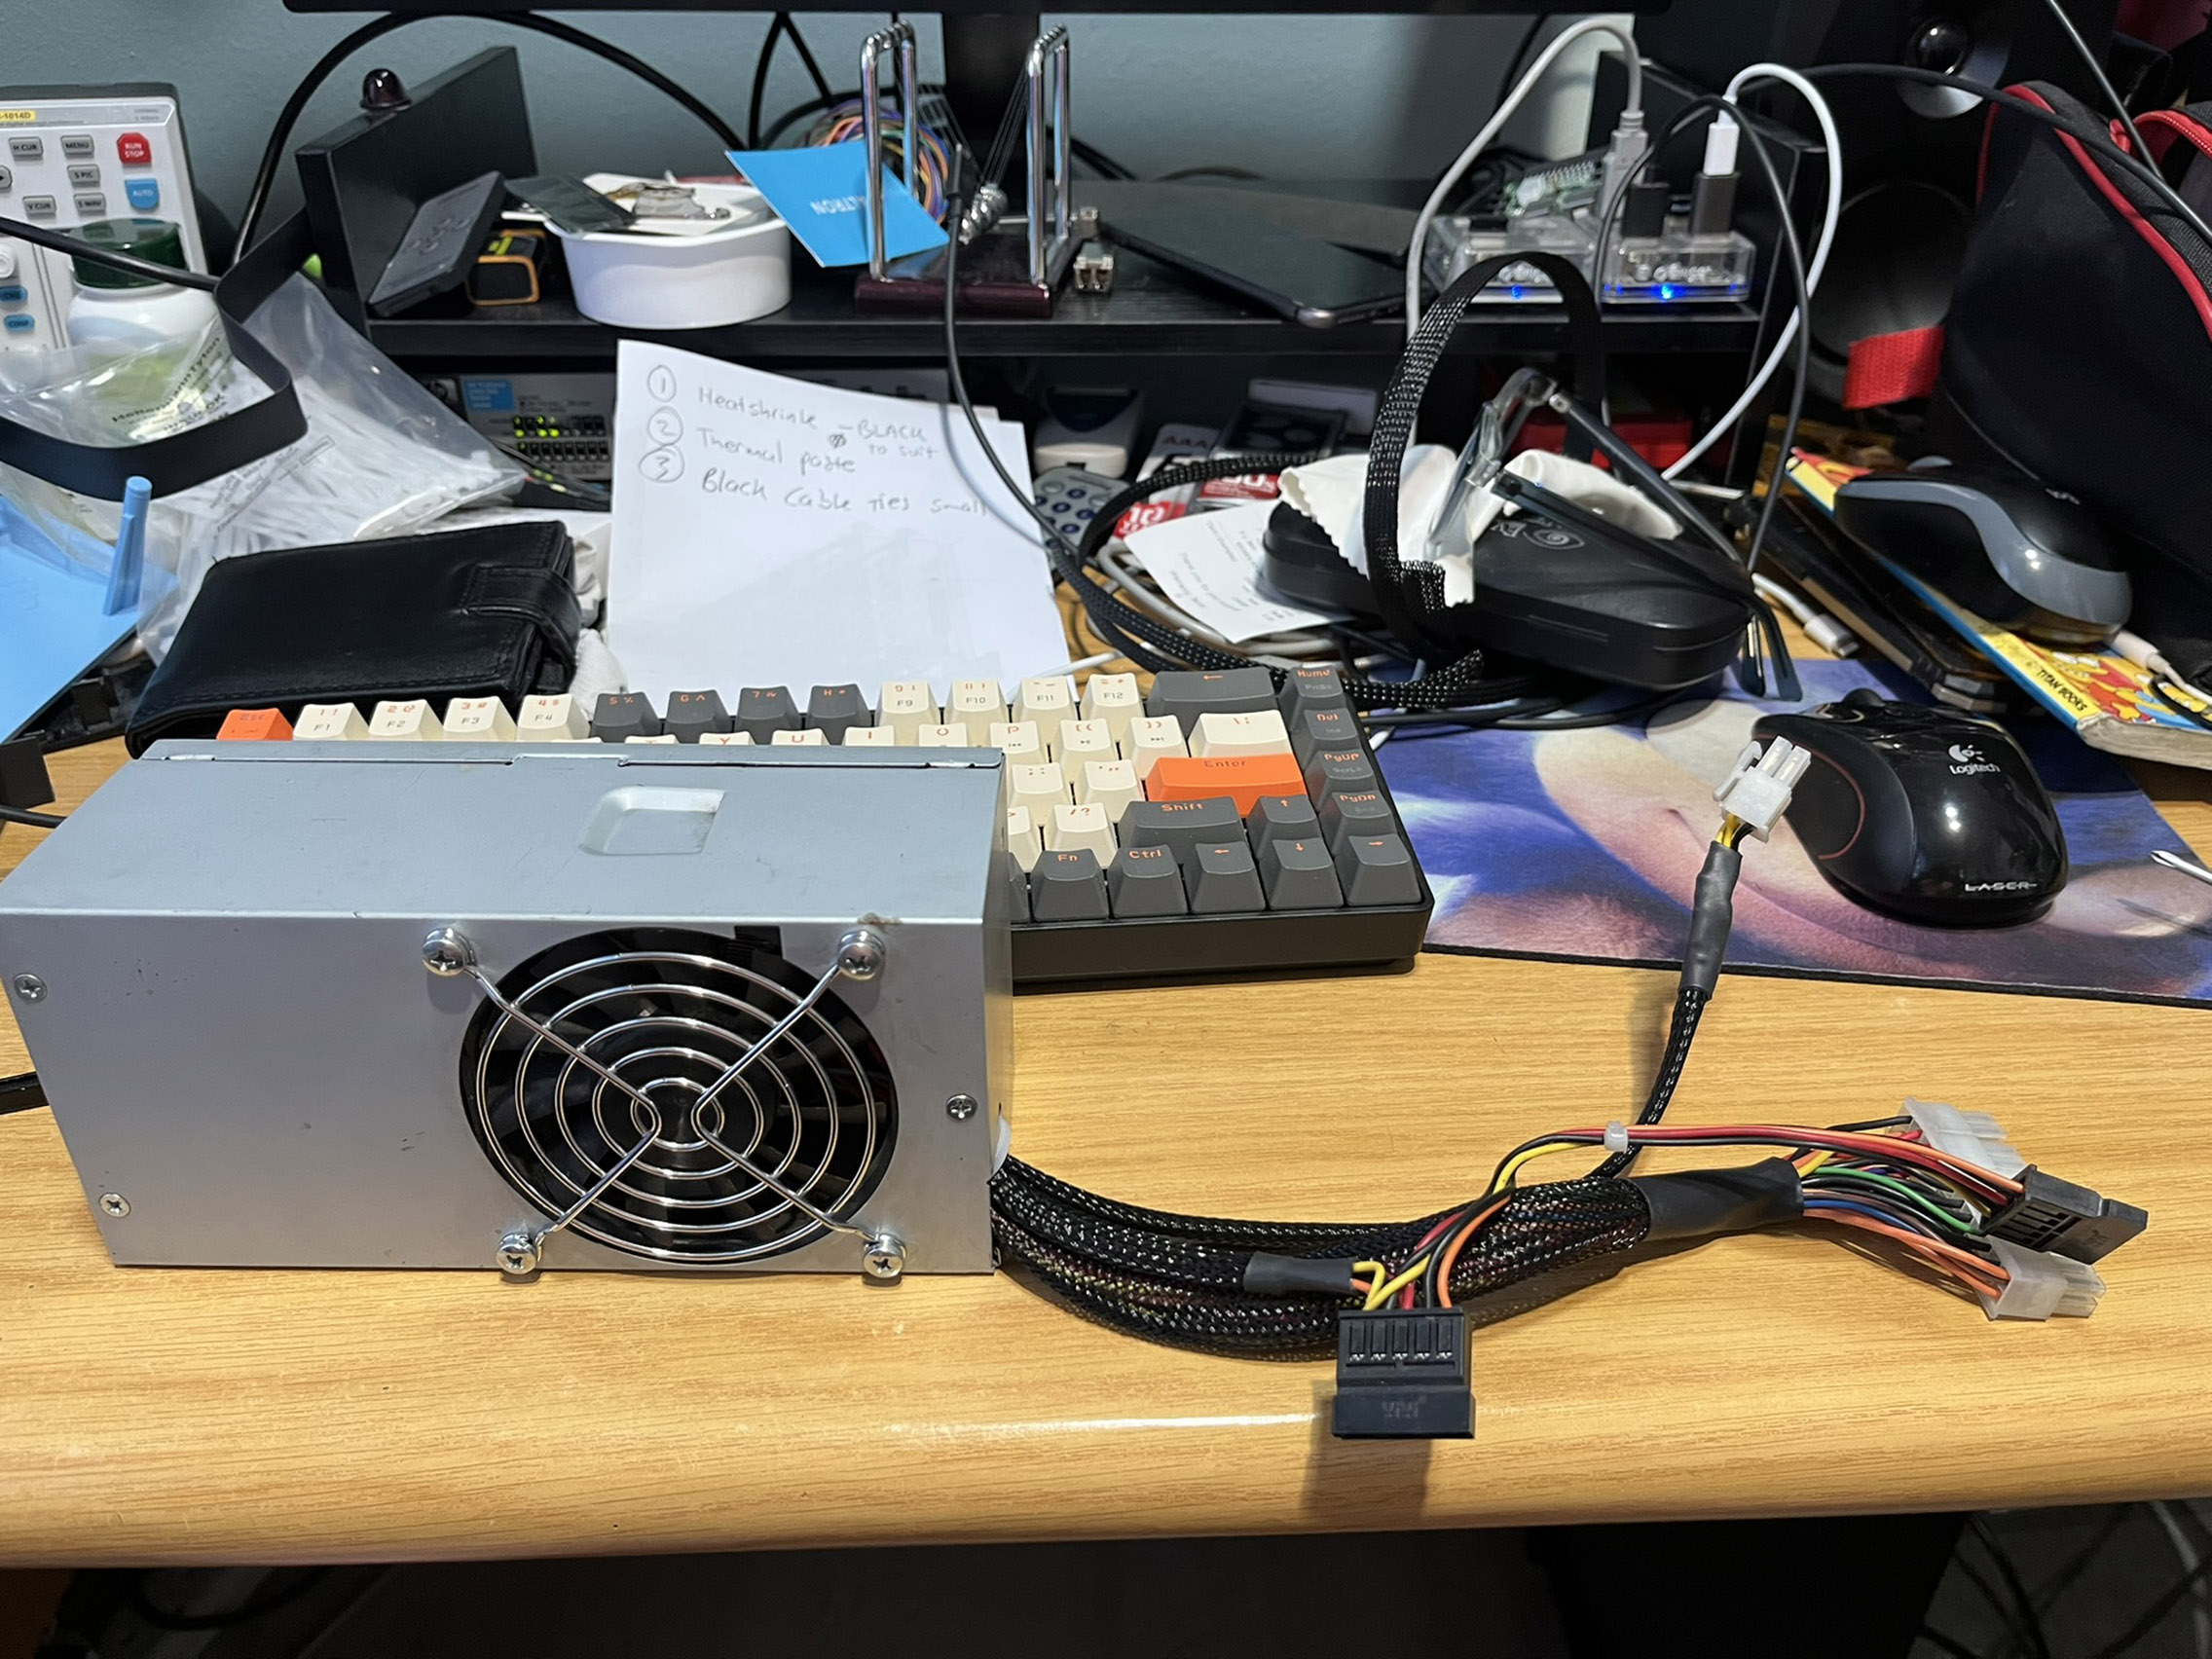
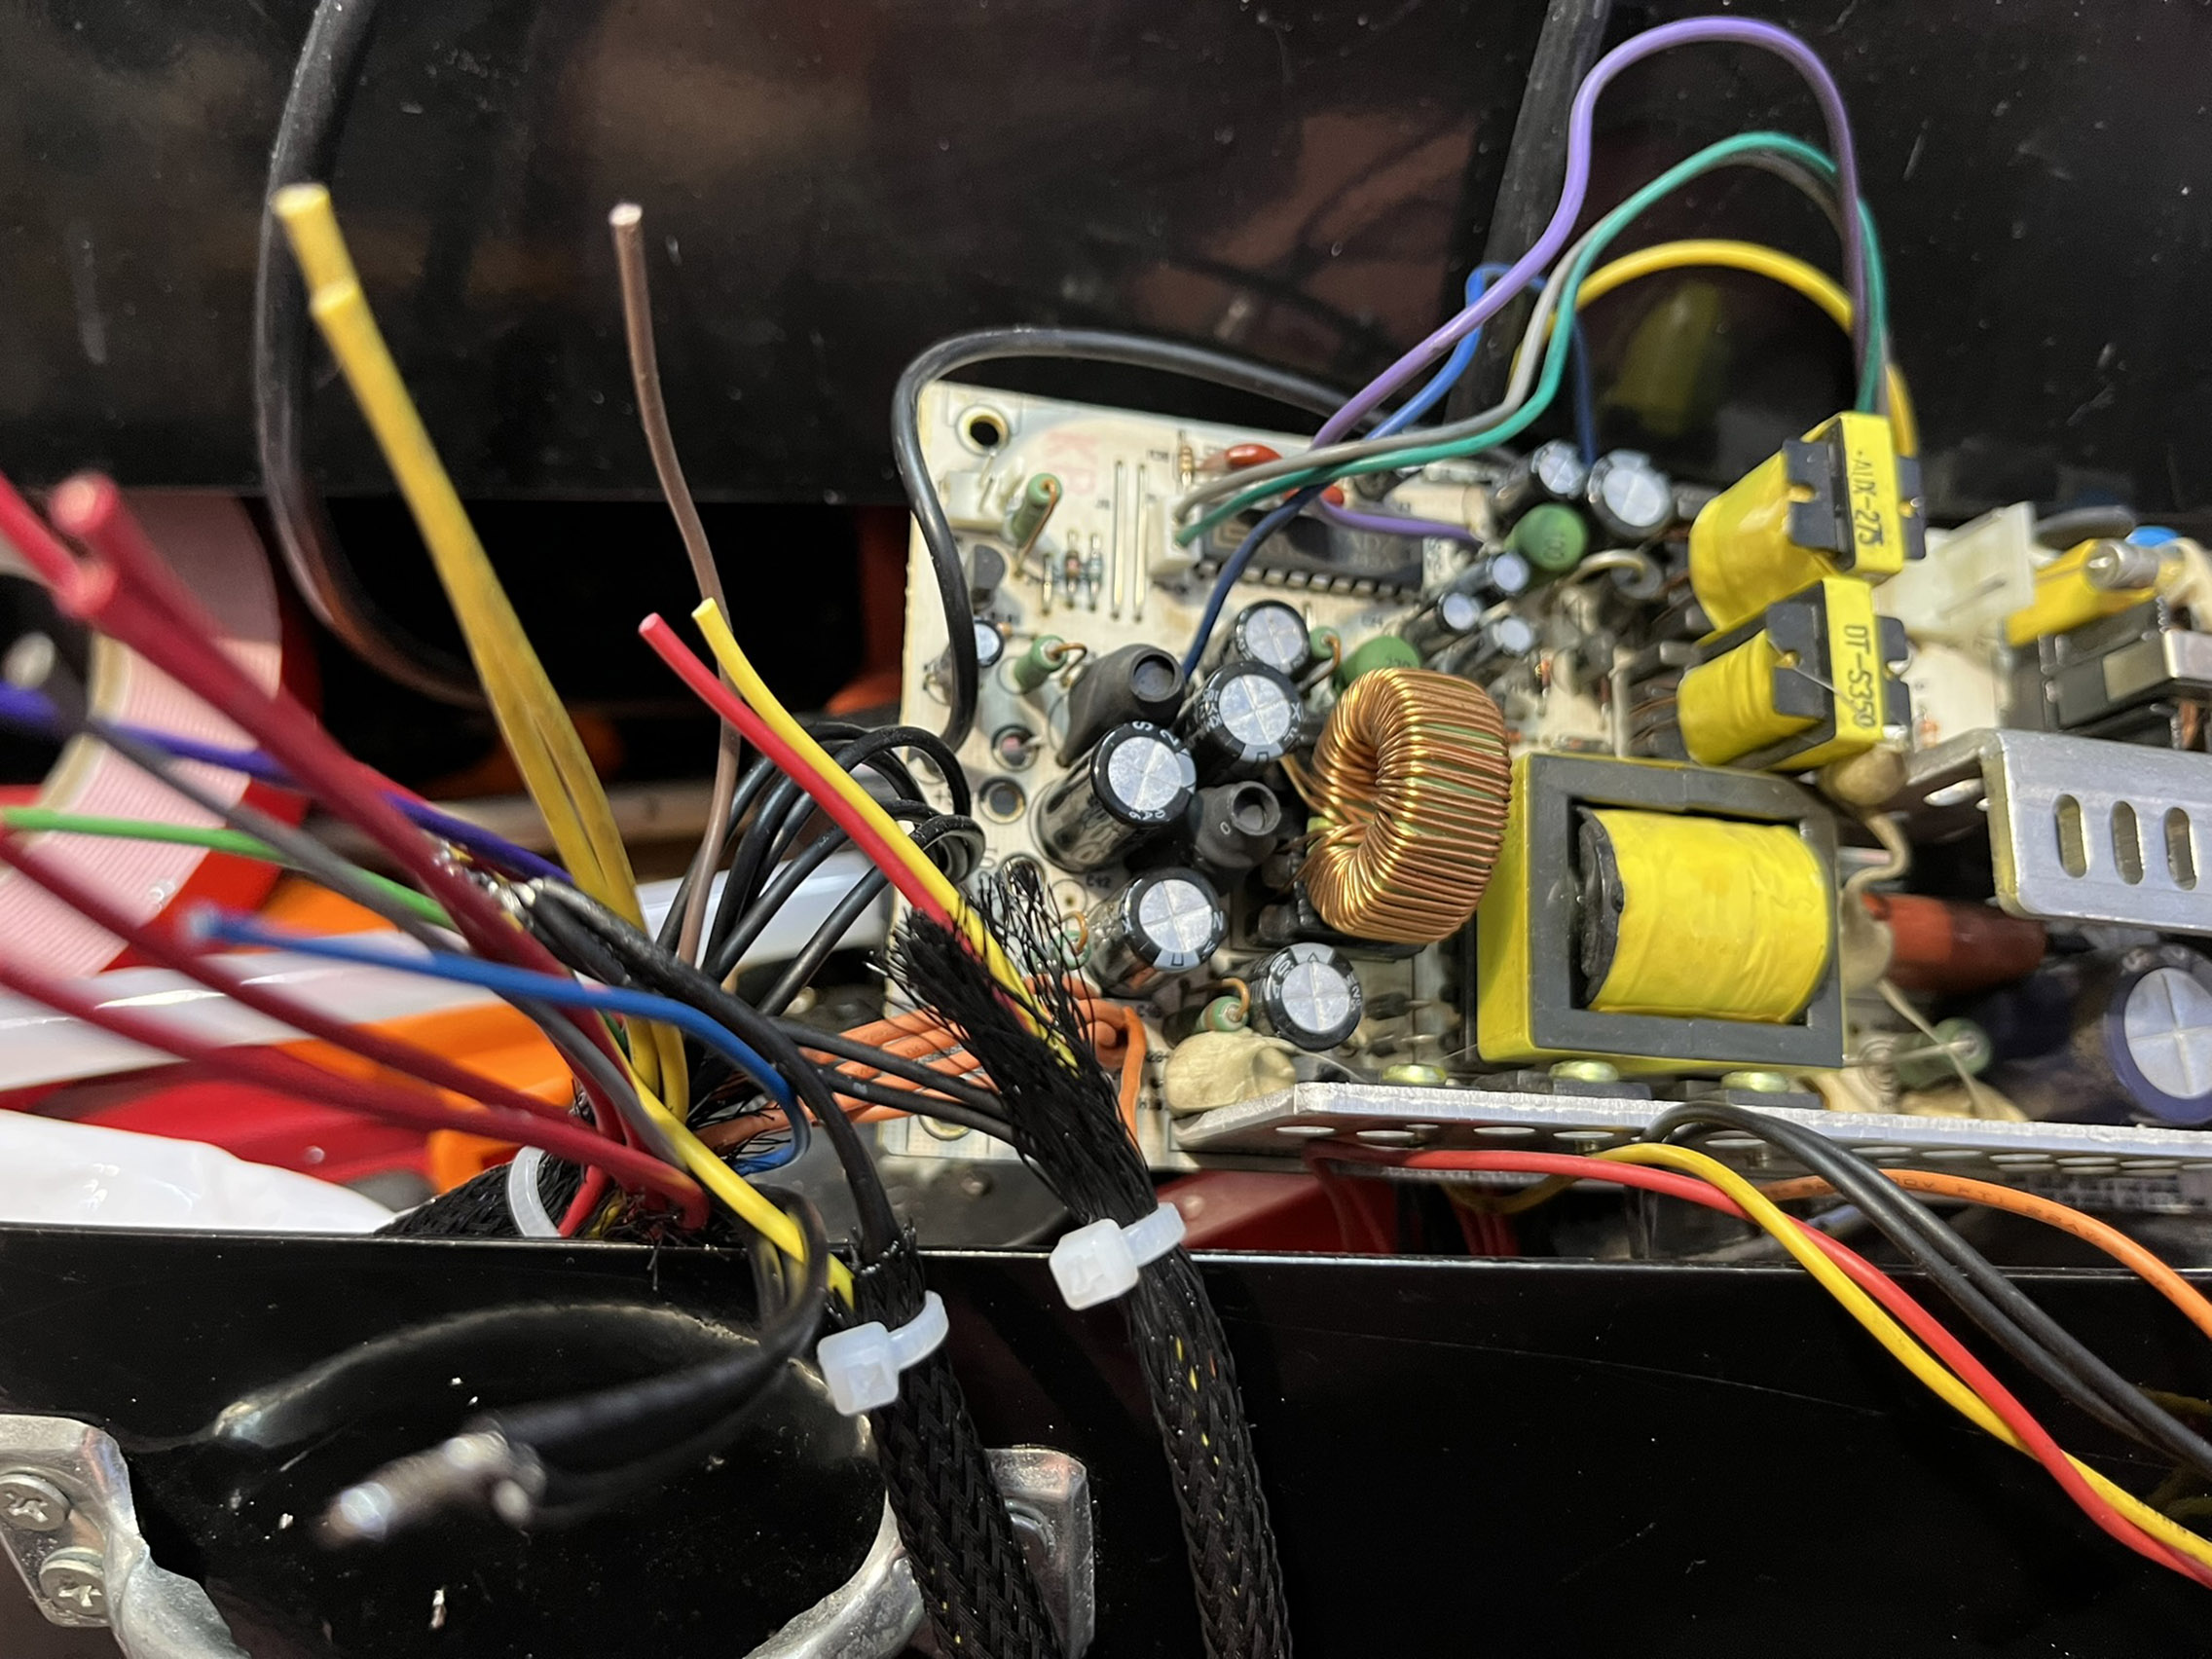
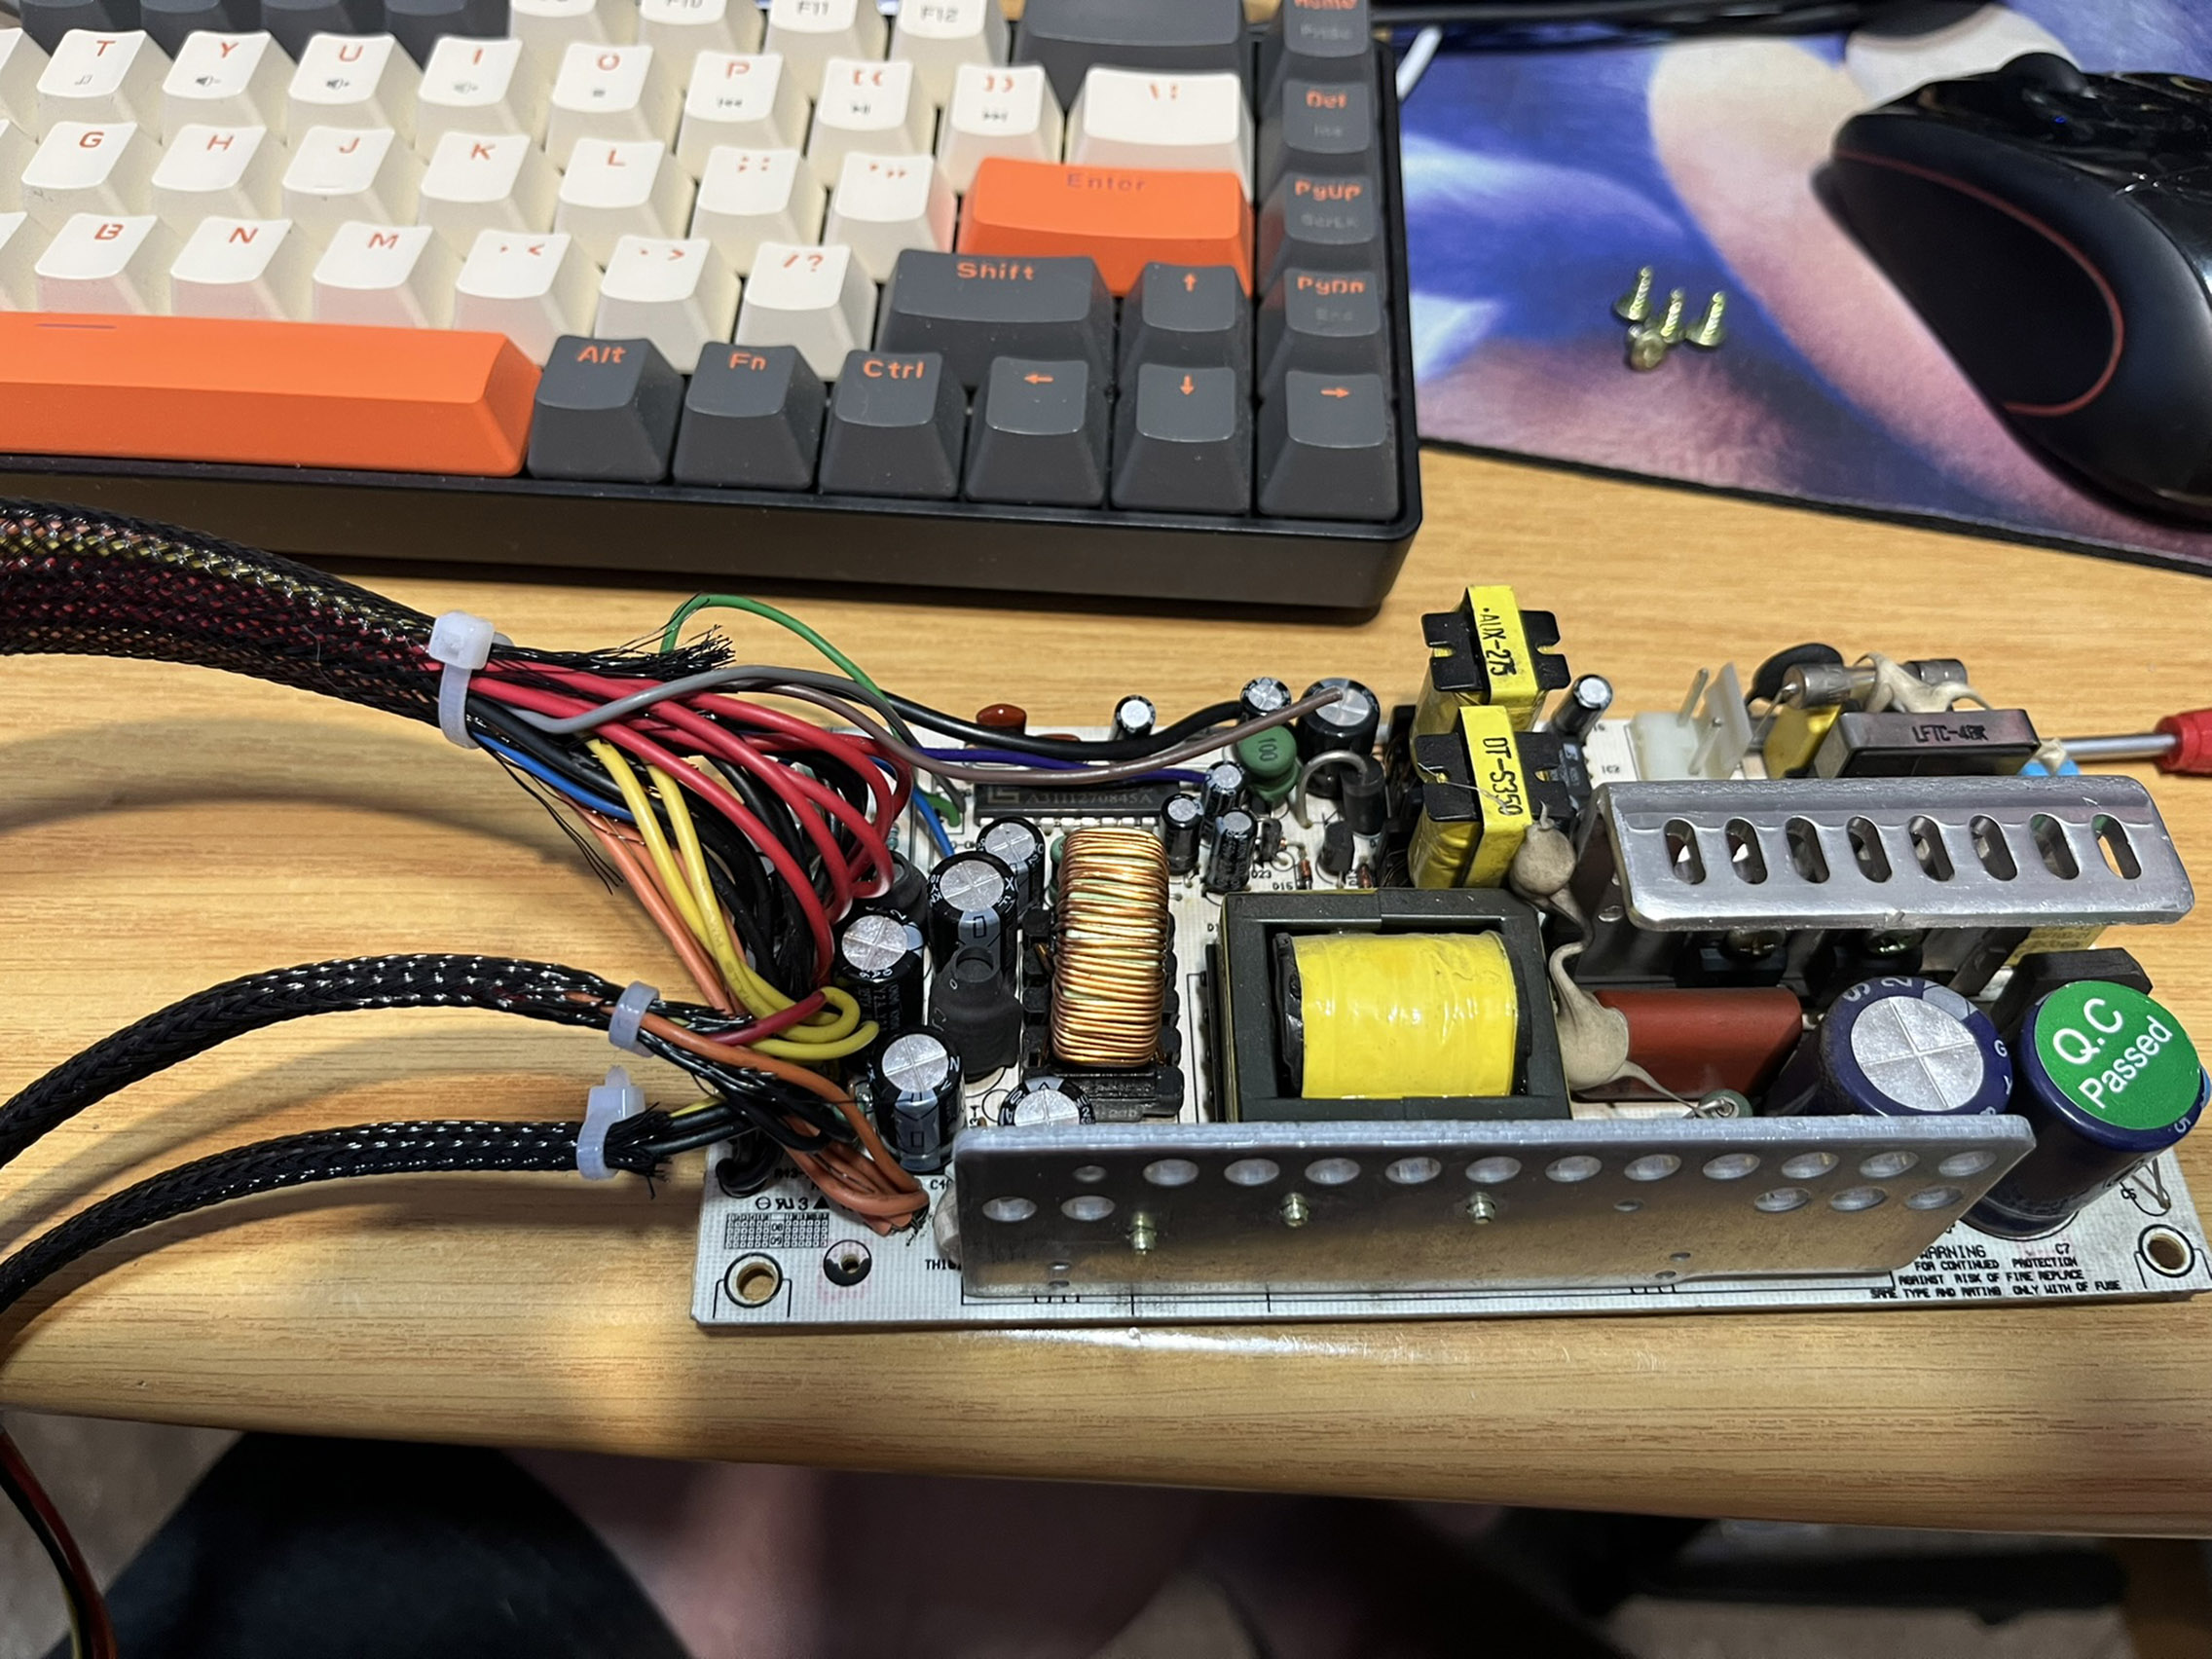
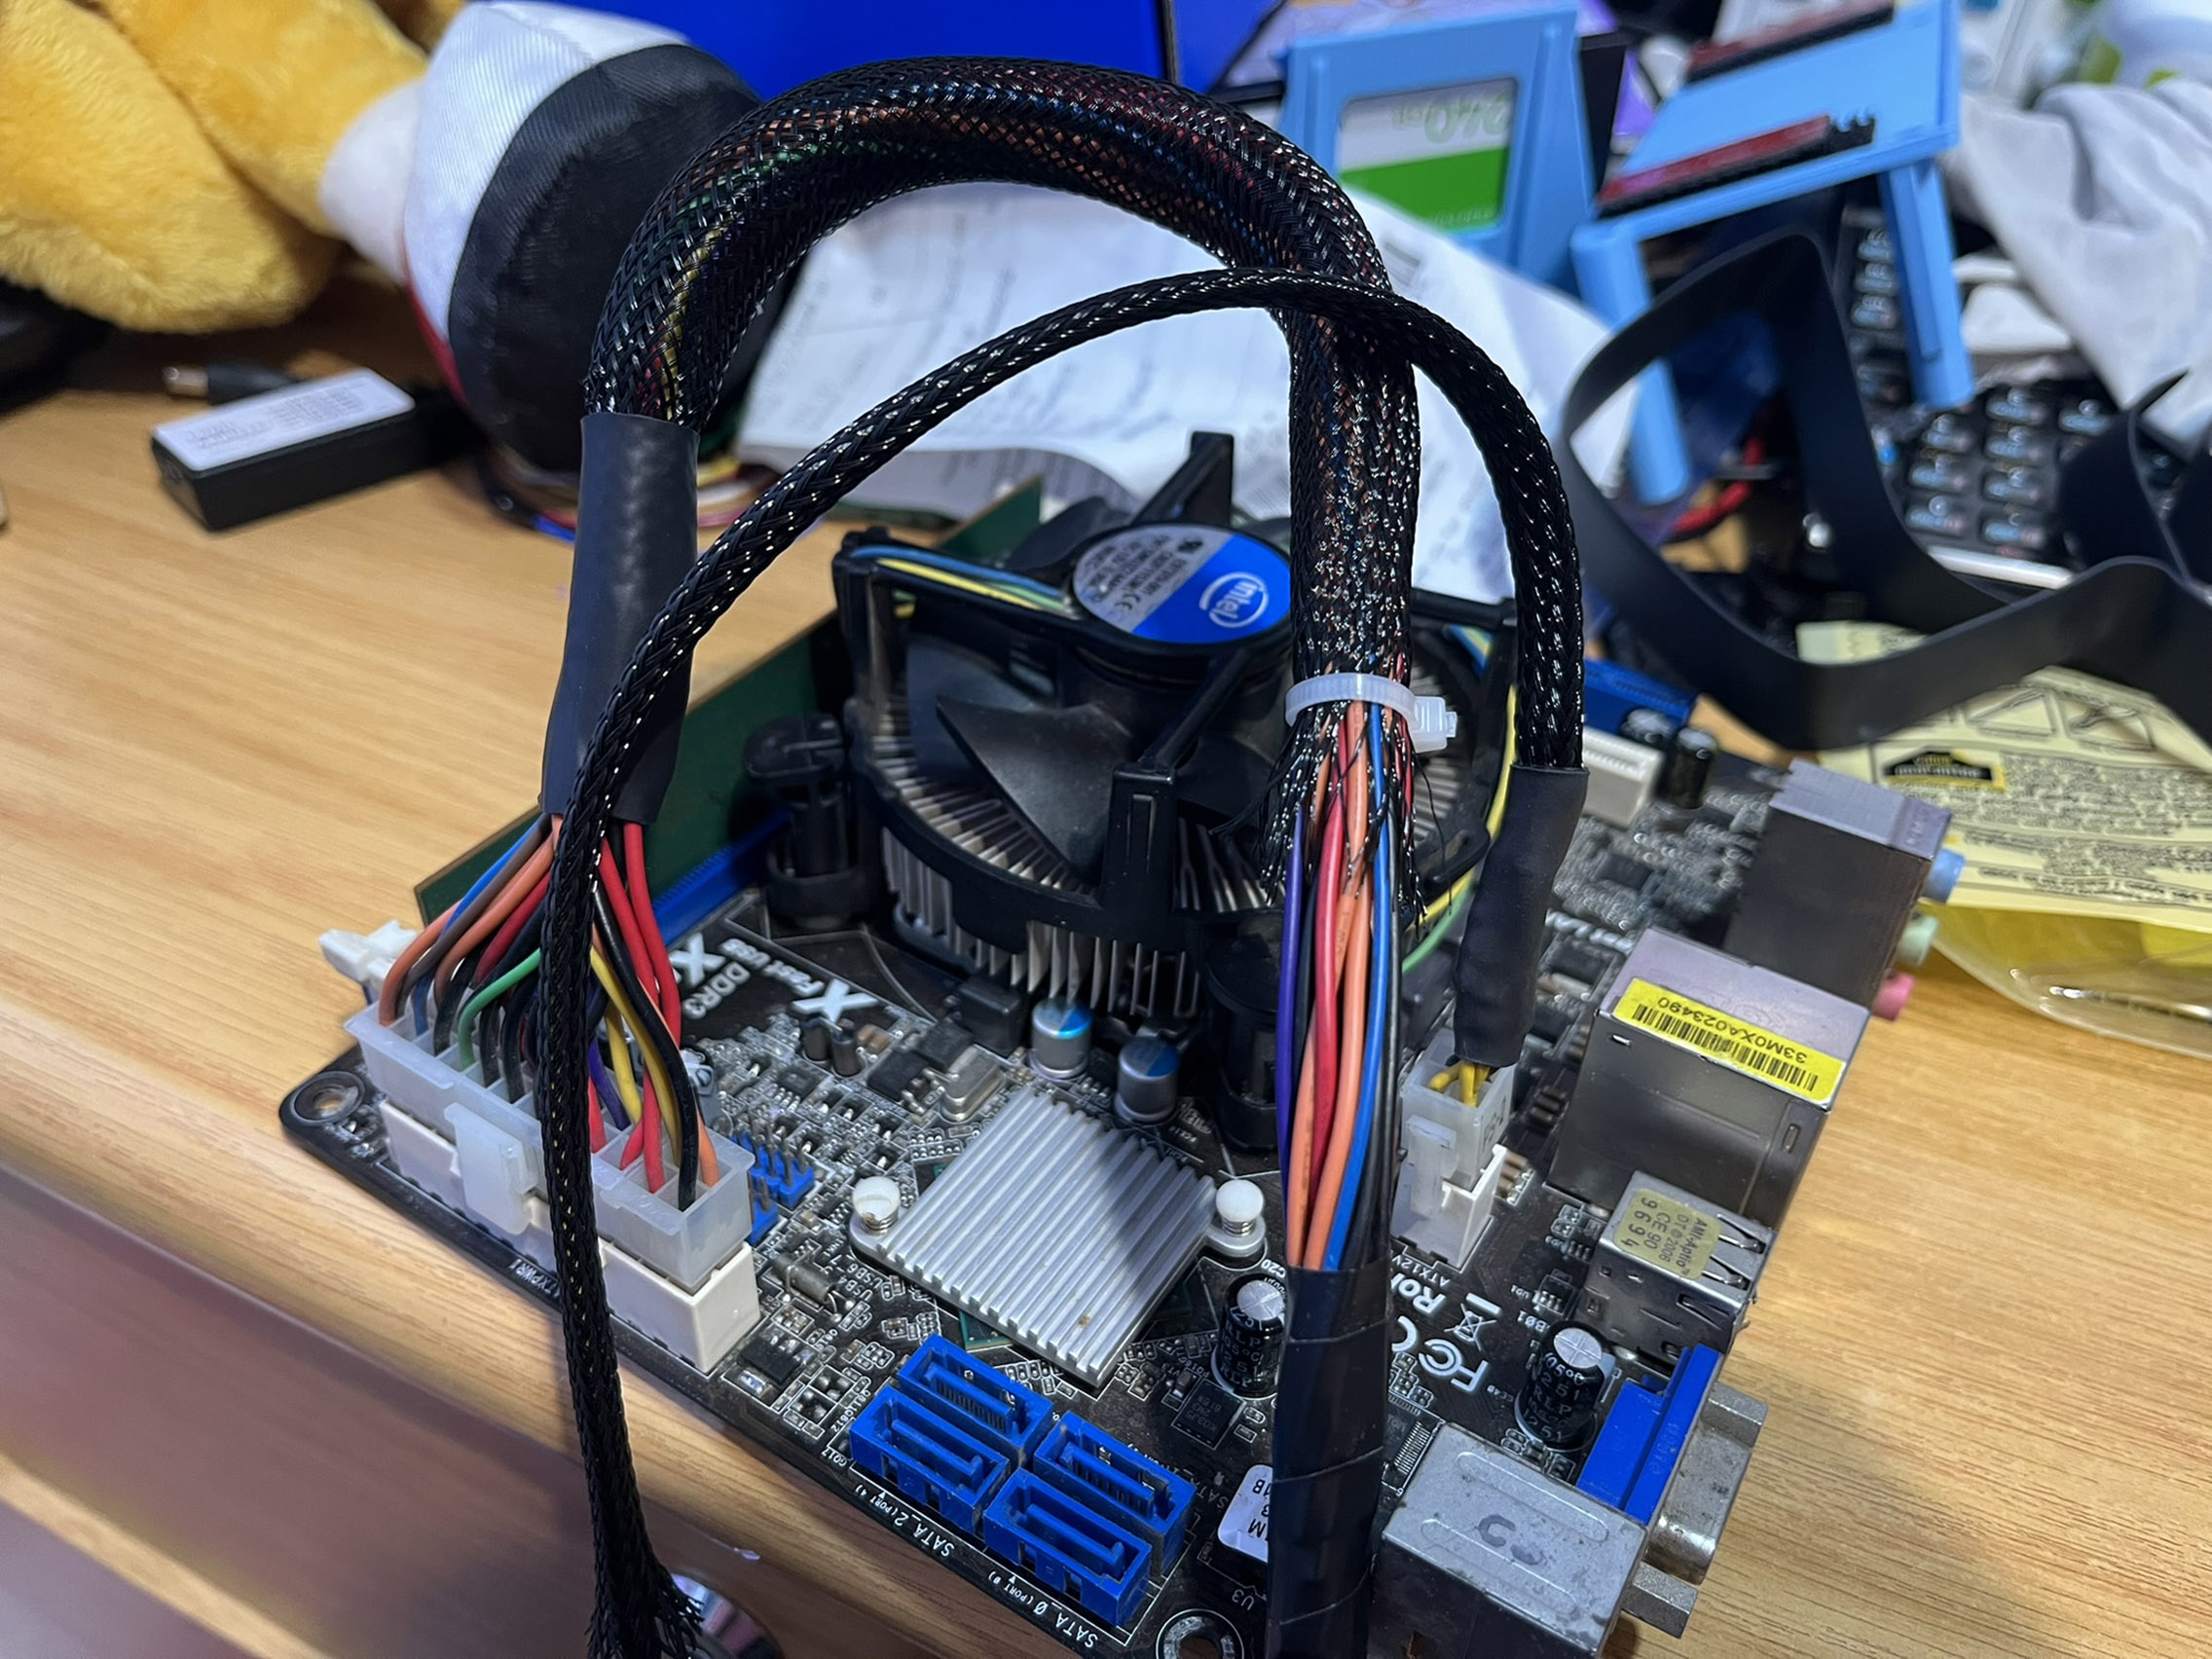
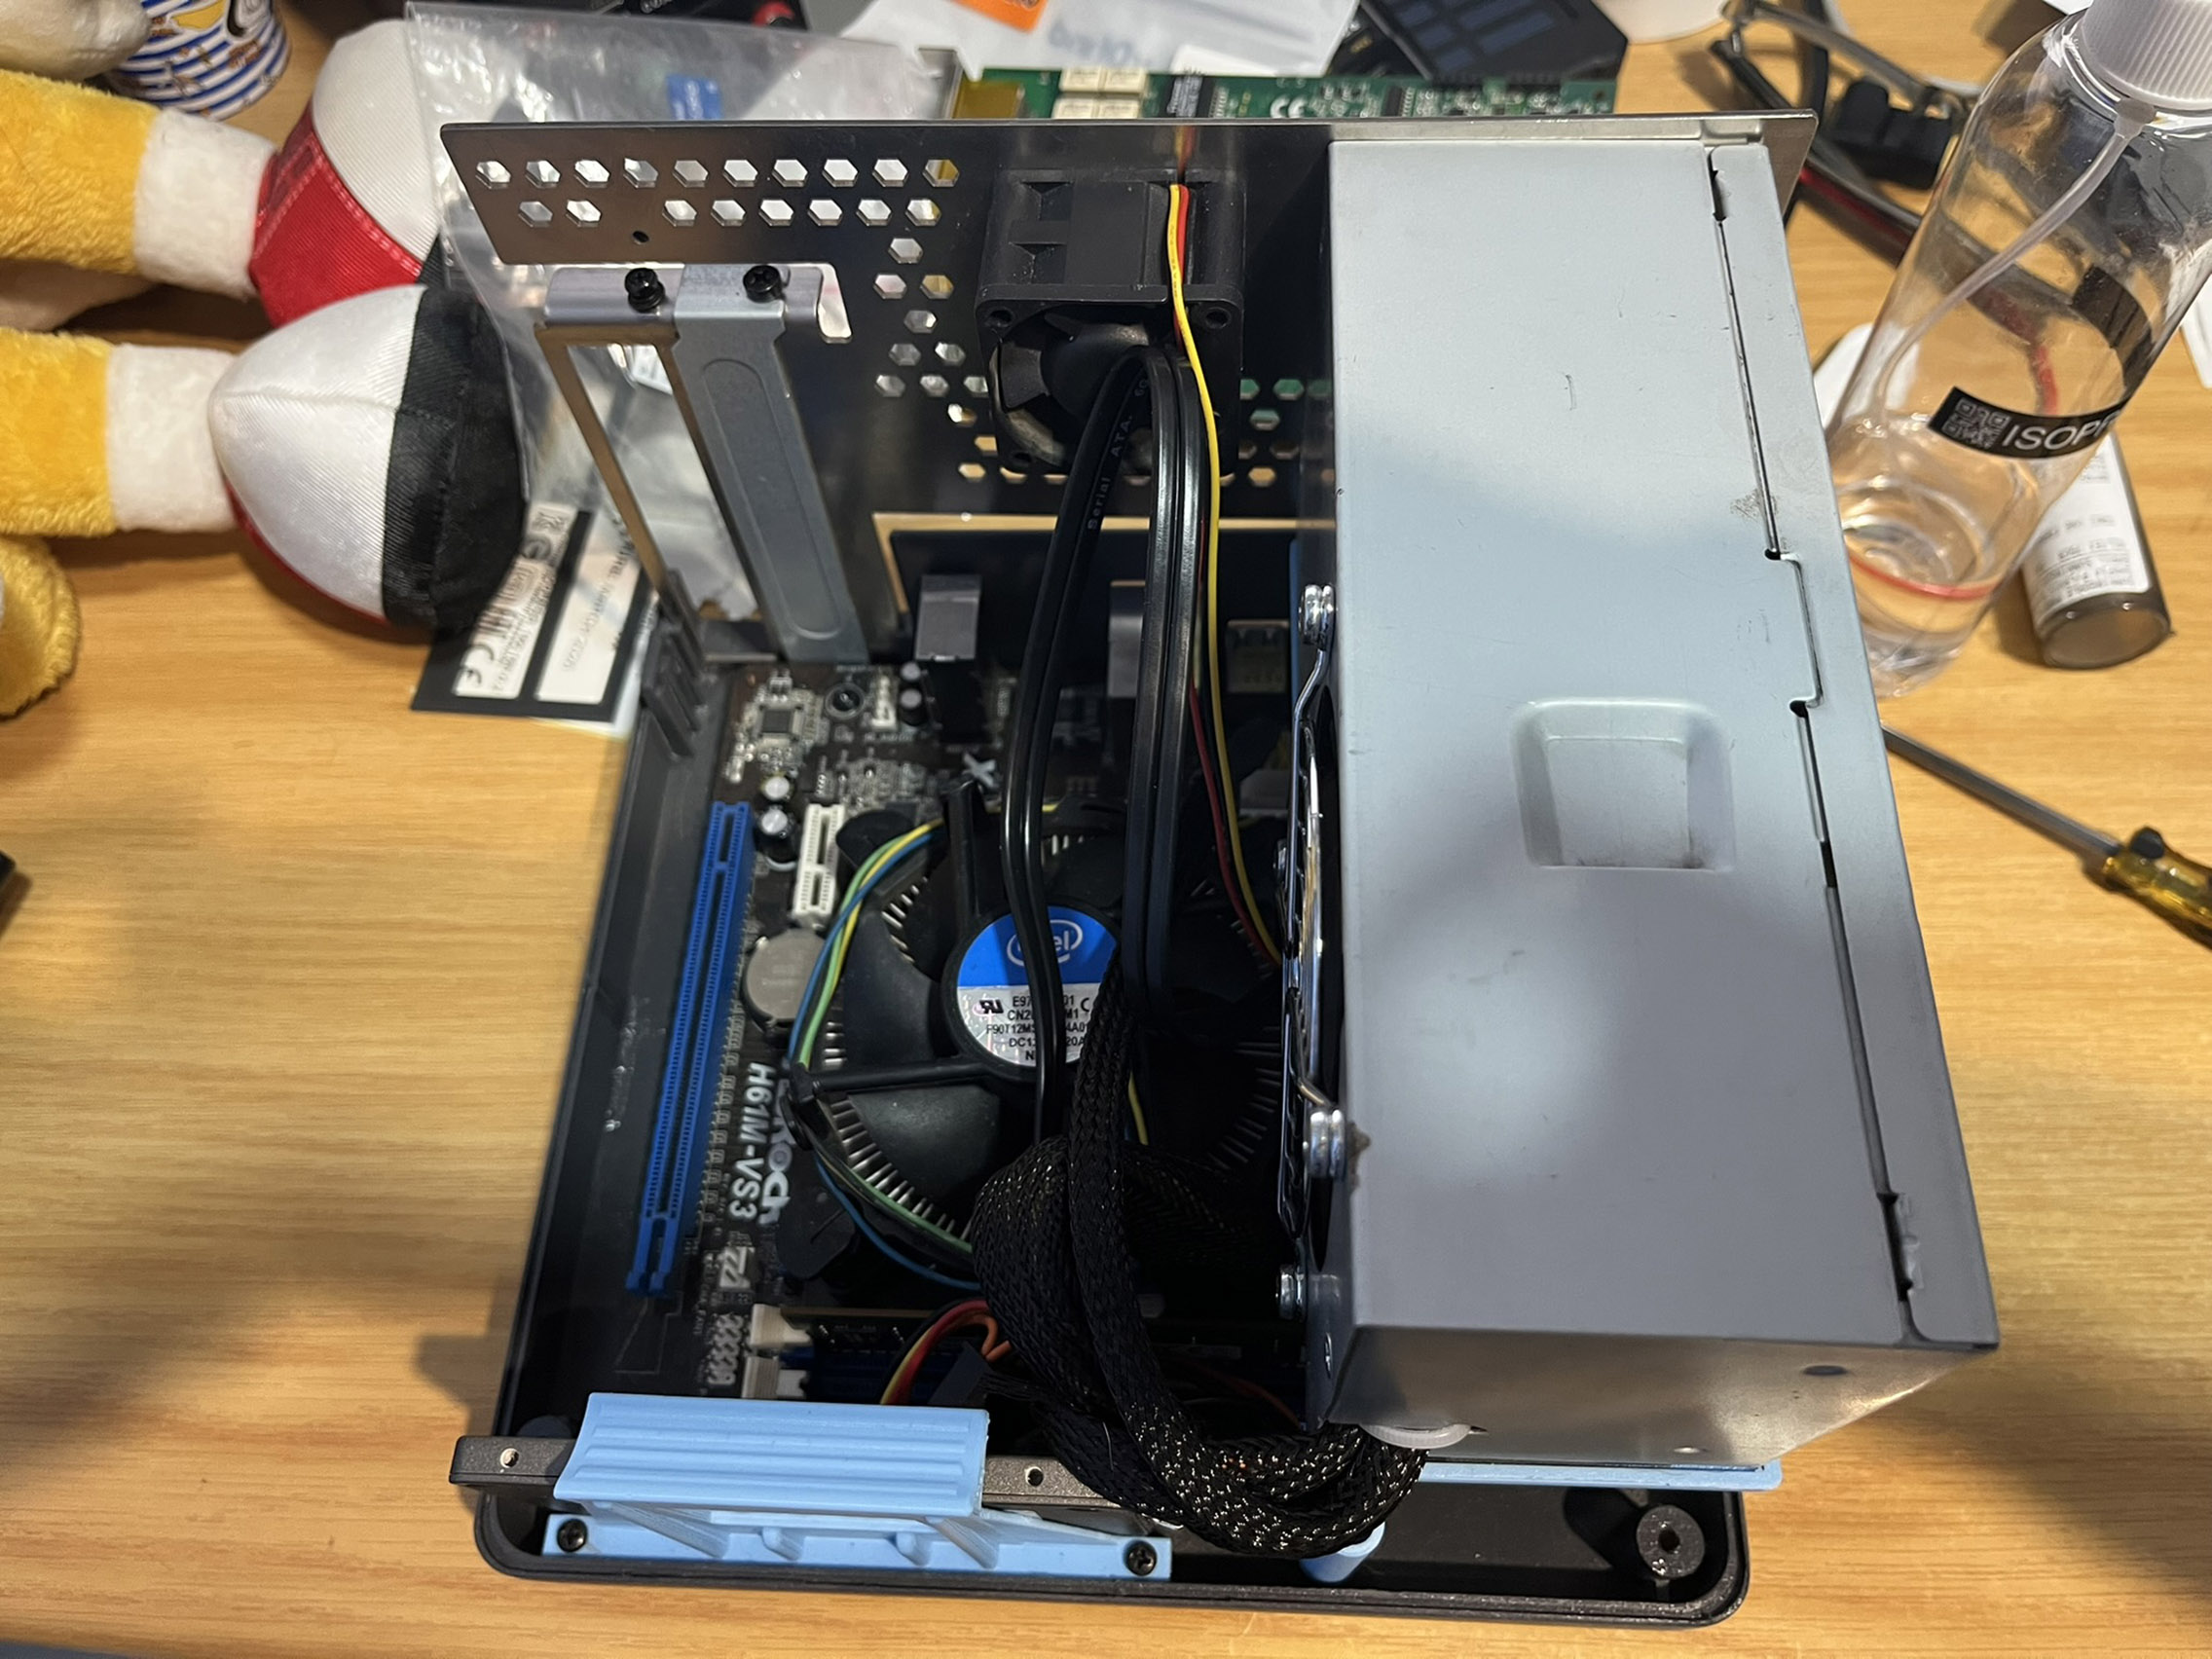
With the power supply ready, fitment to its platform and other alignment checks could be performed. It was also electrically tested. All good!
Finishing off the Bottom
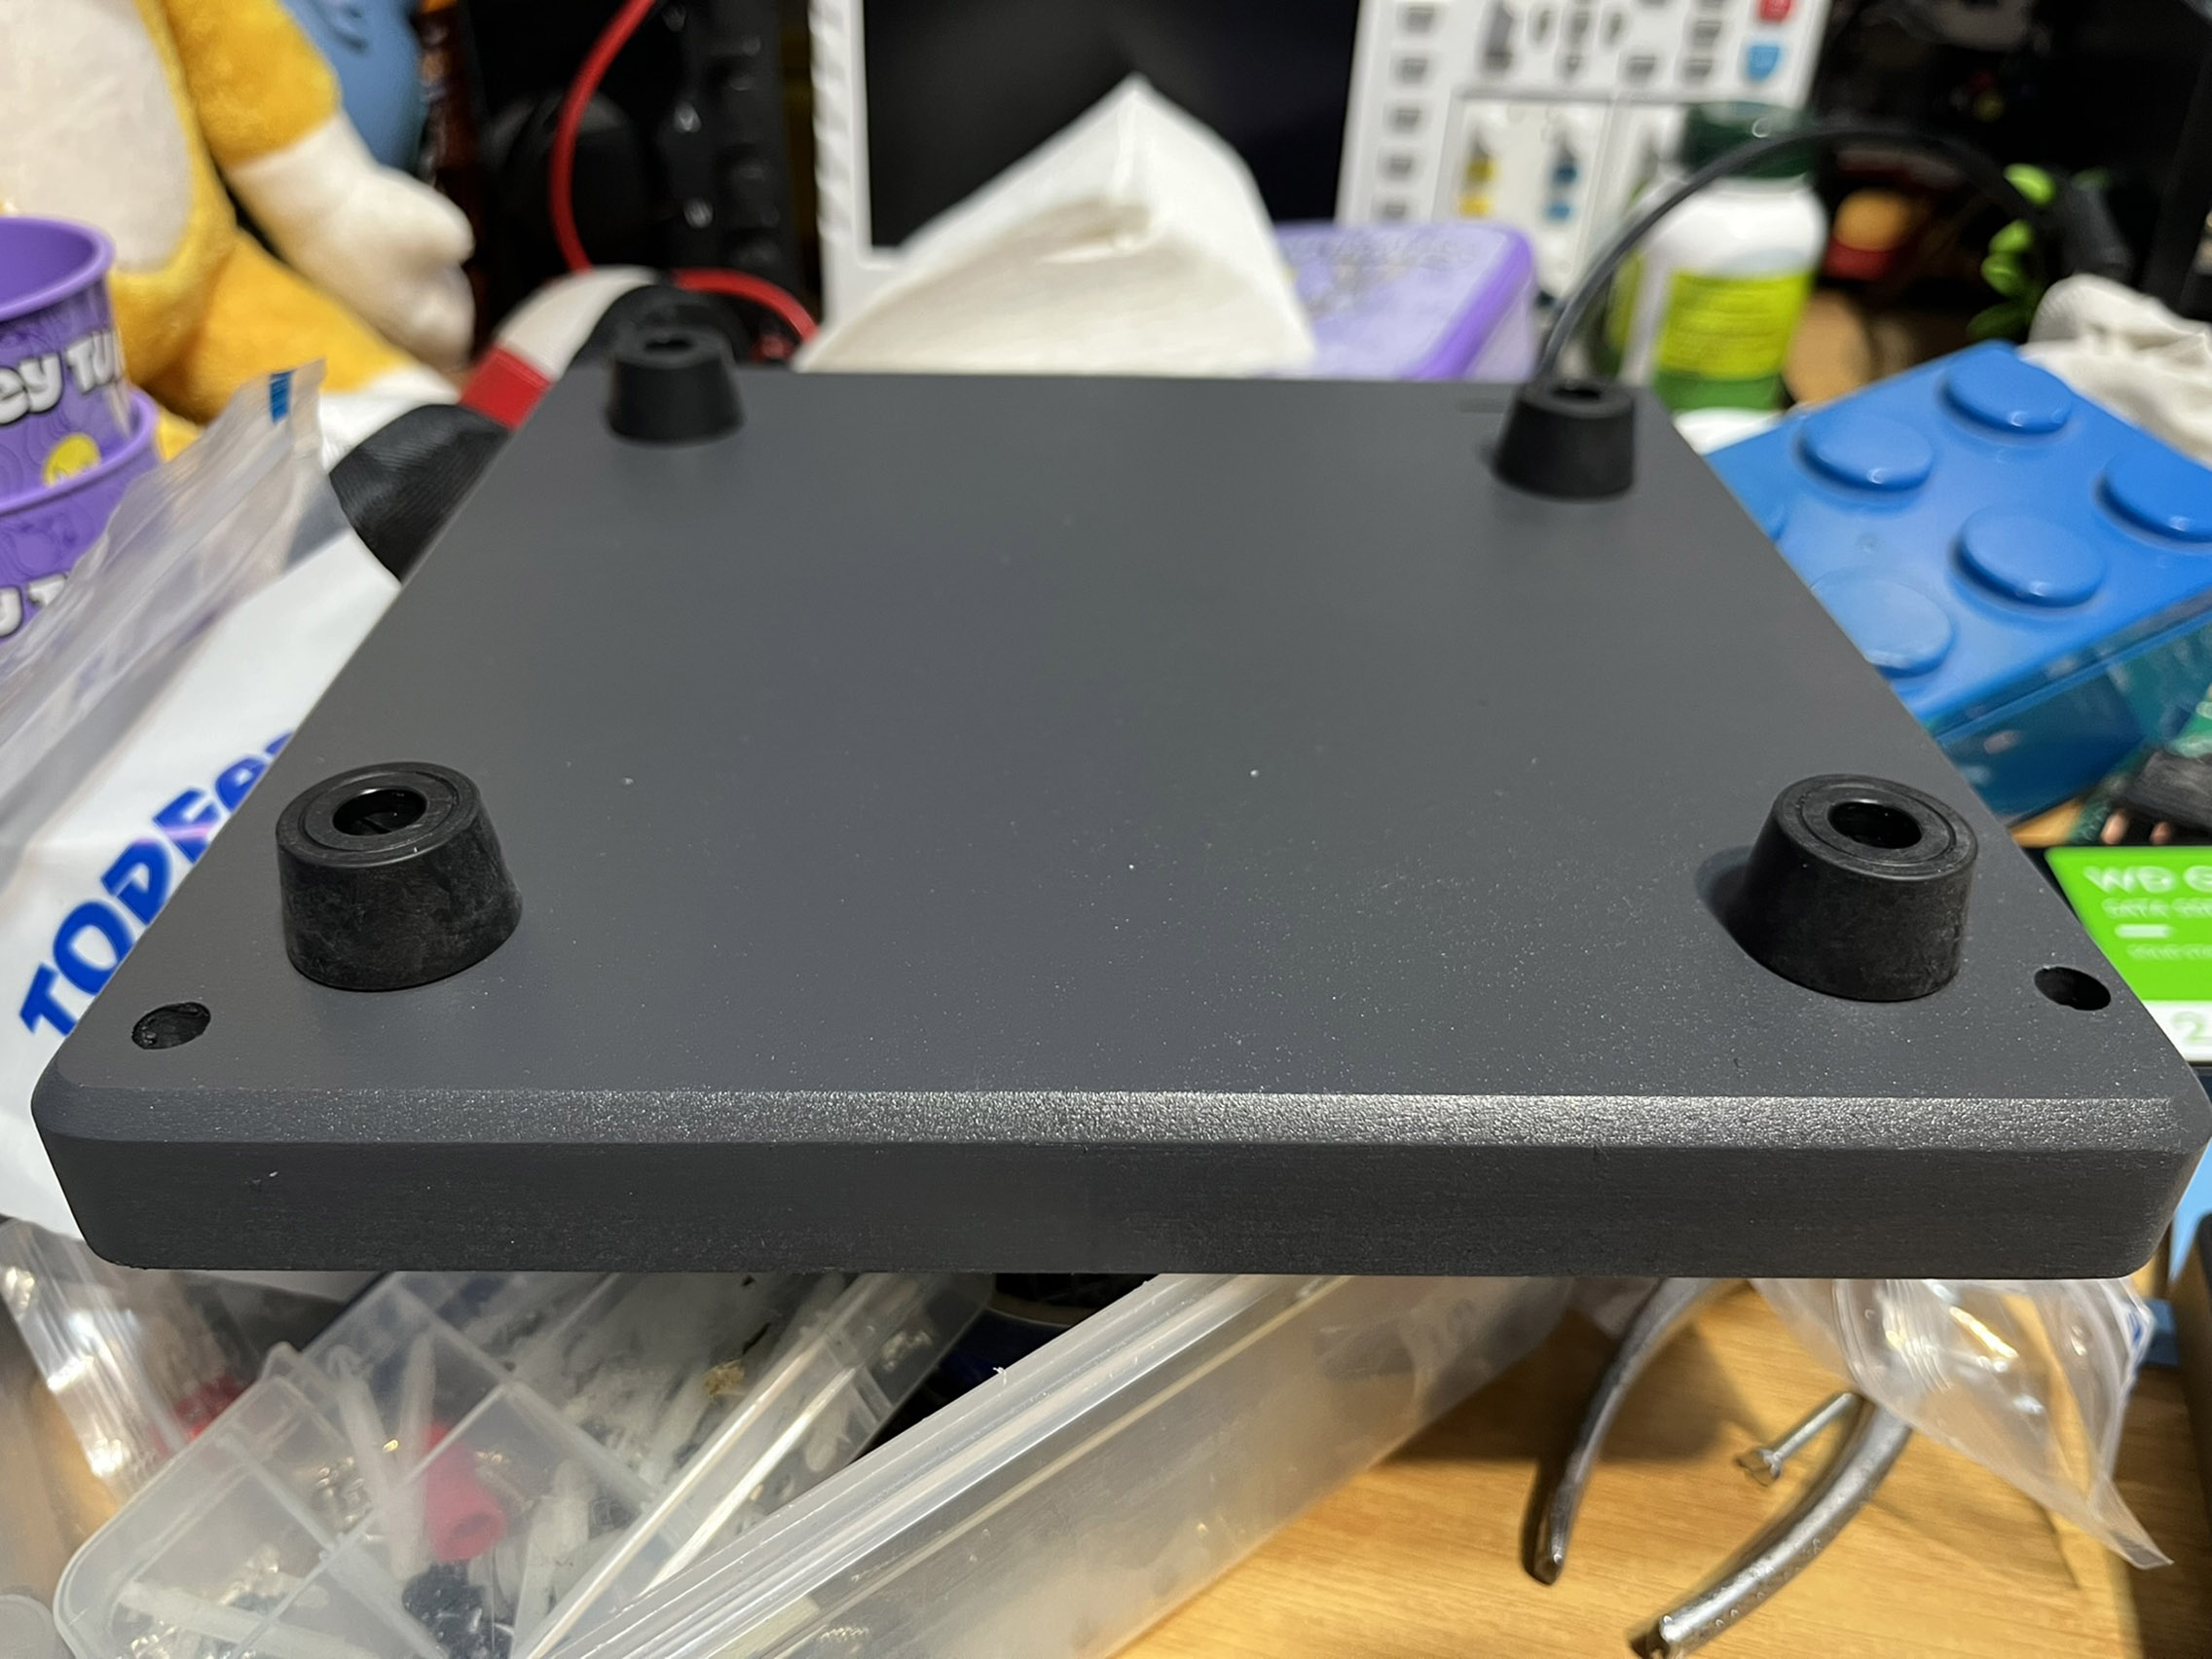
The bottom part of the enclosure was finished off to a satin-like texture. As will be noted it now looks like an injection moulded part from the exterior.
The interior is also painted to match the final intended colour. Inside you can still see the 3D printed lines and artifacts.
The methods I use to finish the plastics to this degree are proprietary, developed over several years and will not be publicly disclosed.
I am really sorry. Please don't ask how I do it.
After all the finishing was done, the threaded brass inserts were fitted.
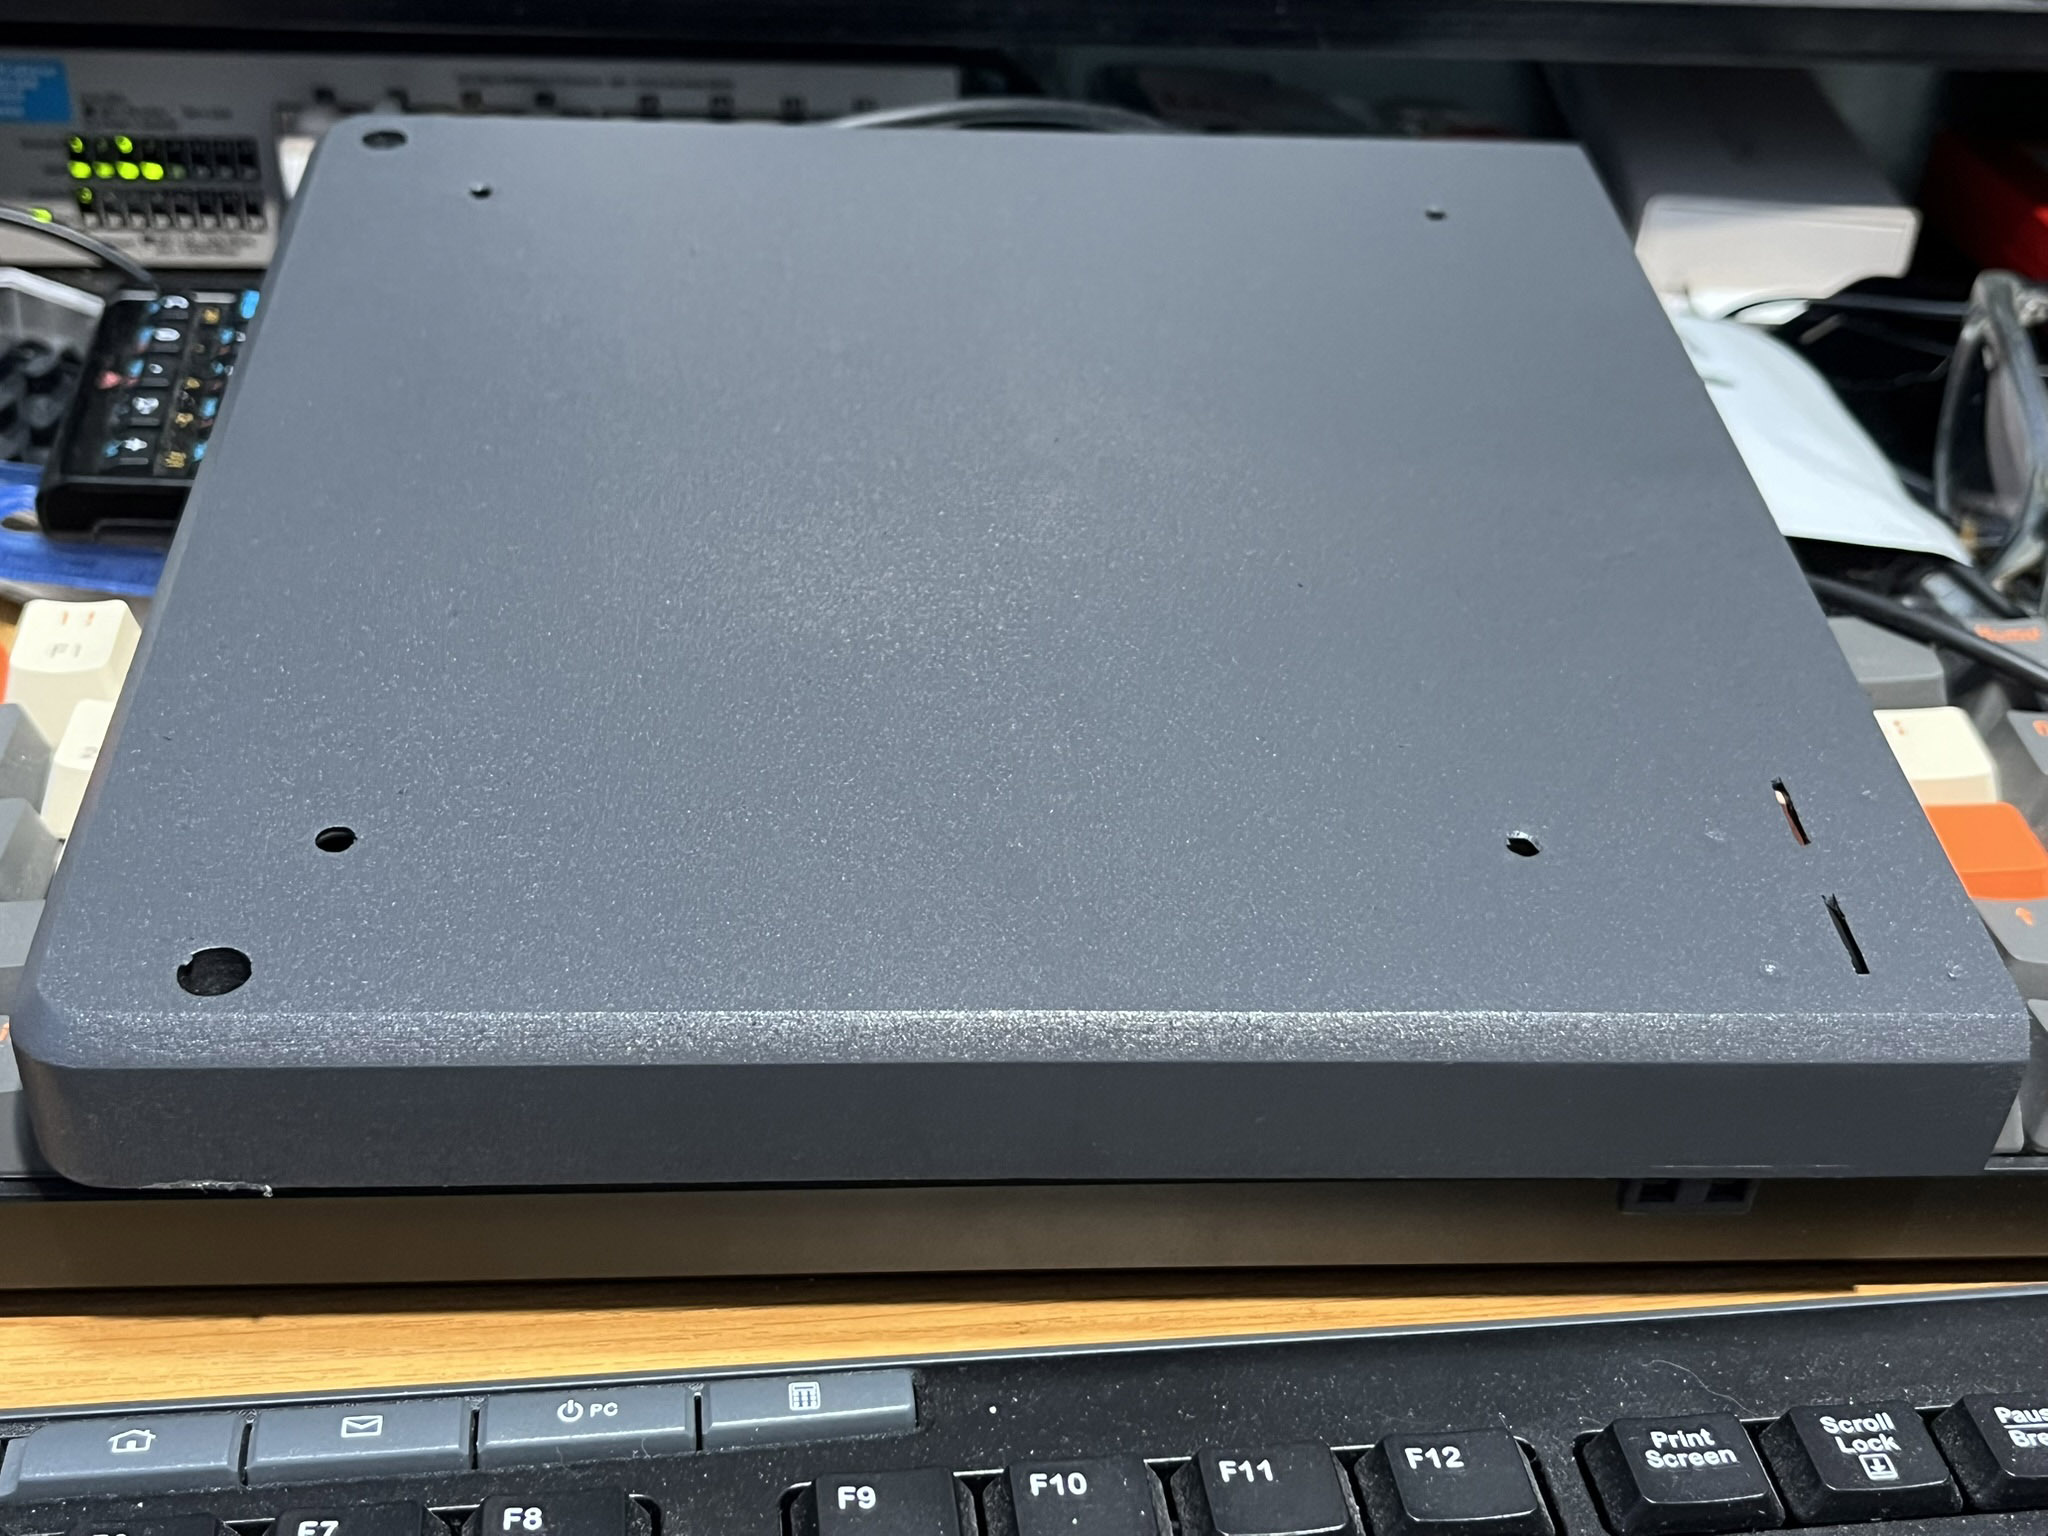
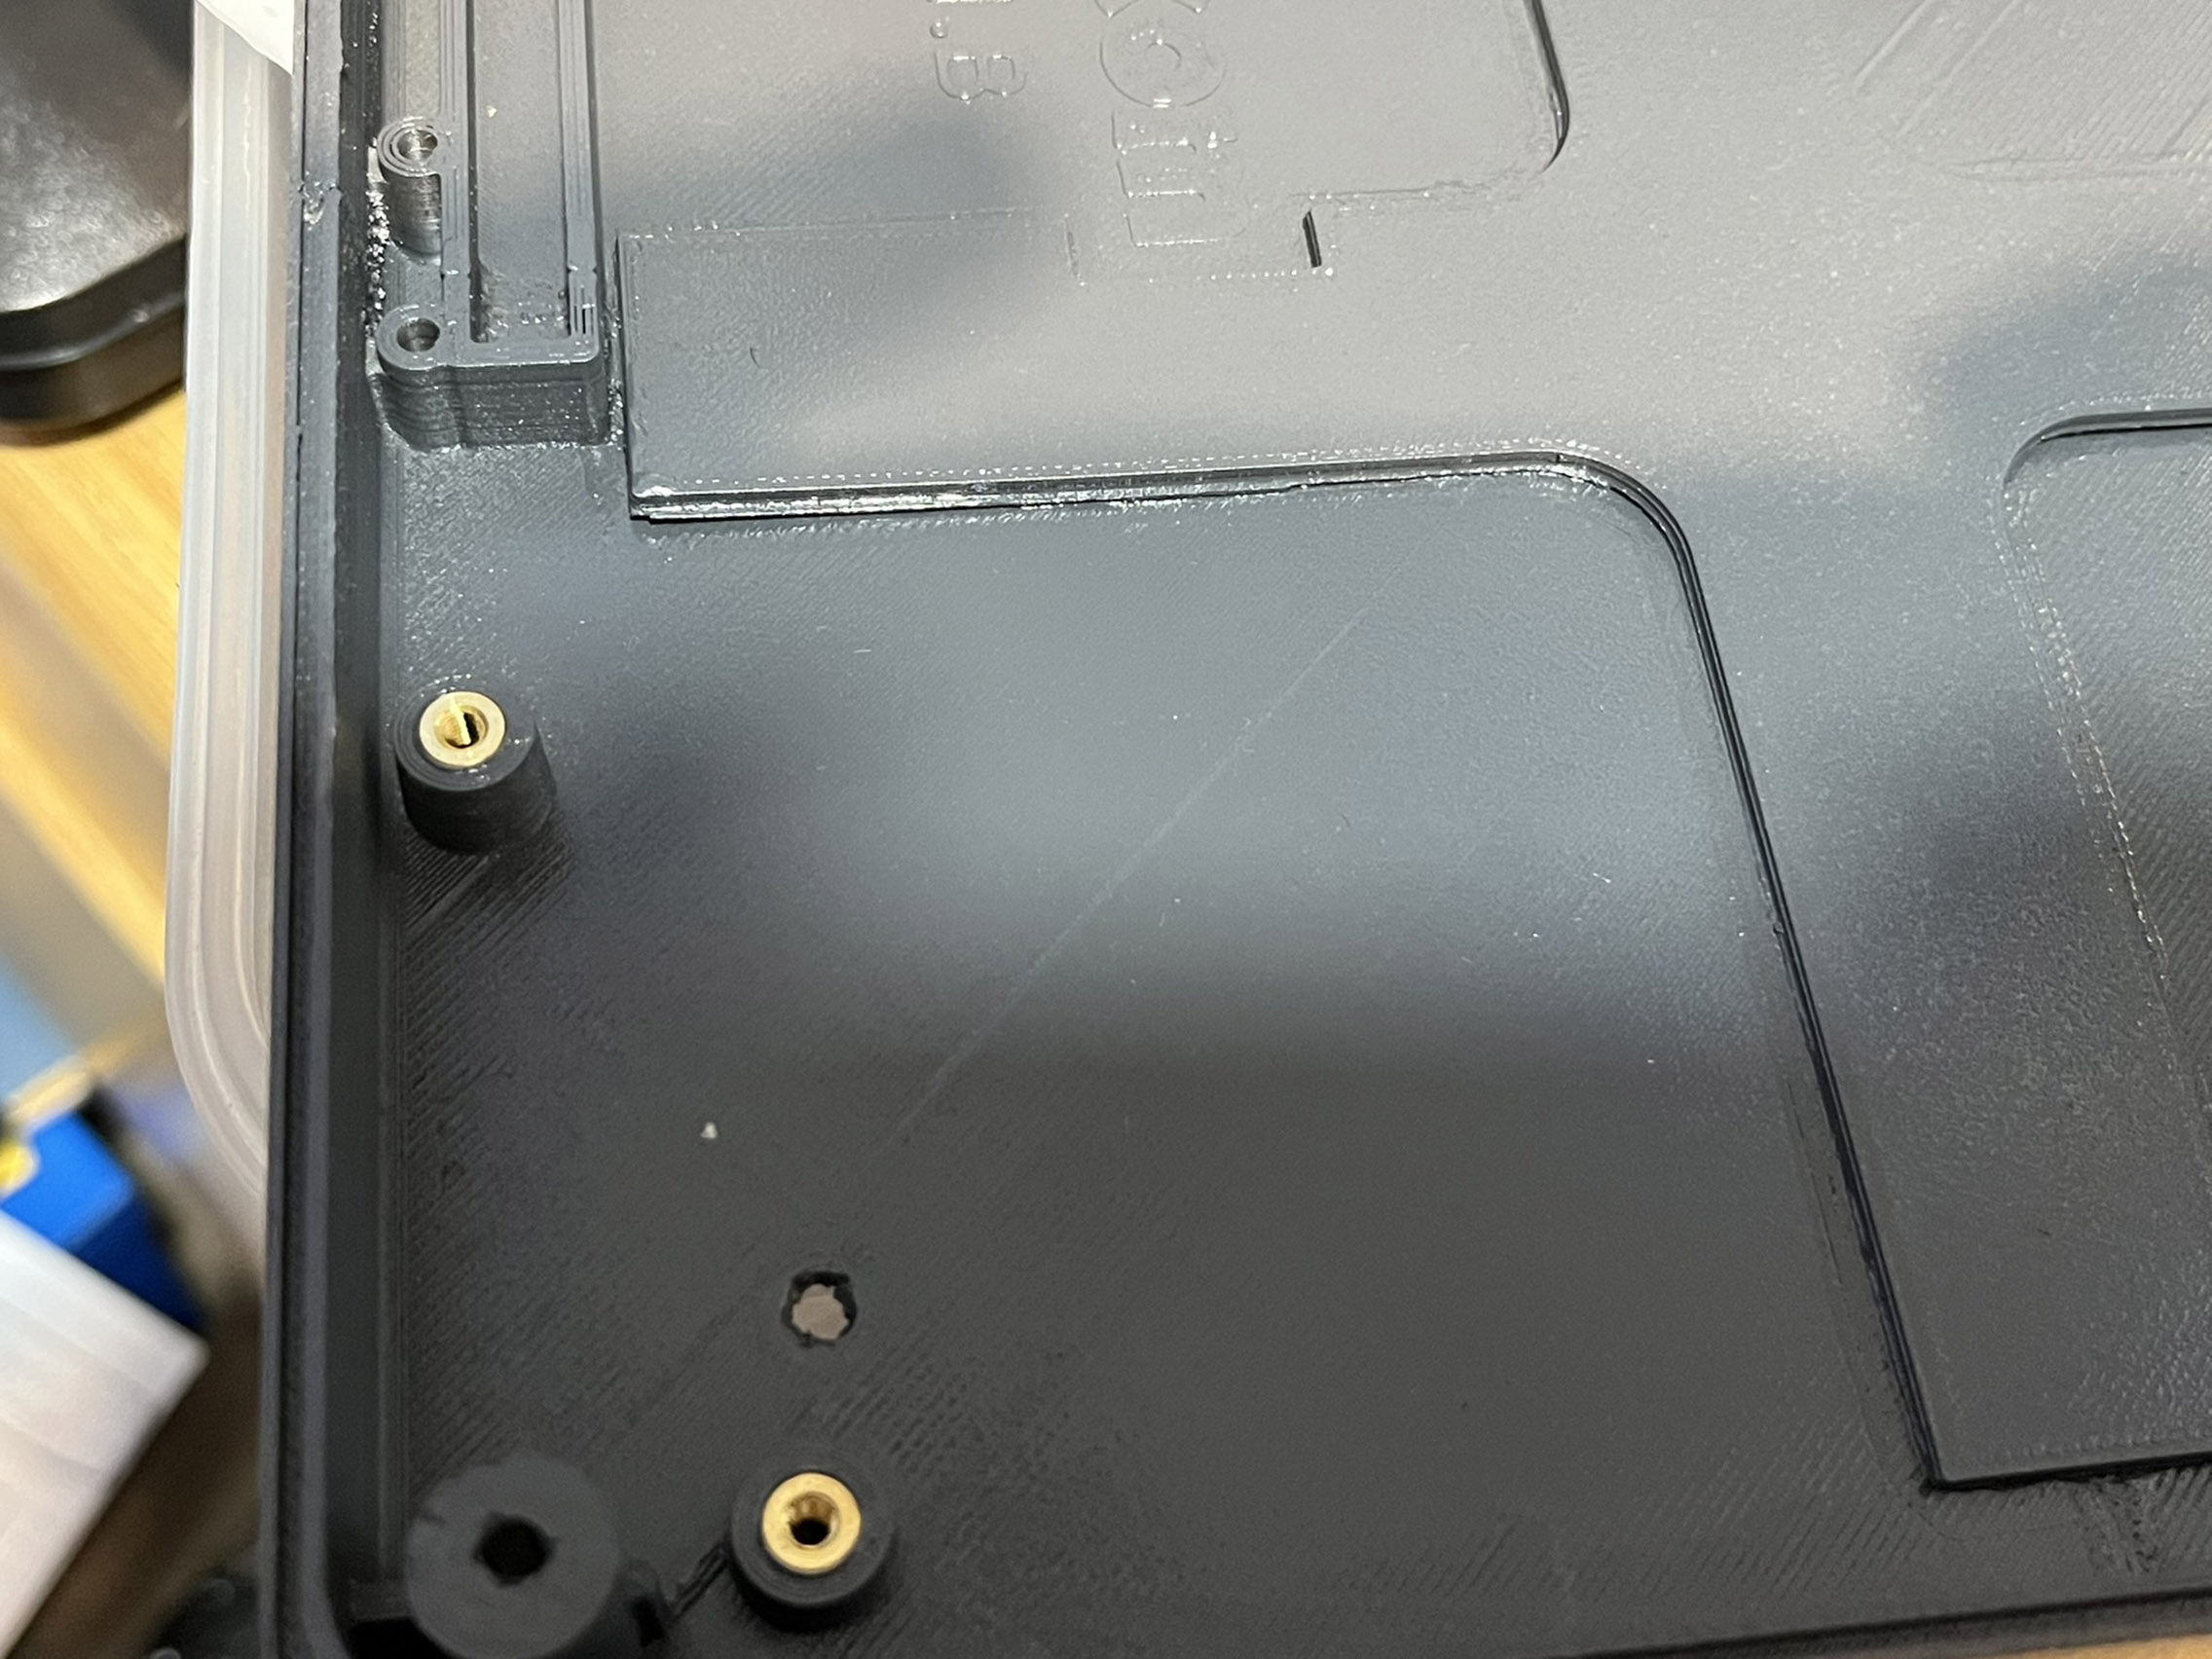
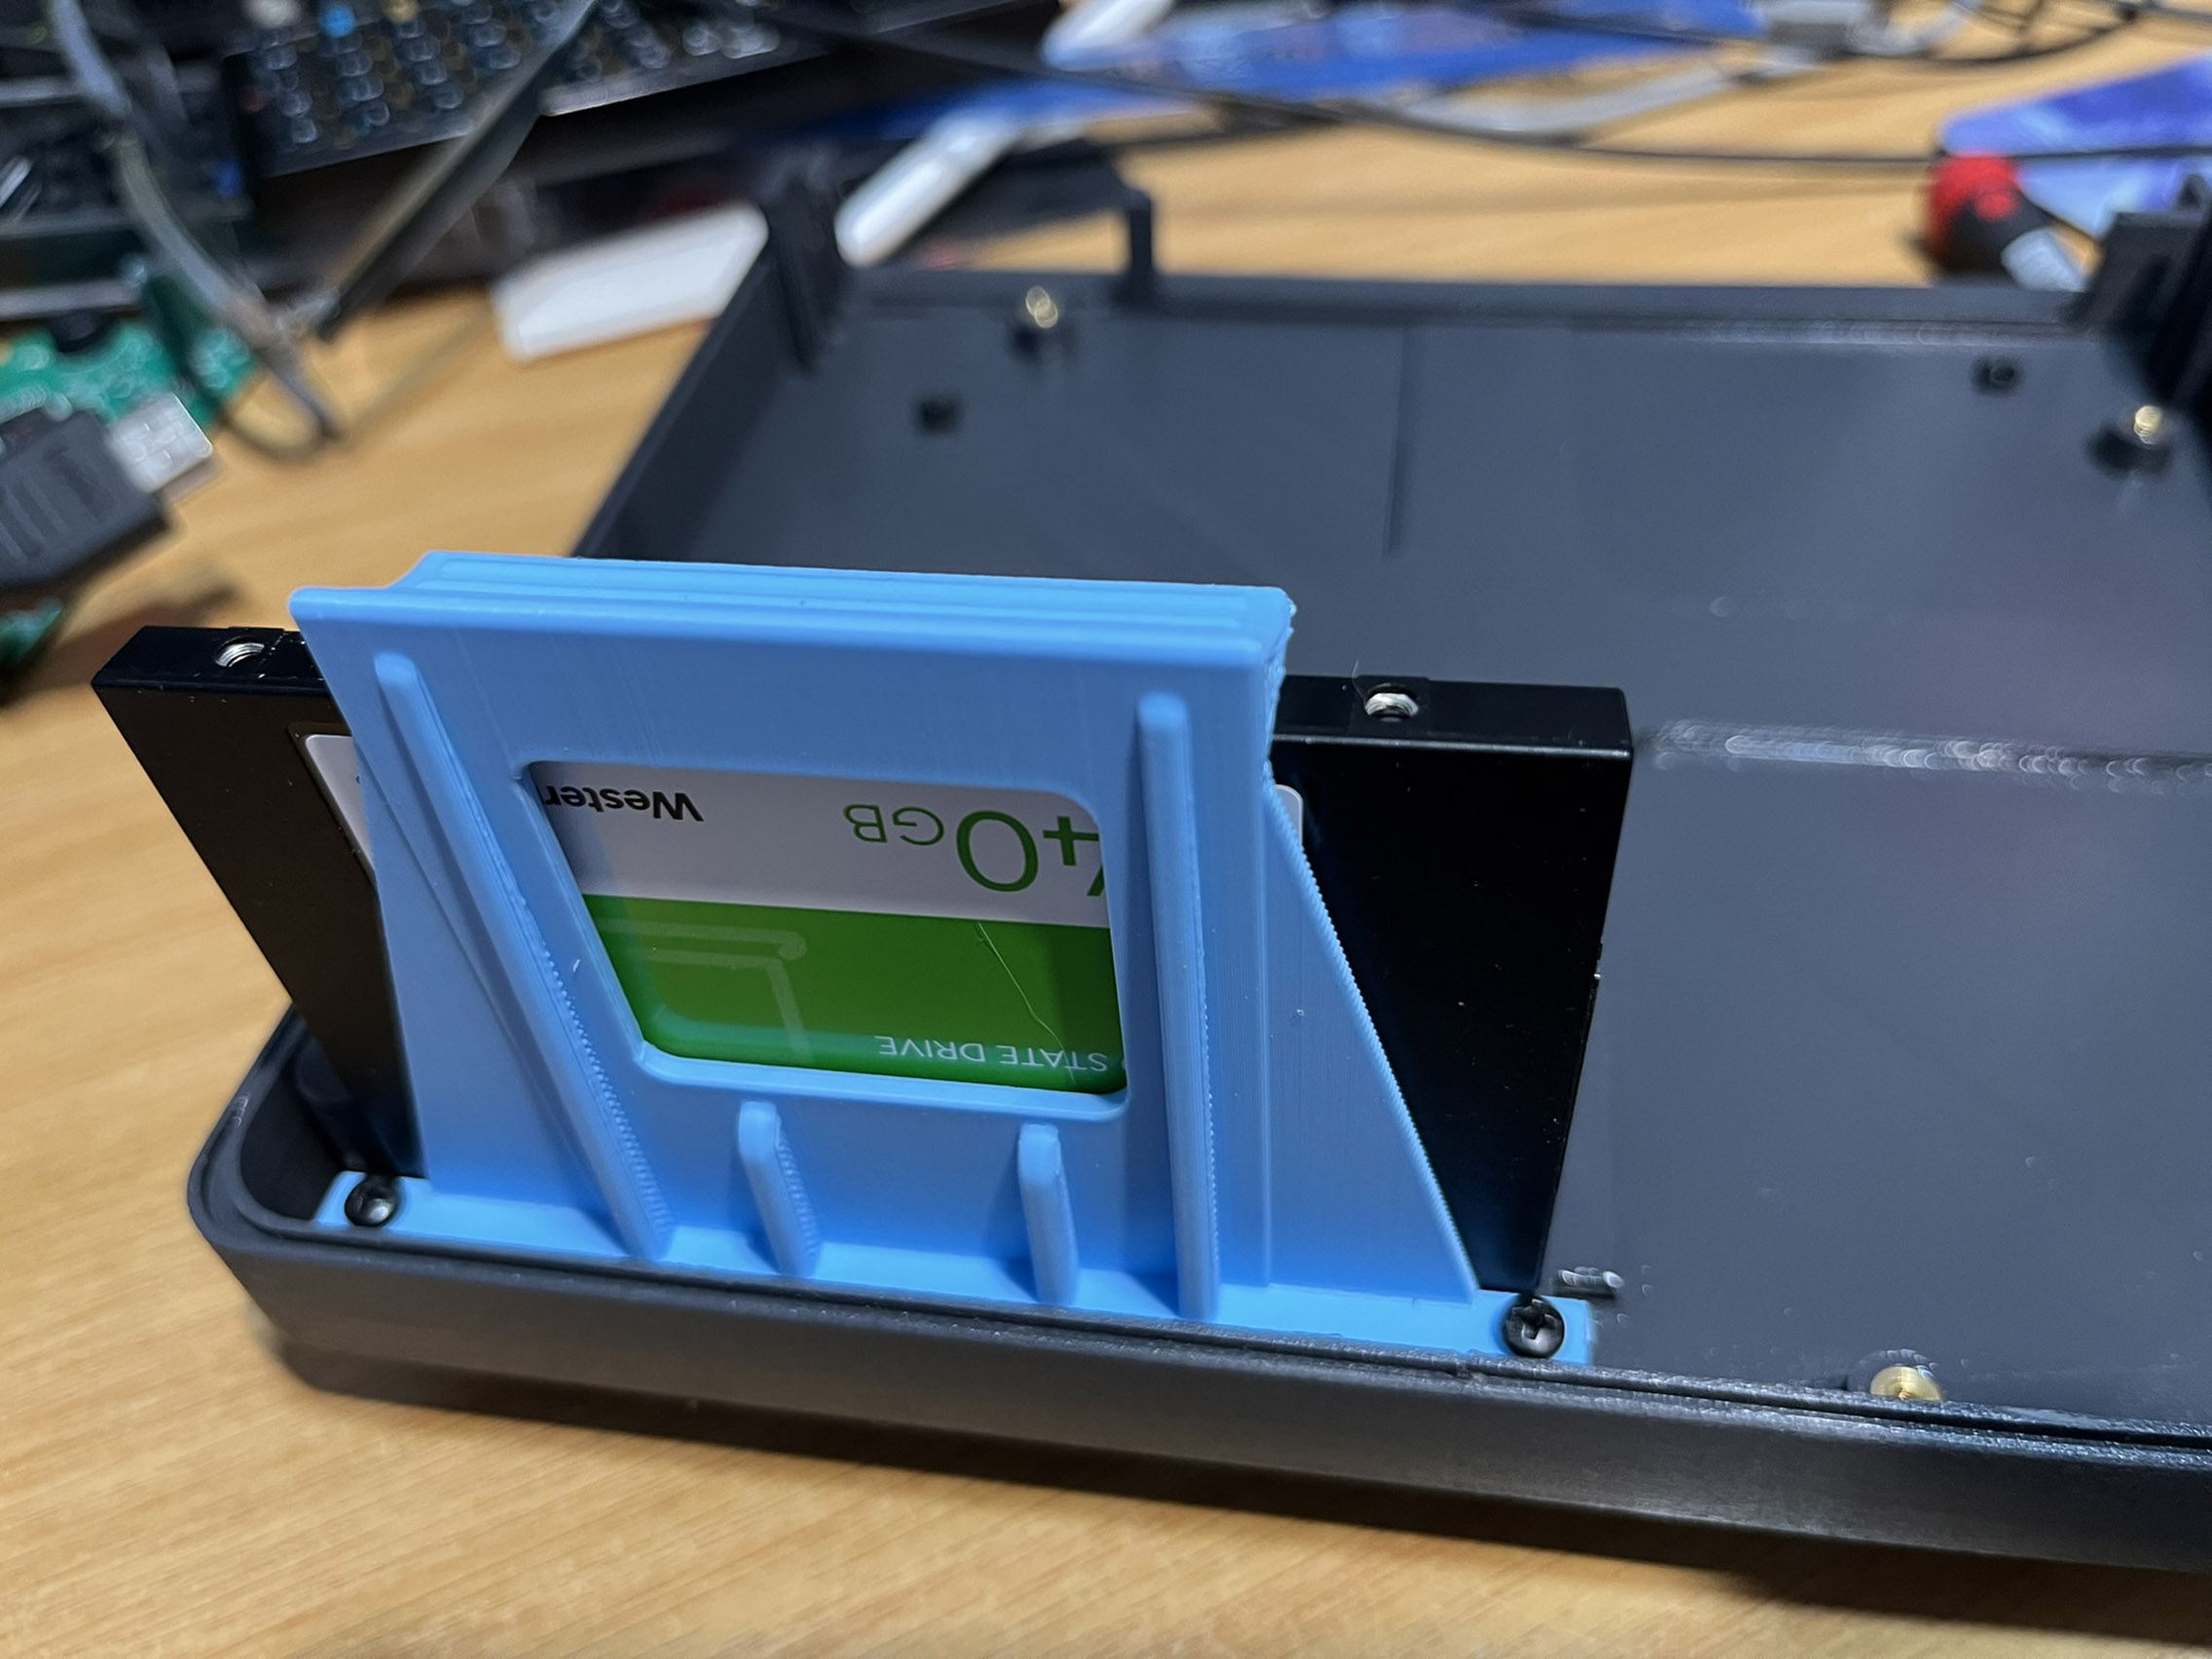
Snap-in rubber feet were fitted, the SSD retainer was re-designed and printed, and the motherboard fitted for the first time
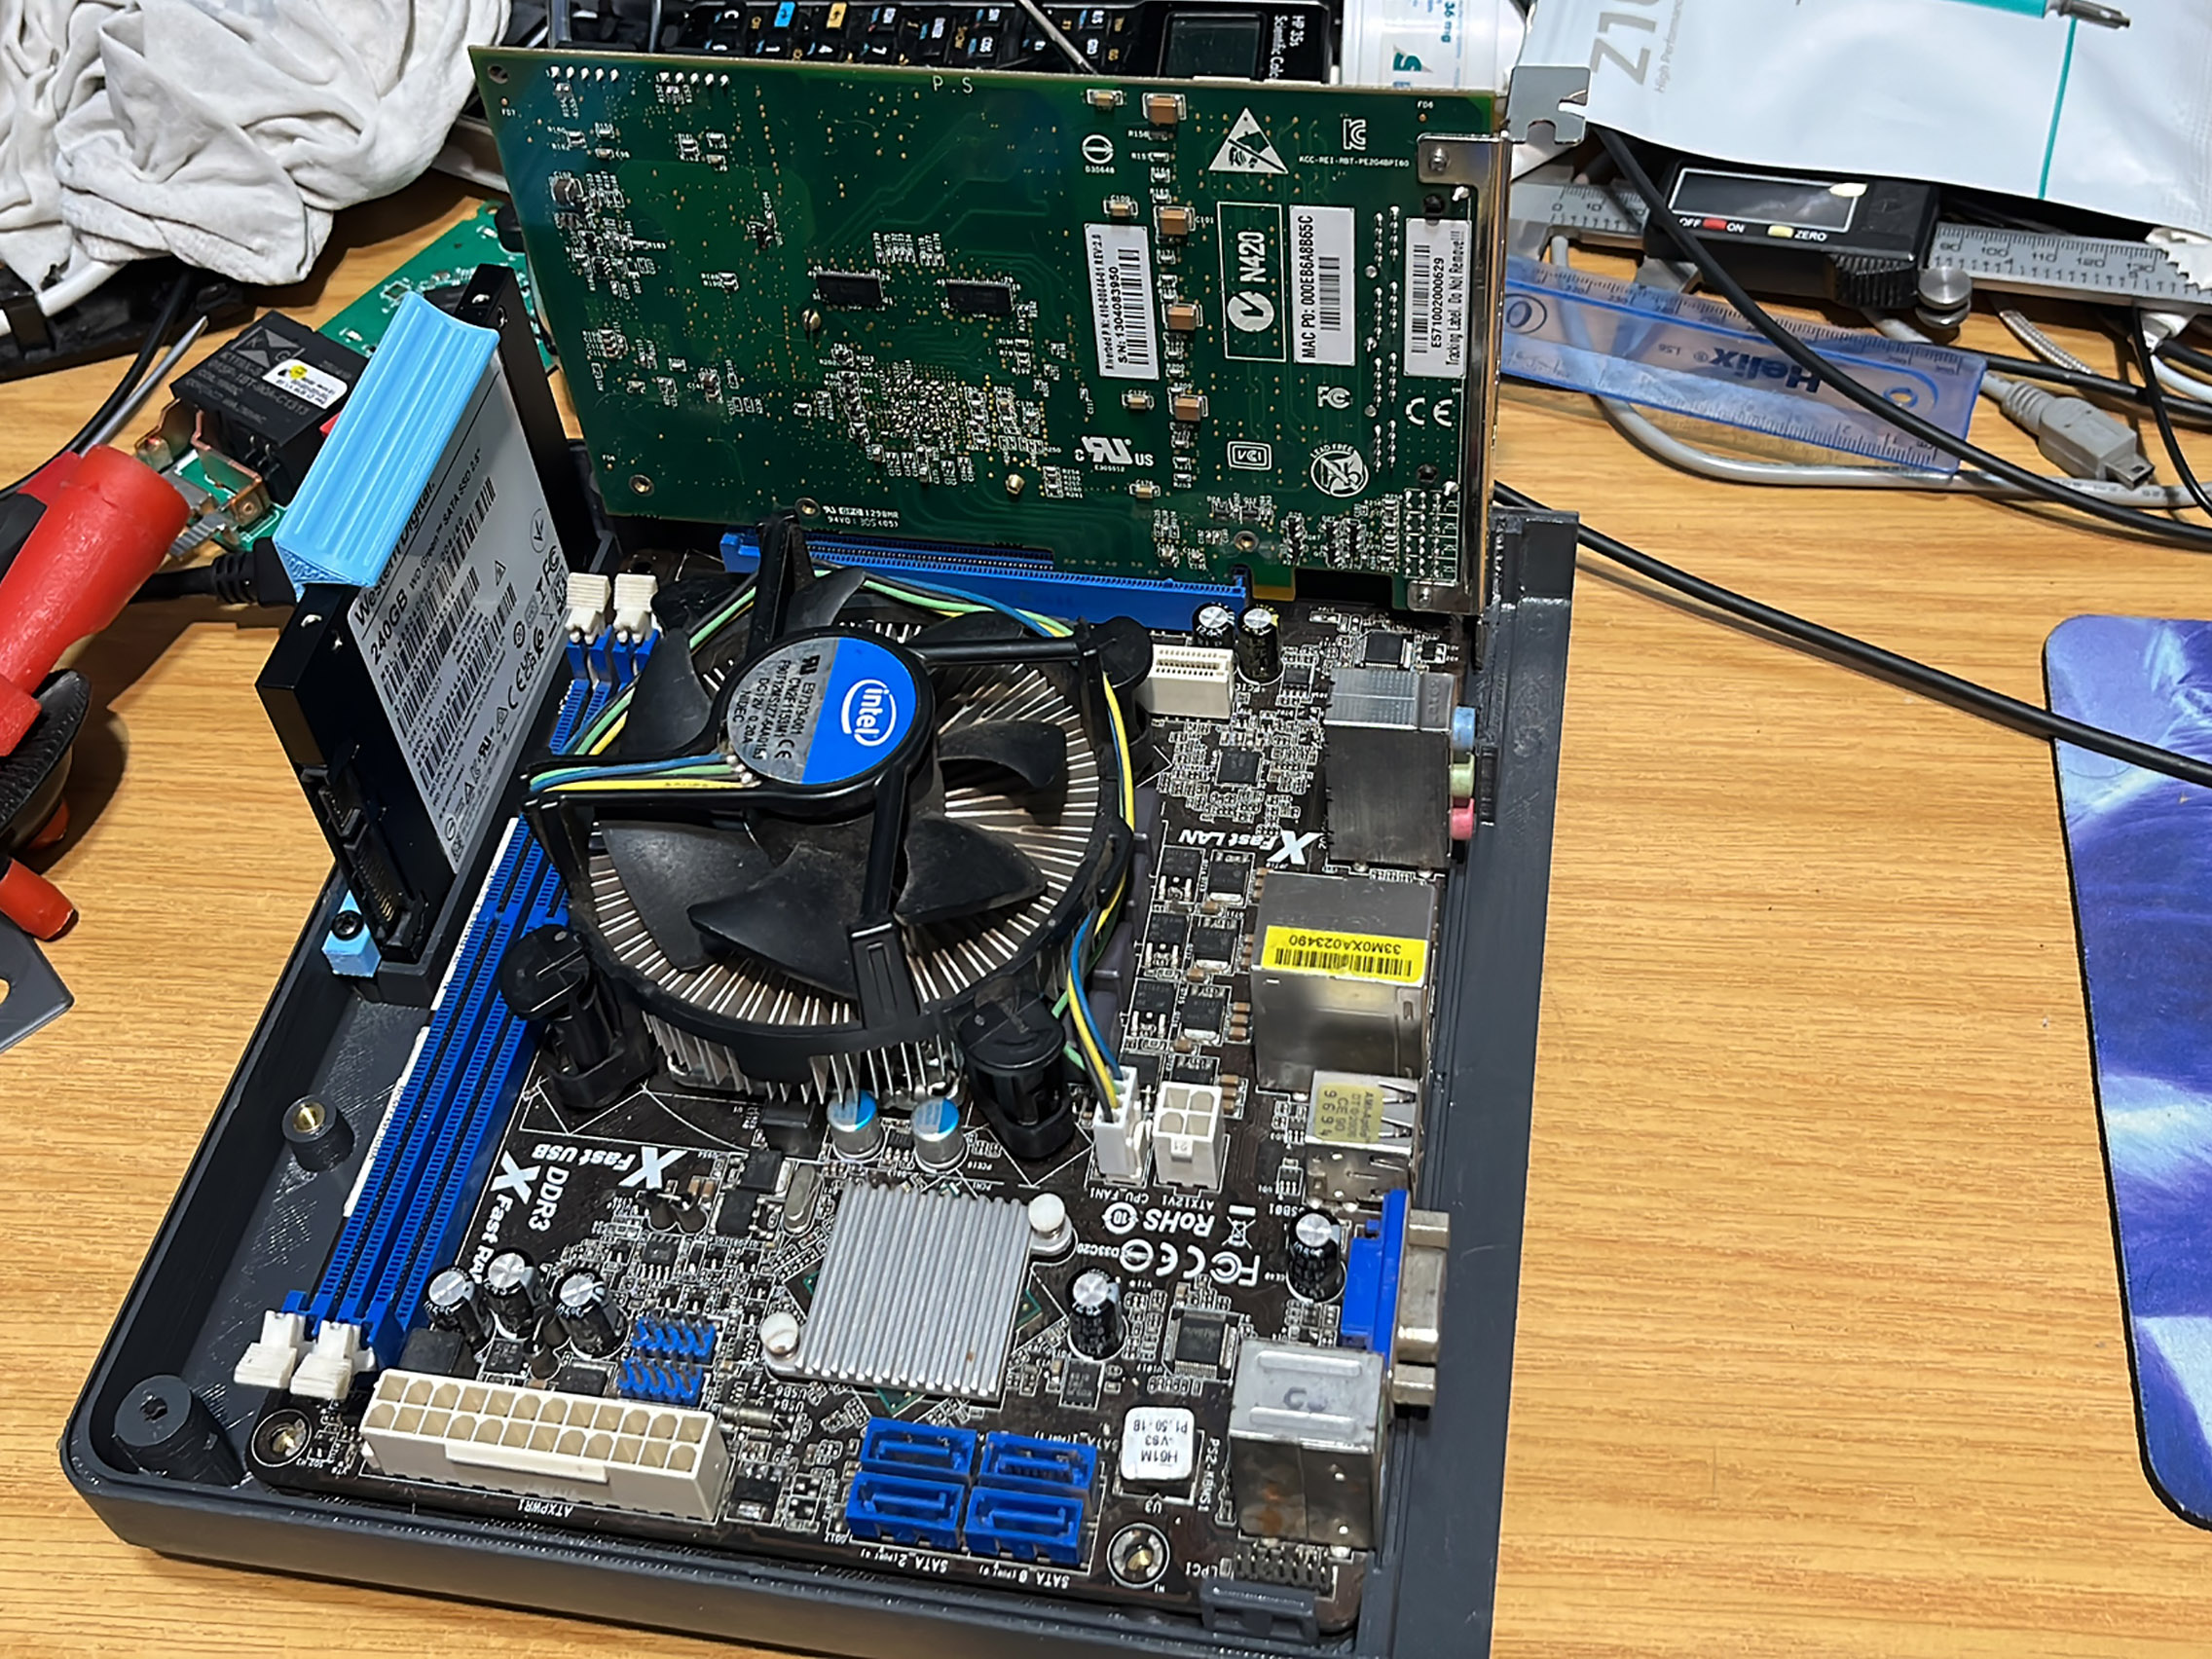
Bezel
This motherboard did not have a bezel, and since this is a proprietary design, I already knew I would need to design one. This was already taken into account
early on in the design phase. To check sizing now that bottom part of the enclosure was done, I 3D printed it even though it would be fabricated from sheet metal.
Doing it this way already helped to pick up obvious errors - the 3D models of some parts are NOT the same as the ones used on this motherboard. This often happens
unless you can find a 3D model for the exact identical part, which proved impossible in this case.
As can be seen, corrections were made quickly and the model confirmed to be correct, as the fit and form are perfect!
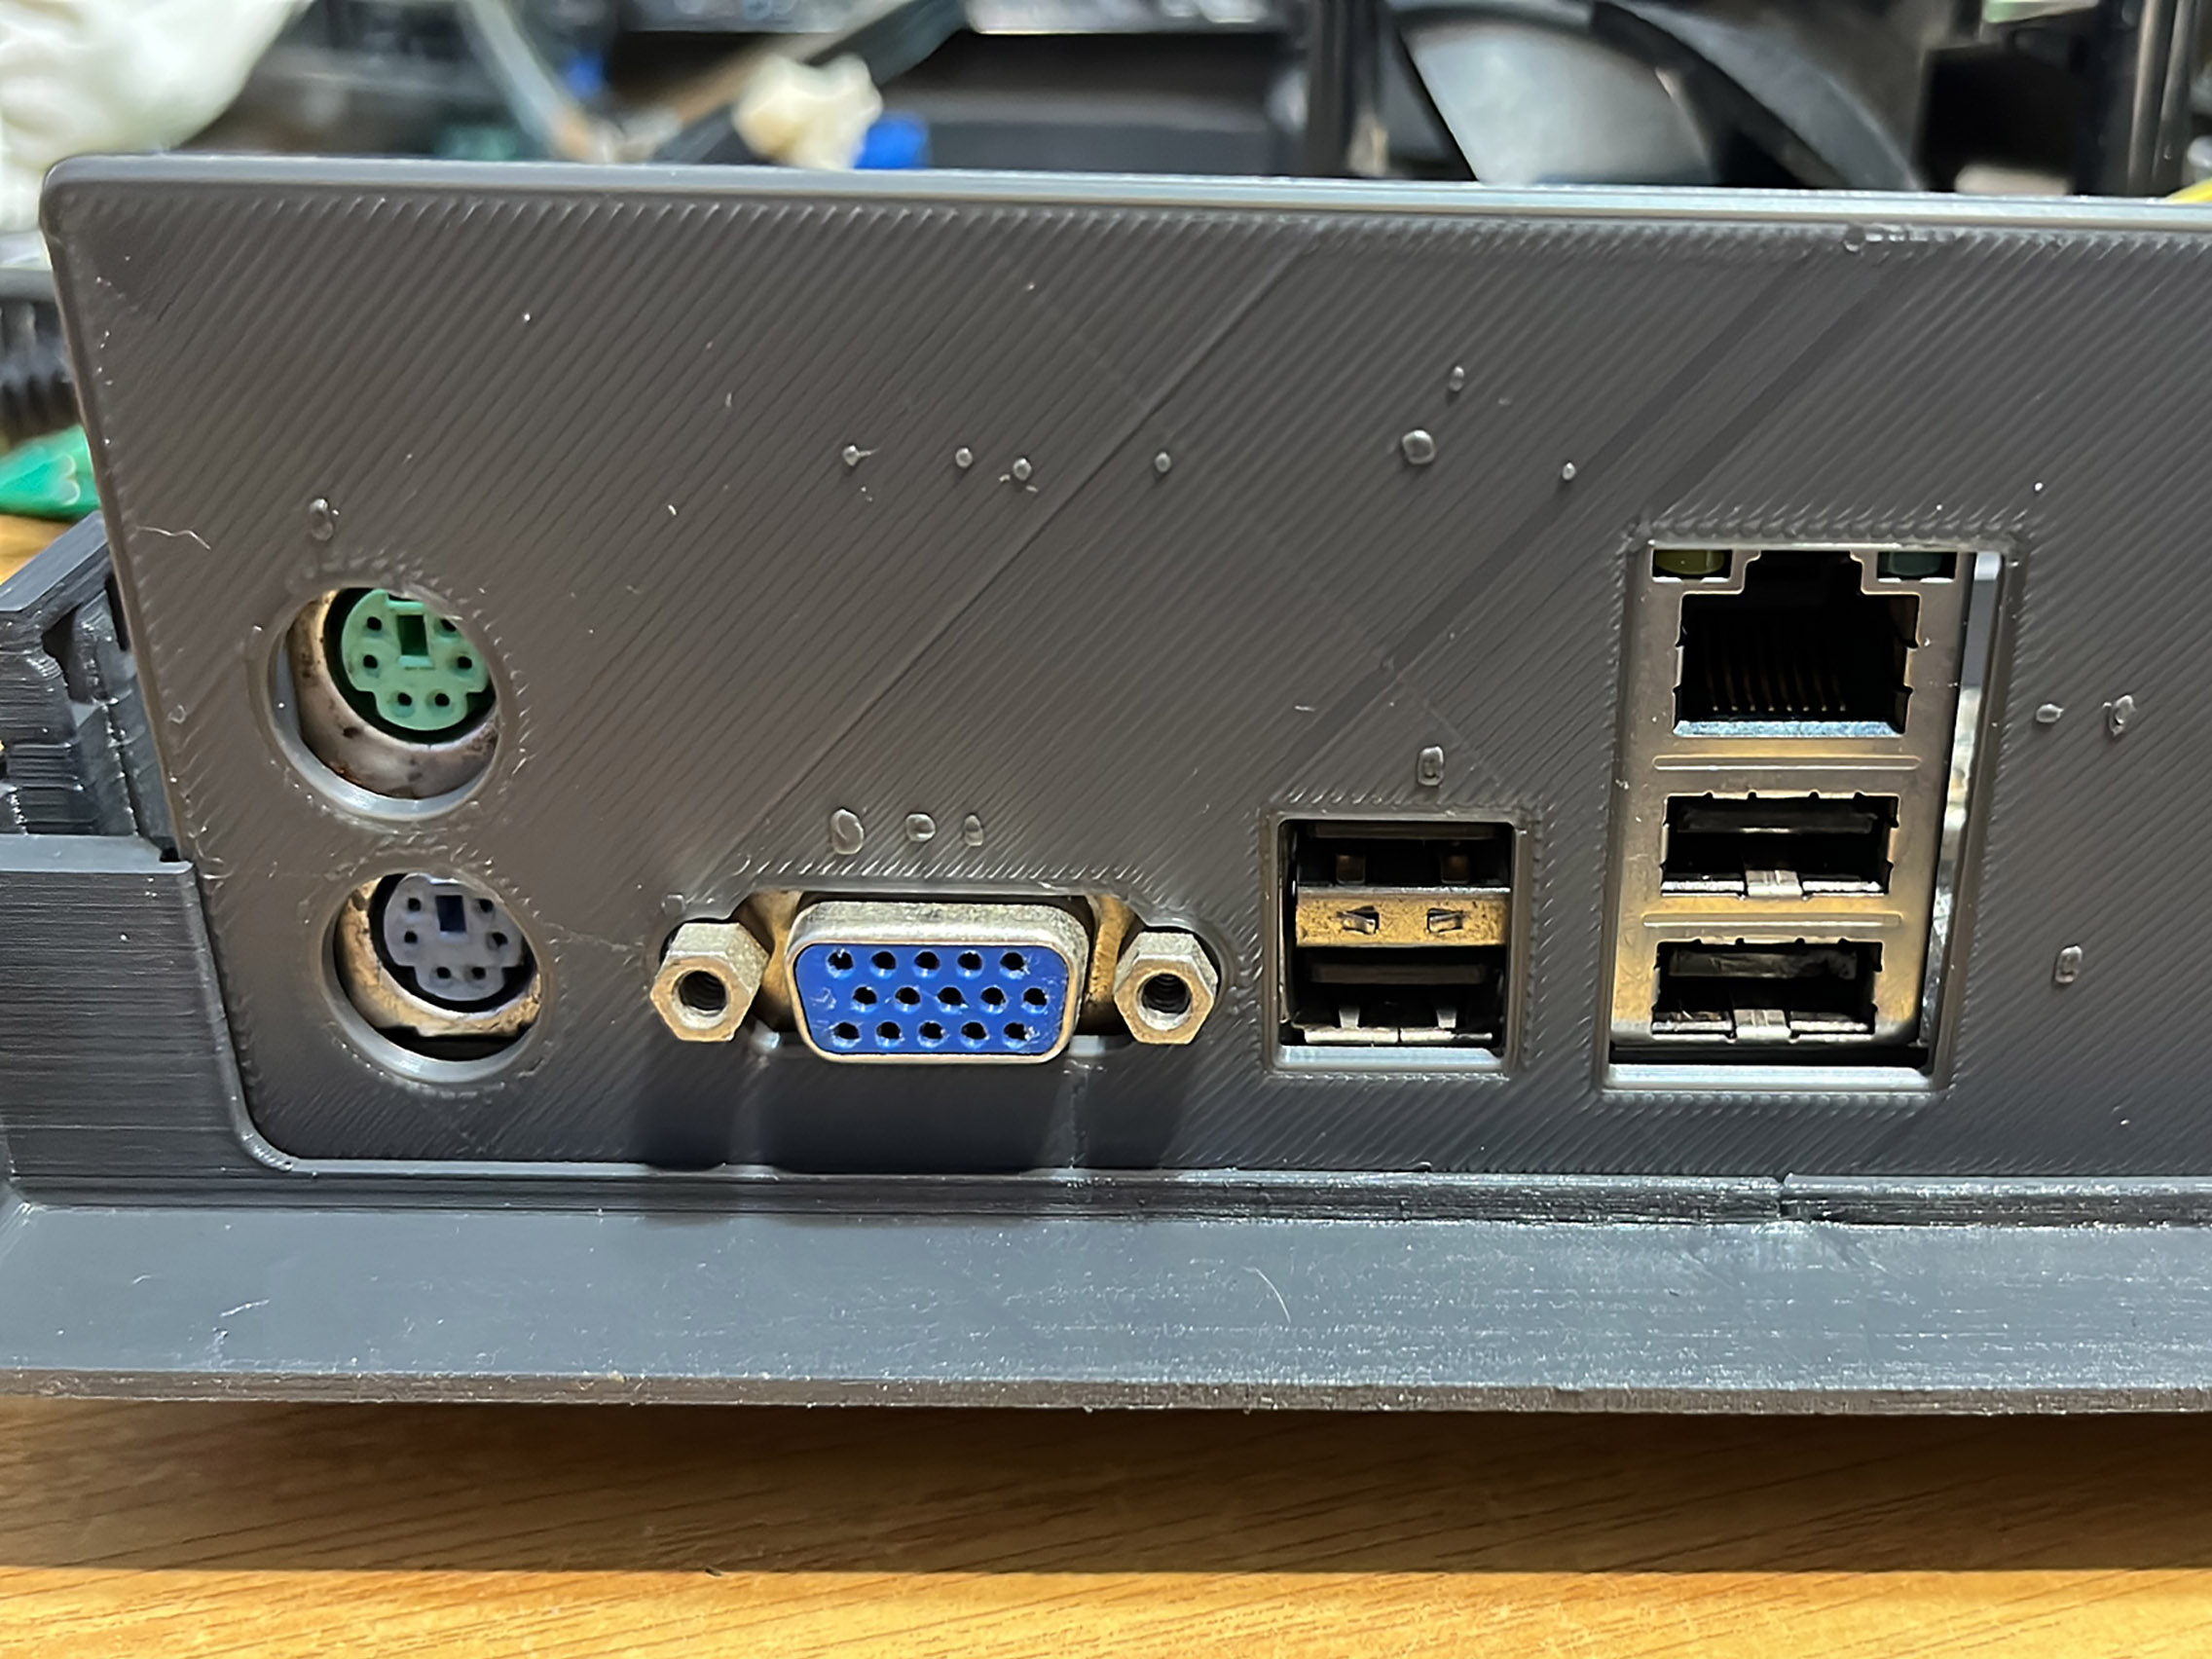
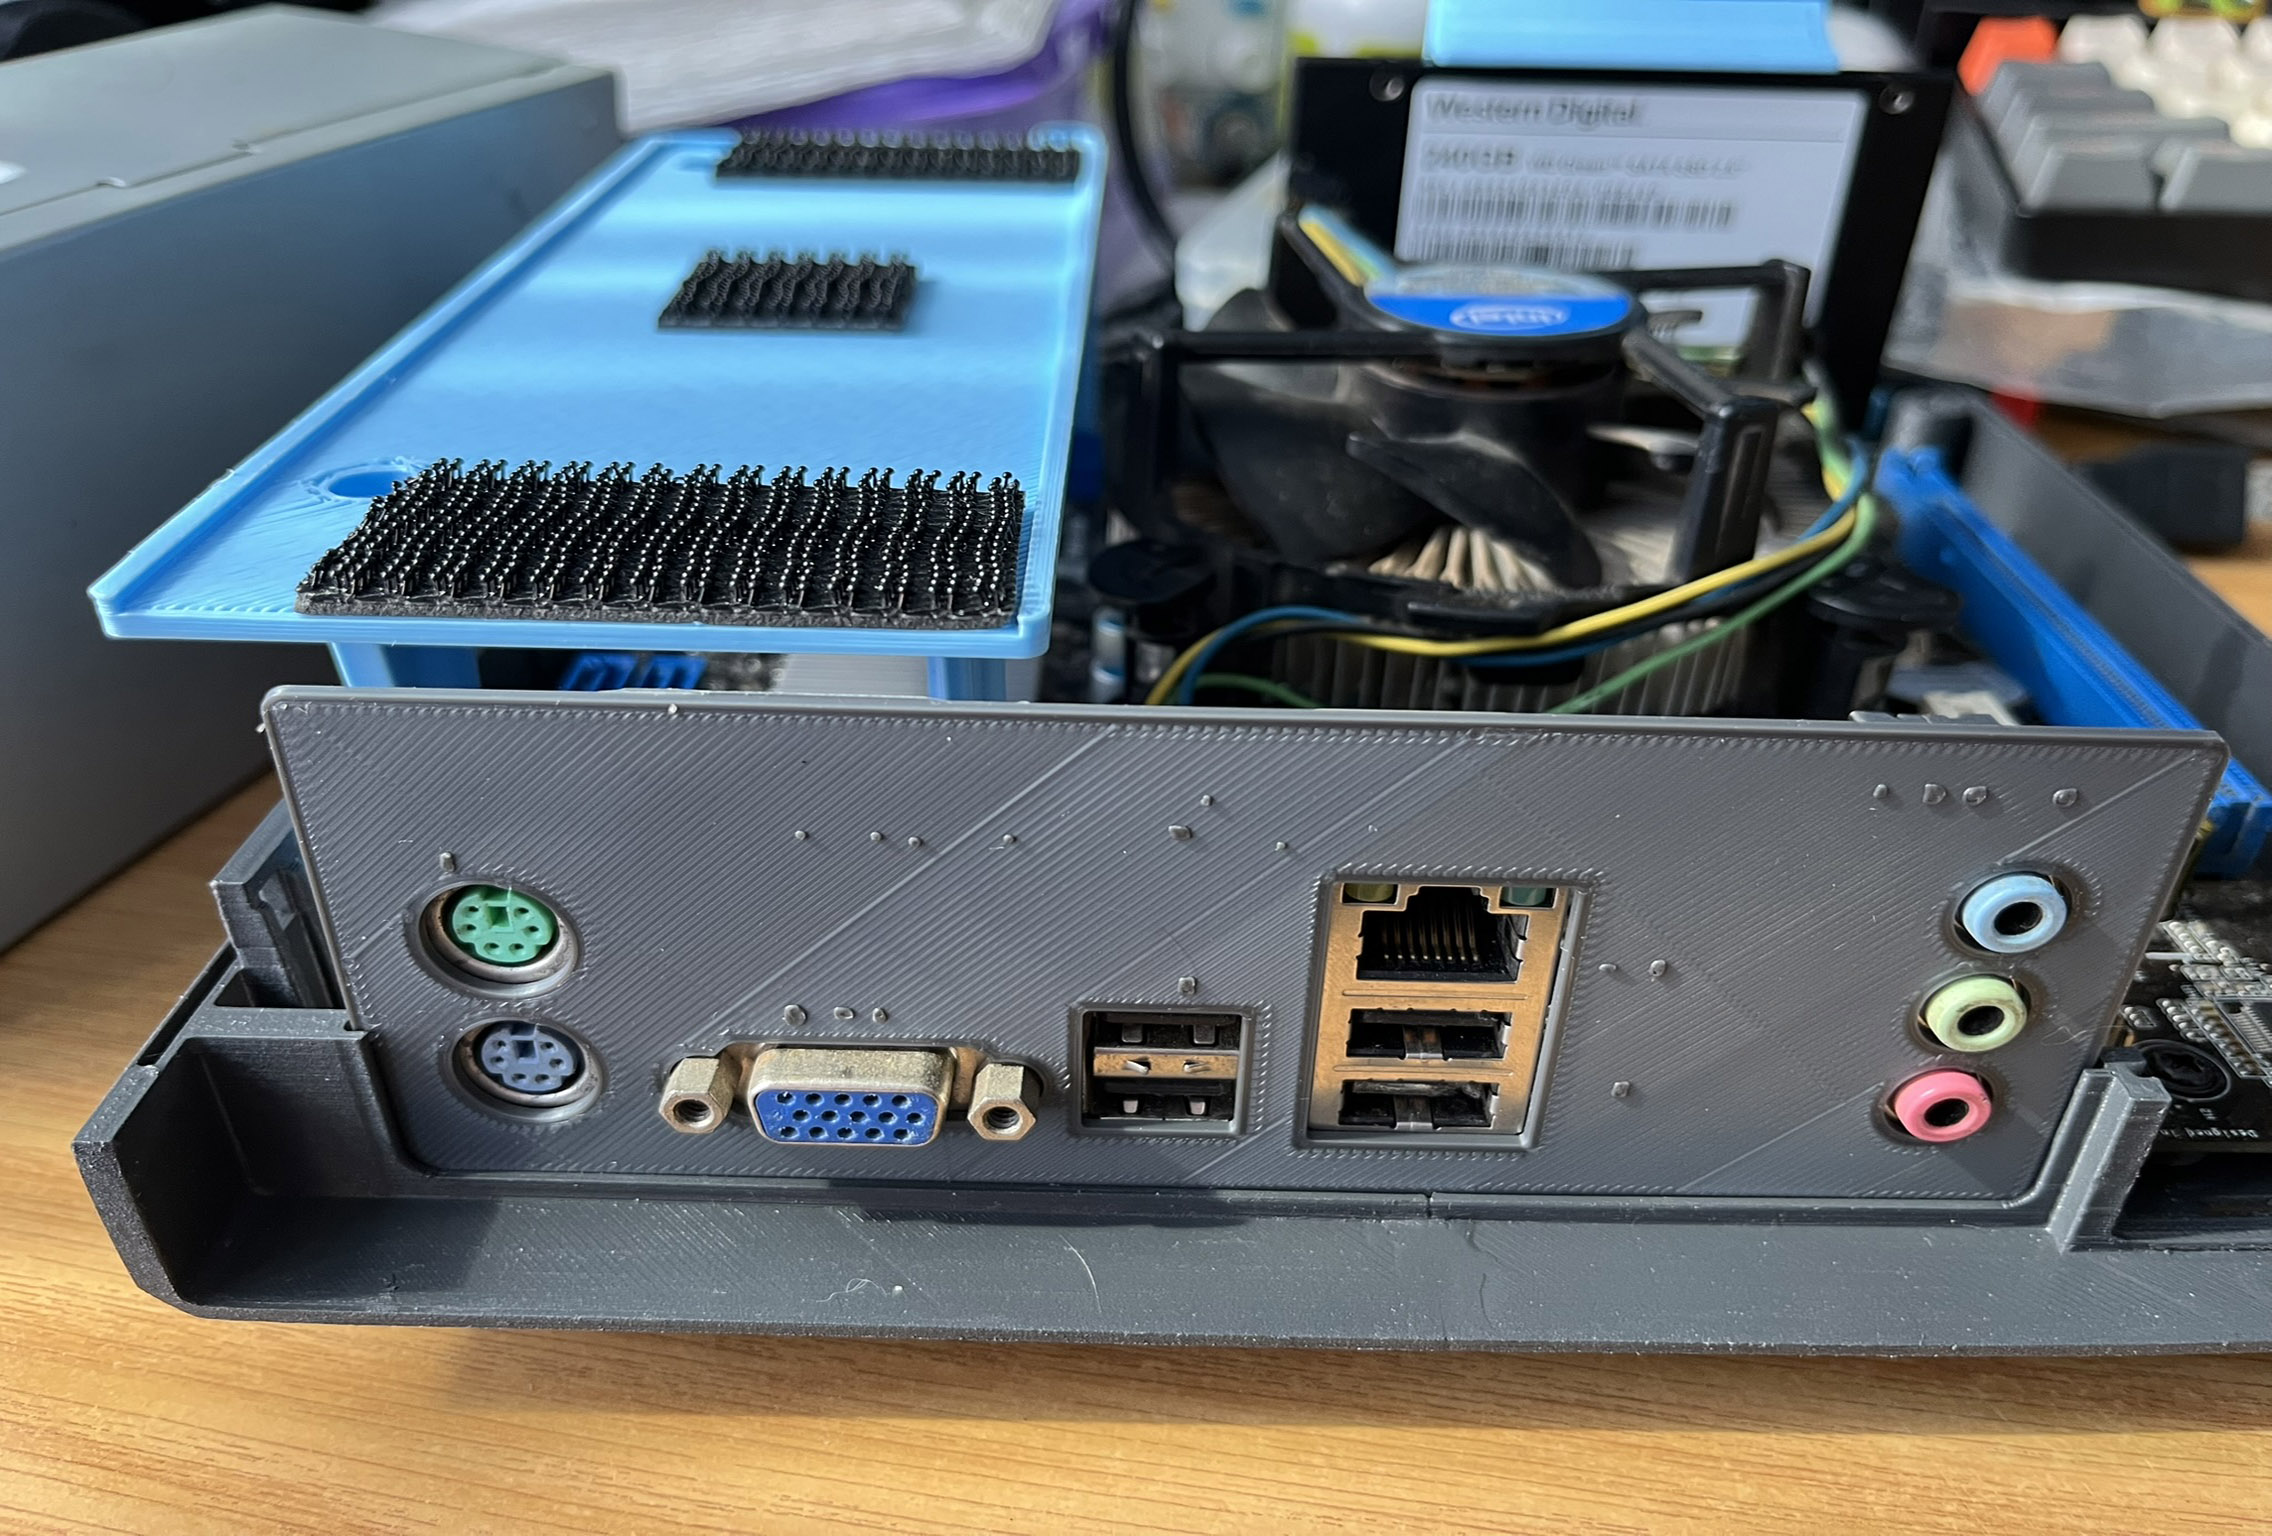
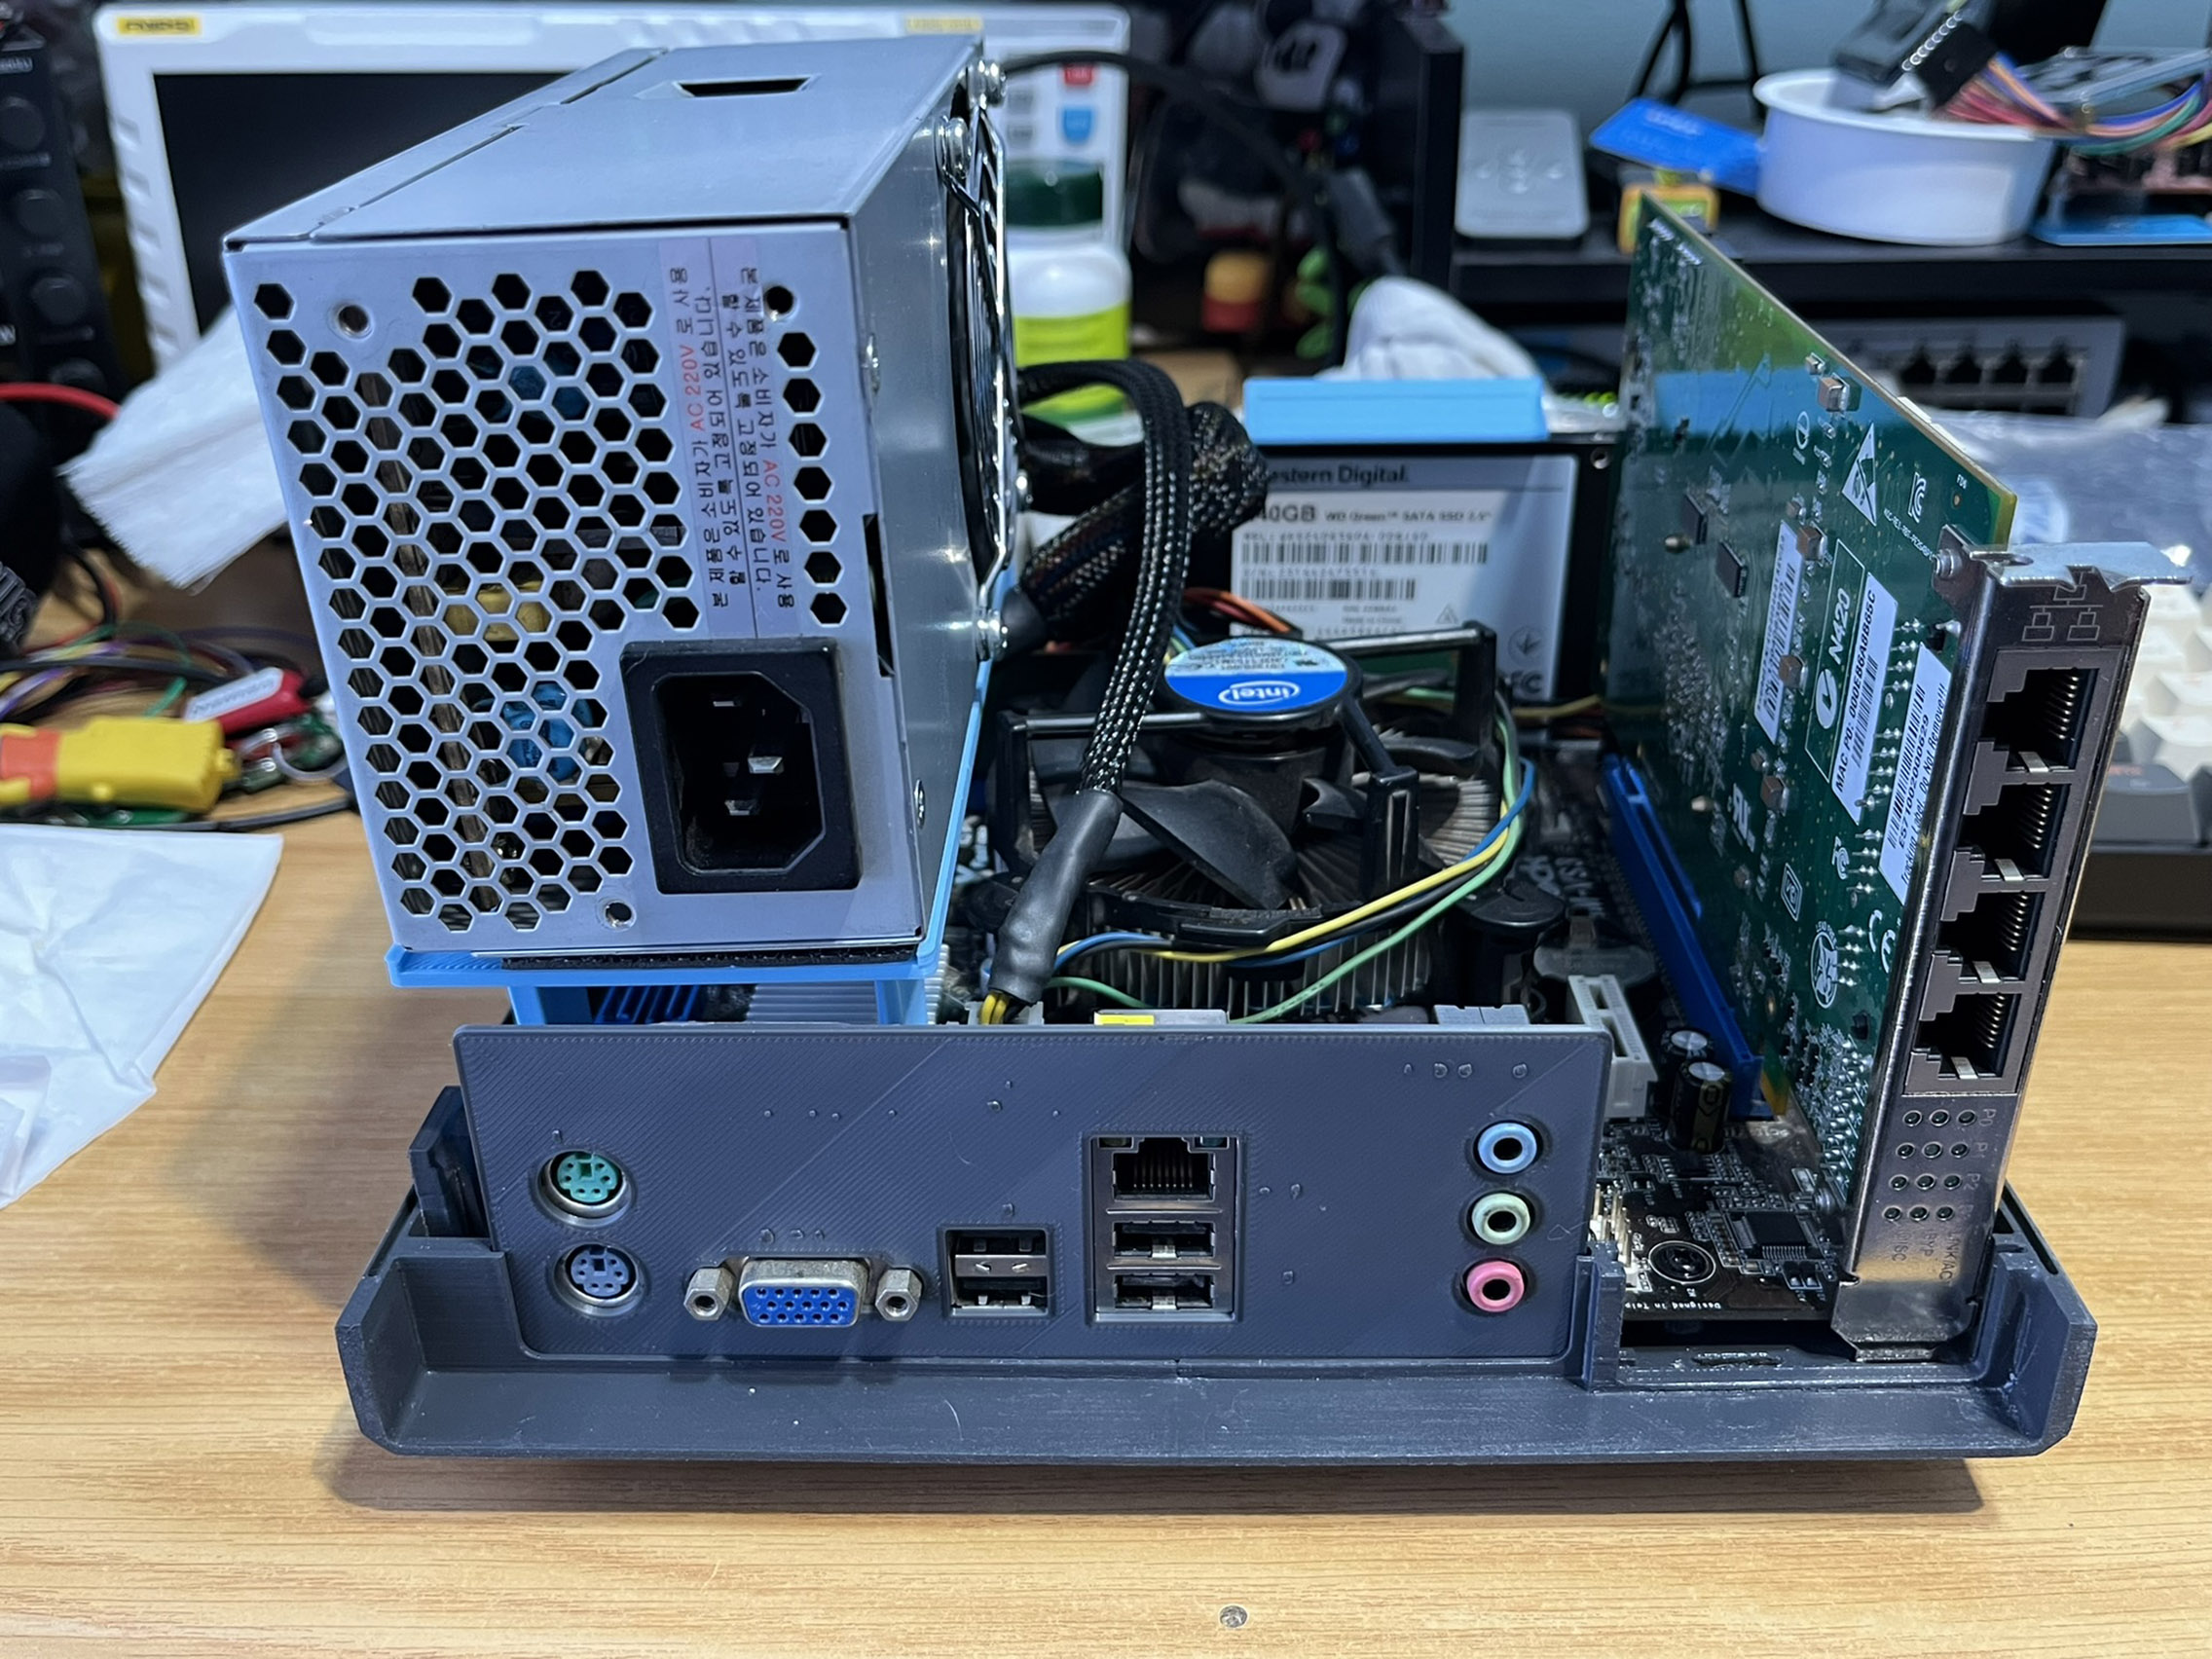
Rear Panel and PC Expansion Card Slots
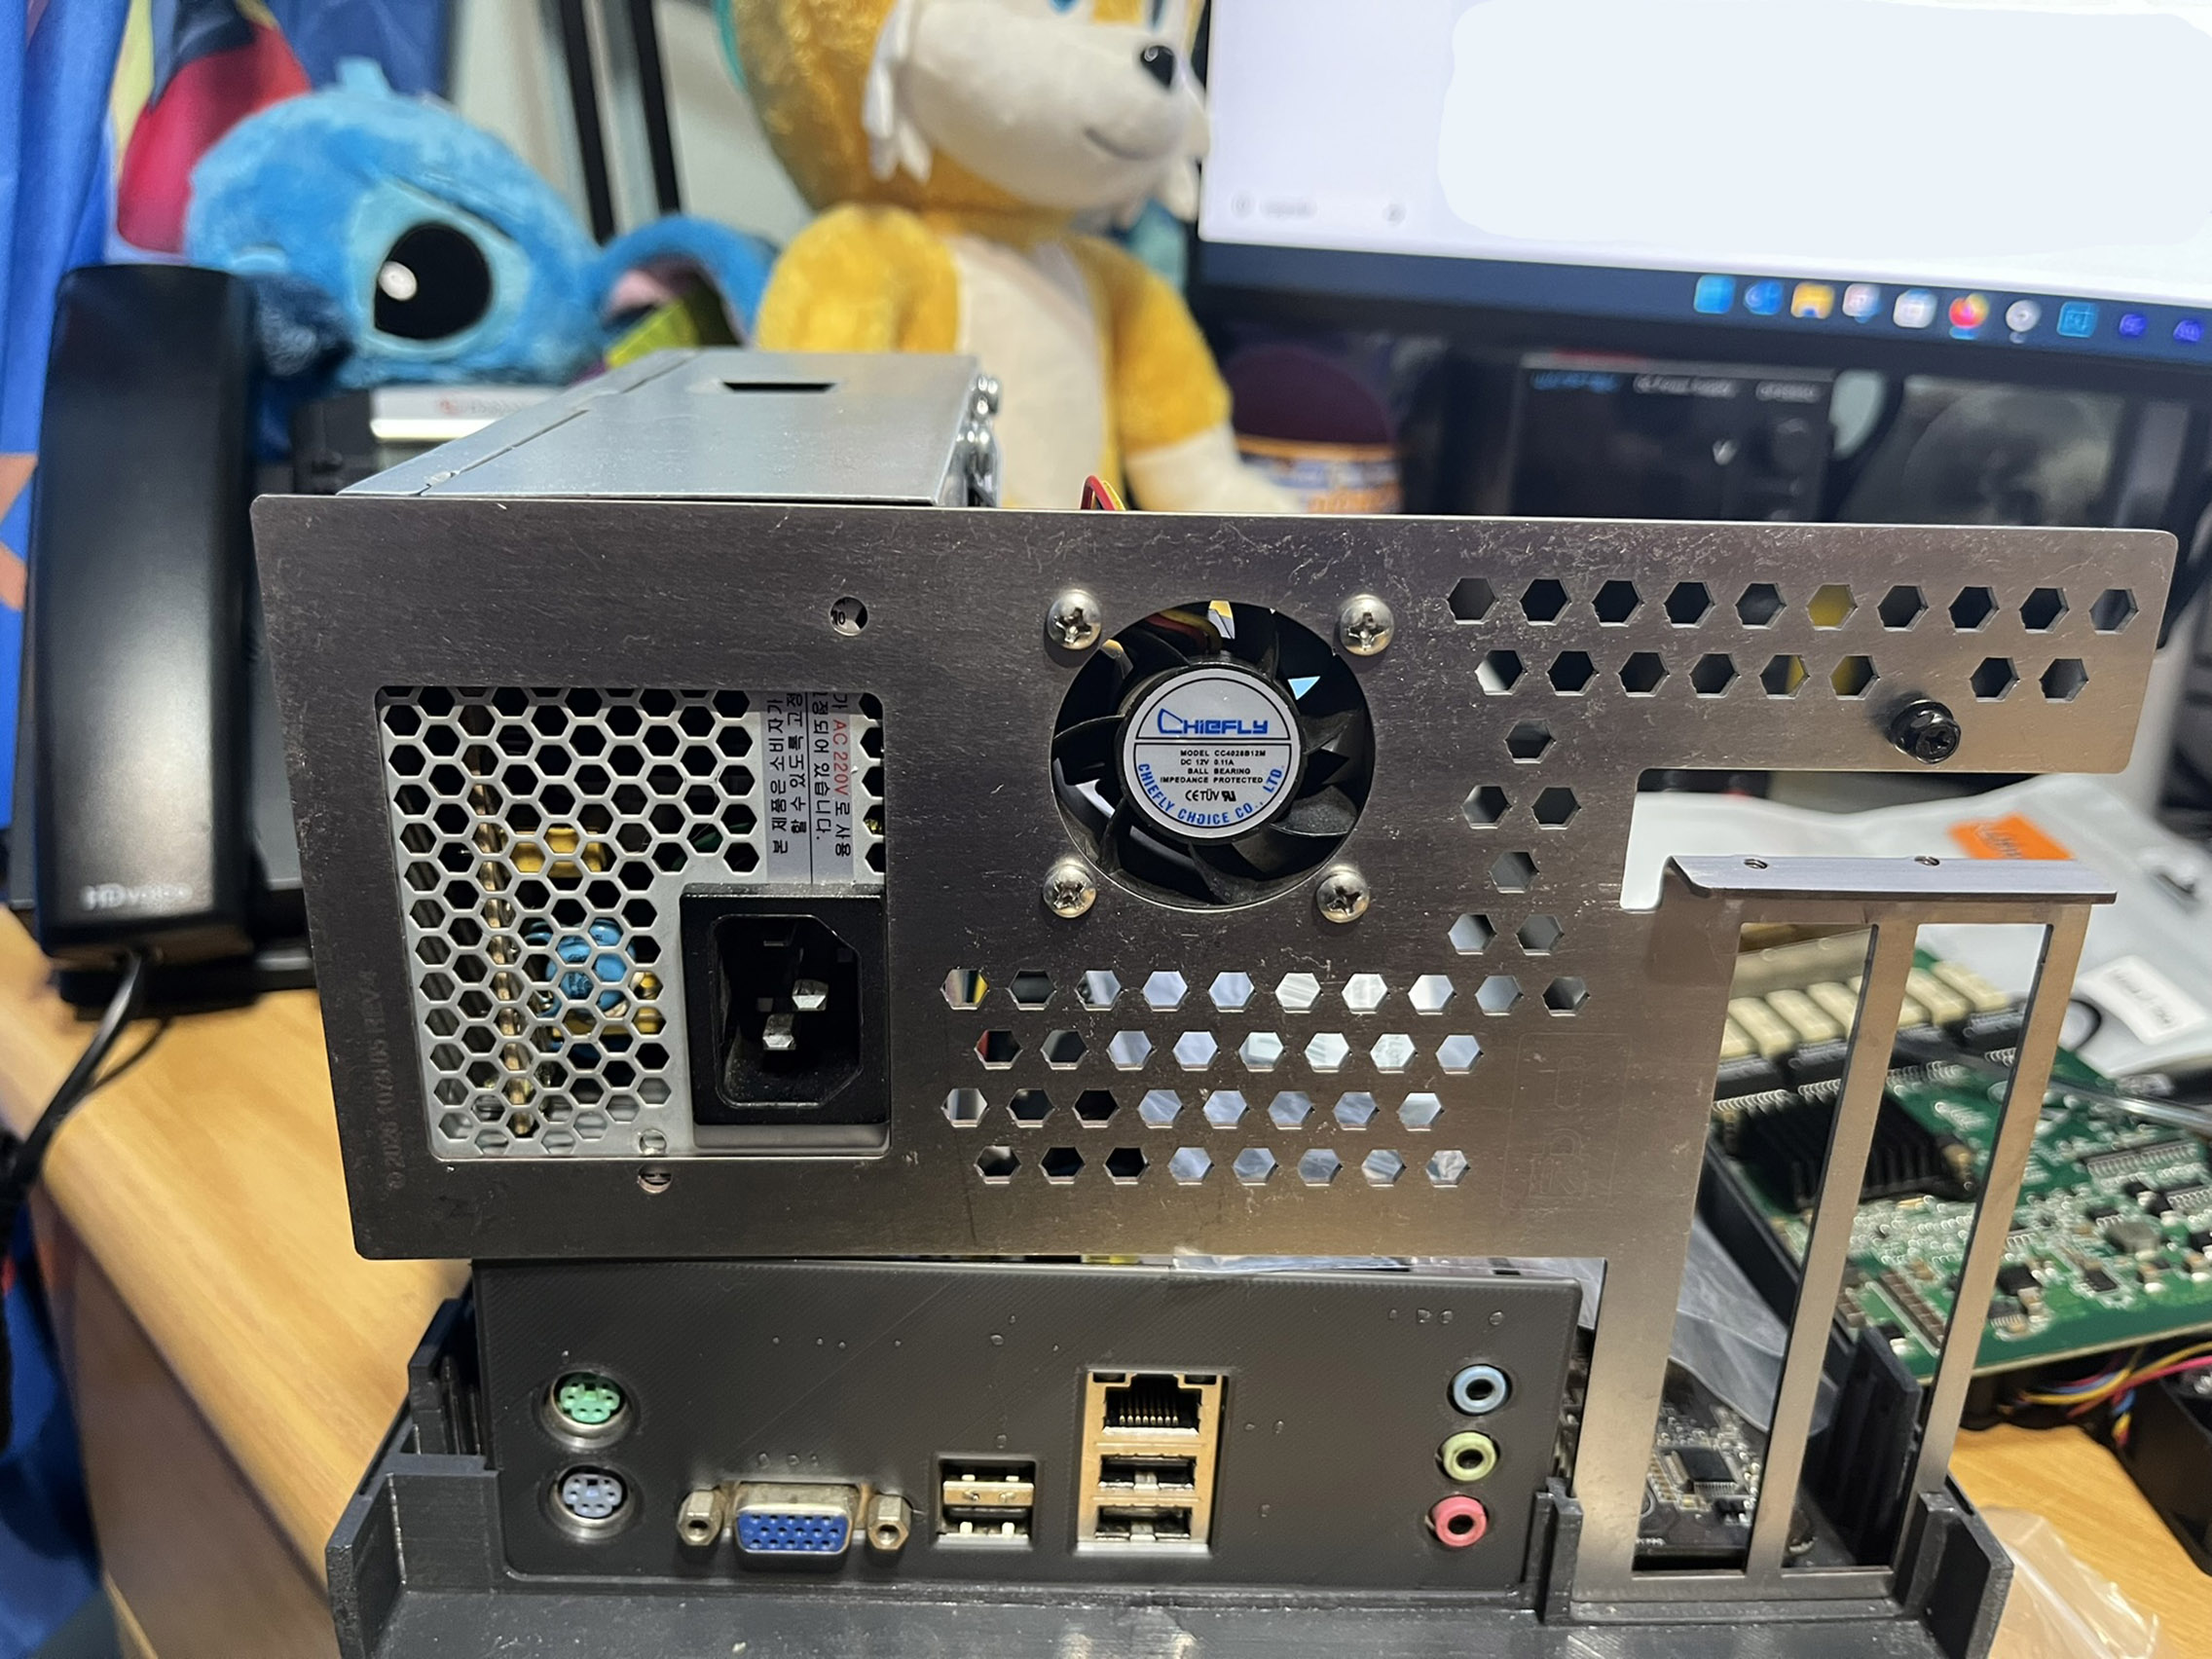
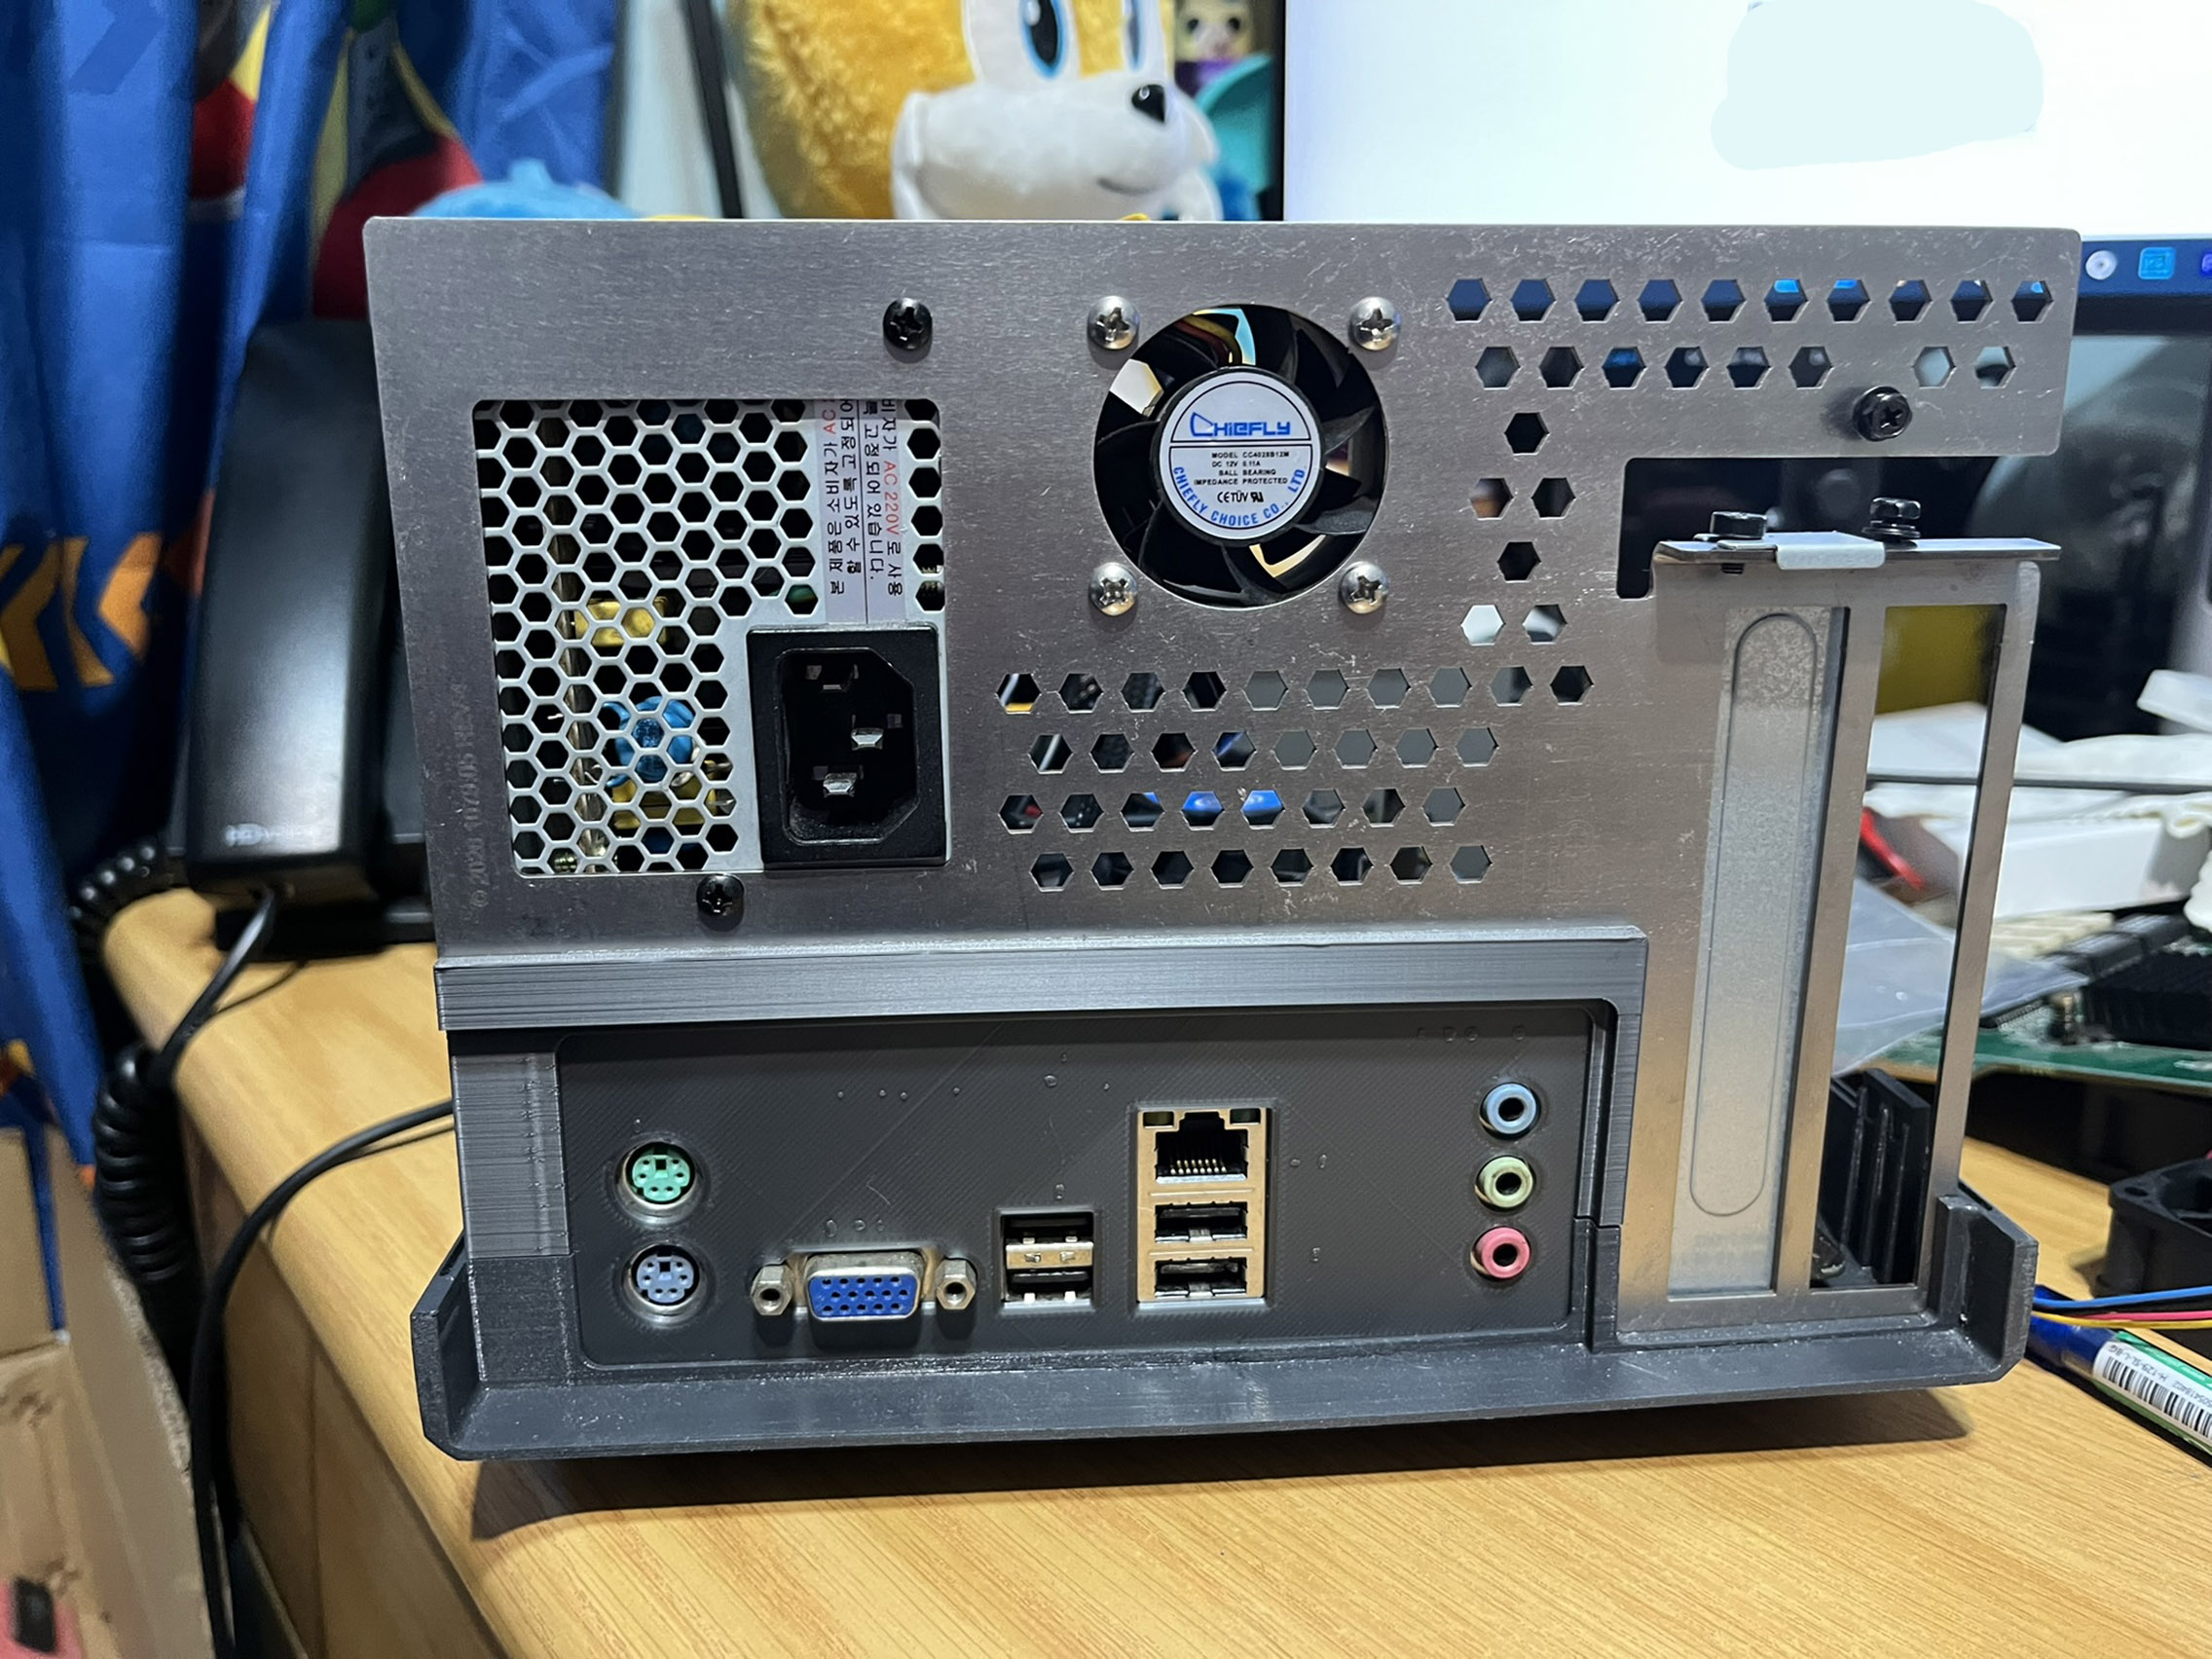
I made provision for, but had not designed the panel that would fit in the back, and provide the necessary slots and retainer for the add-in cards.
Since the tricky bit would involve getting the slot holes right I decided to do what I have always done, design a portion of it and iteratively 3D print it
until I can get it right. The unofficial, published dimensions for these things are in Imperial and I work in Metric so there was that to worry about too.
The gallery below shows the process of fitting and getting that part right...
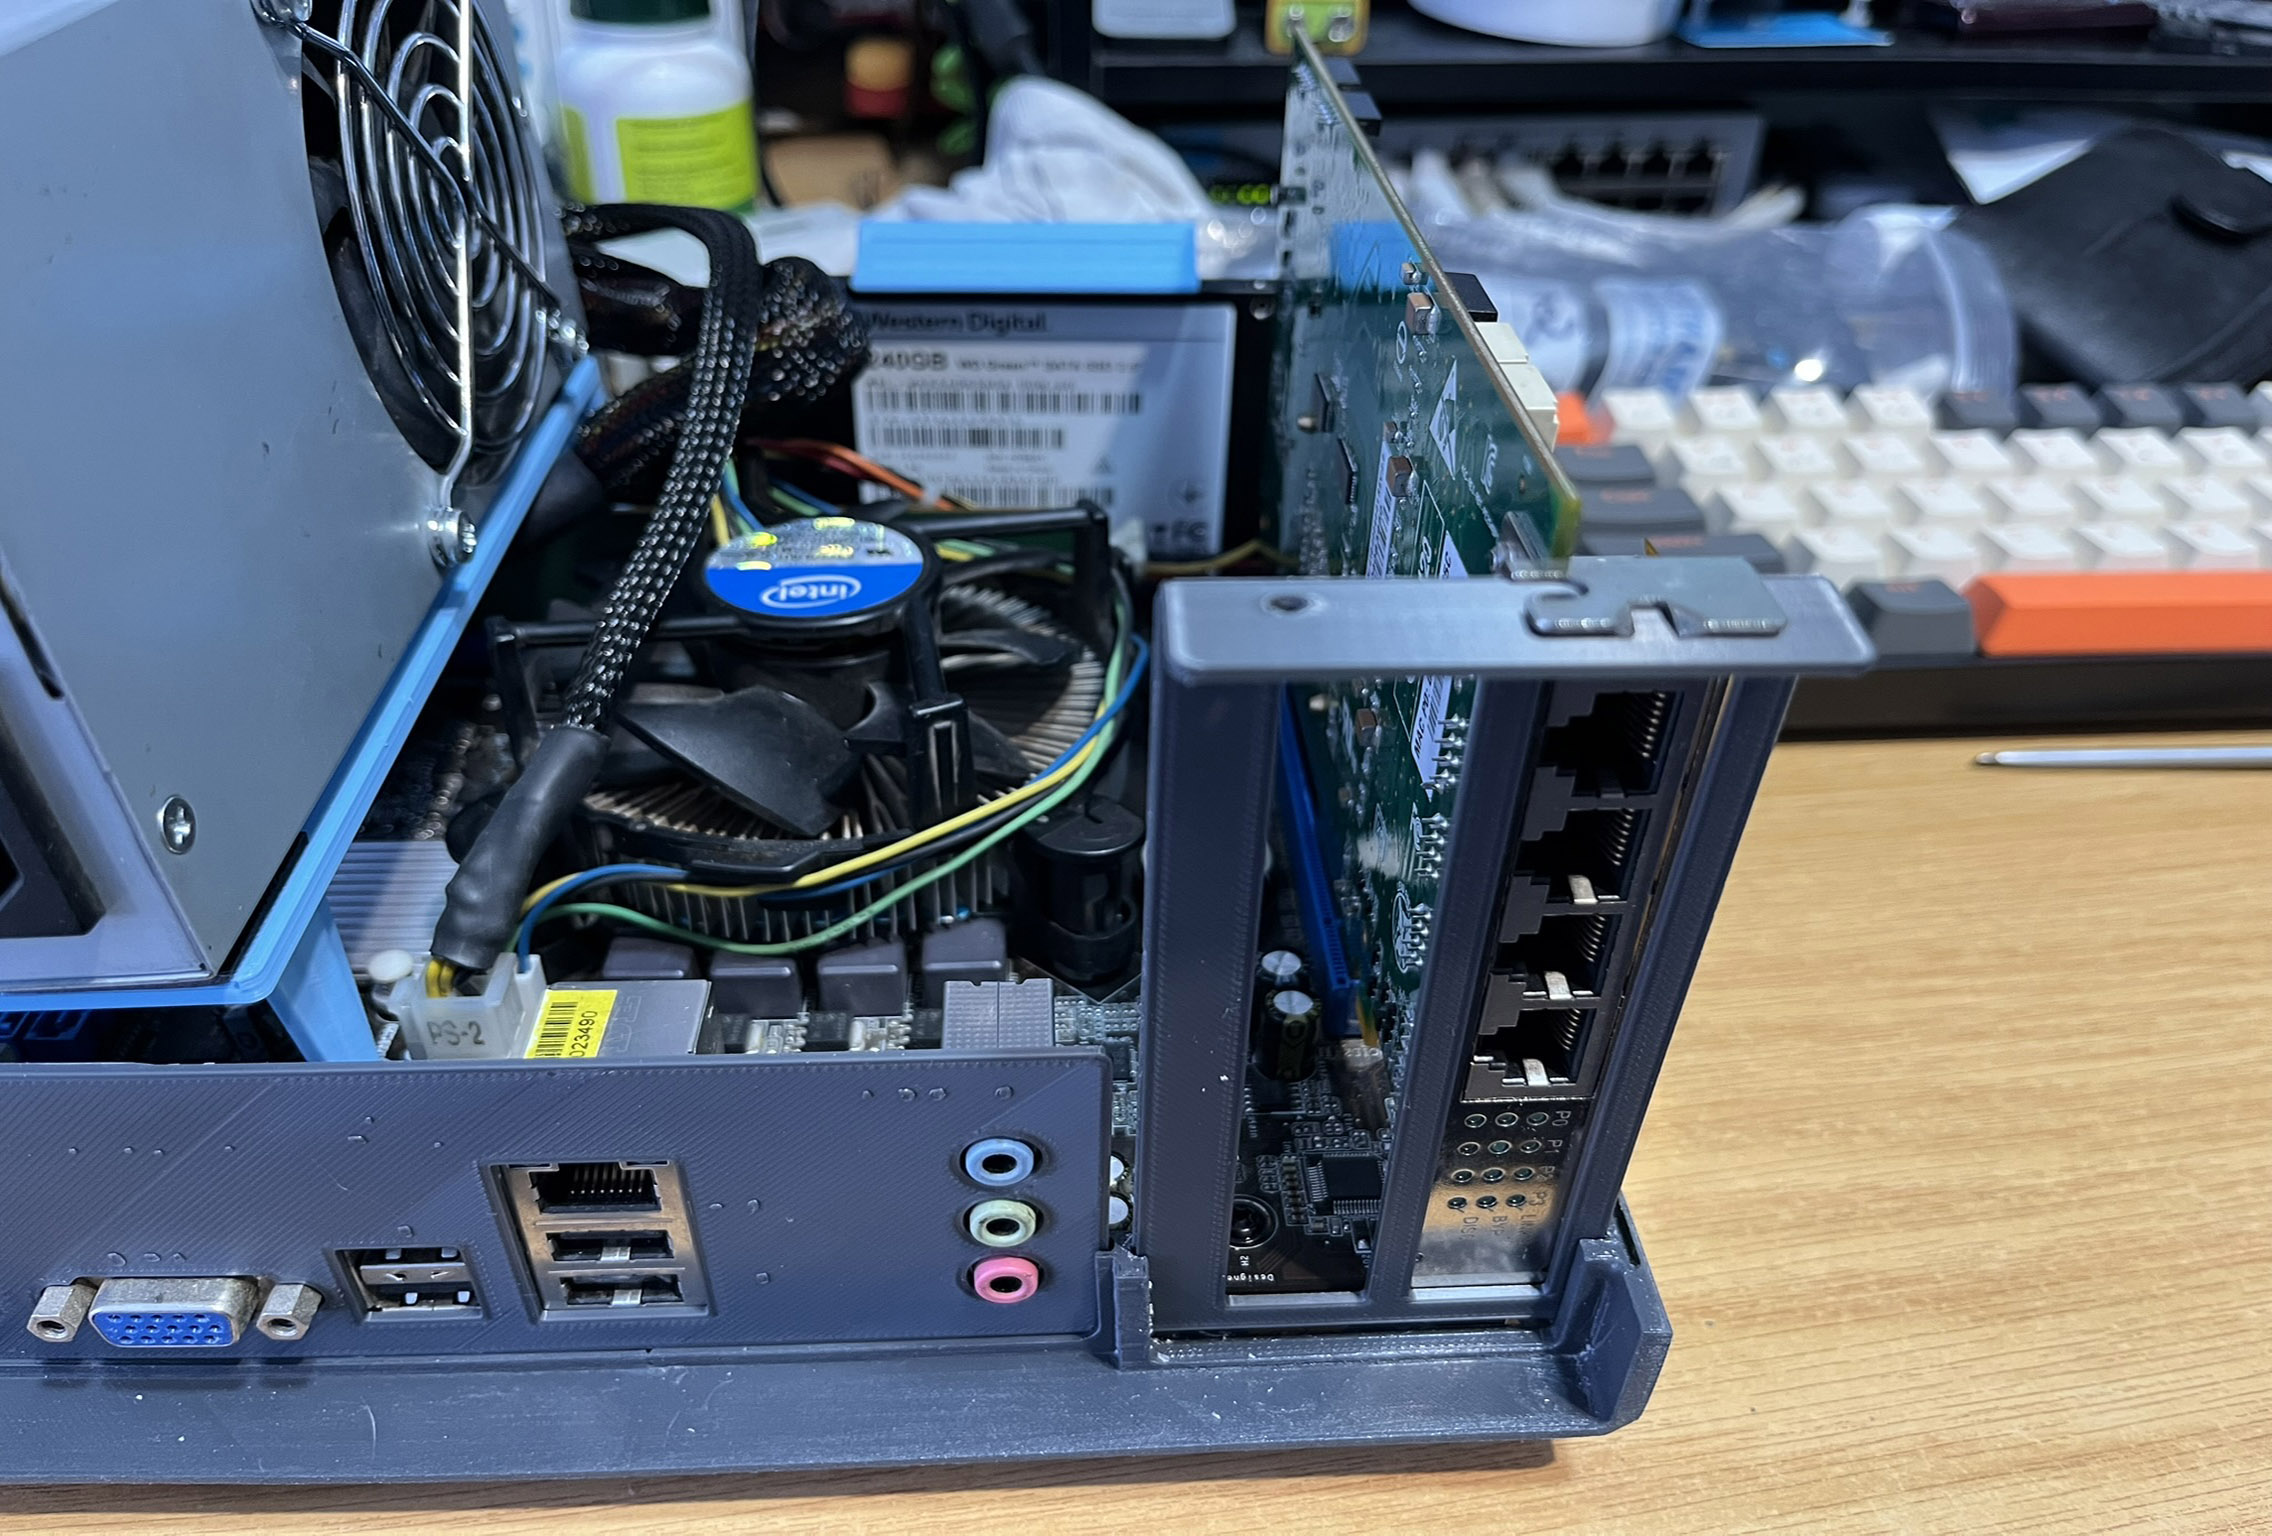
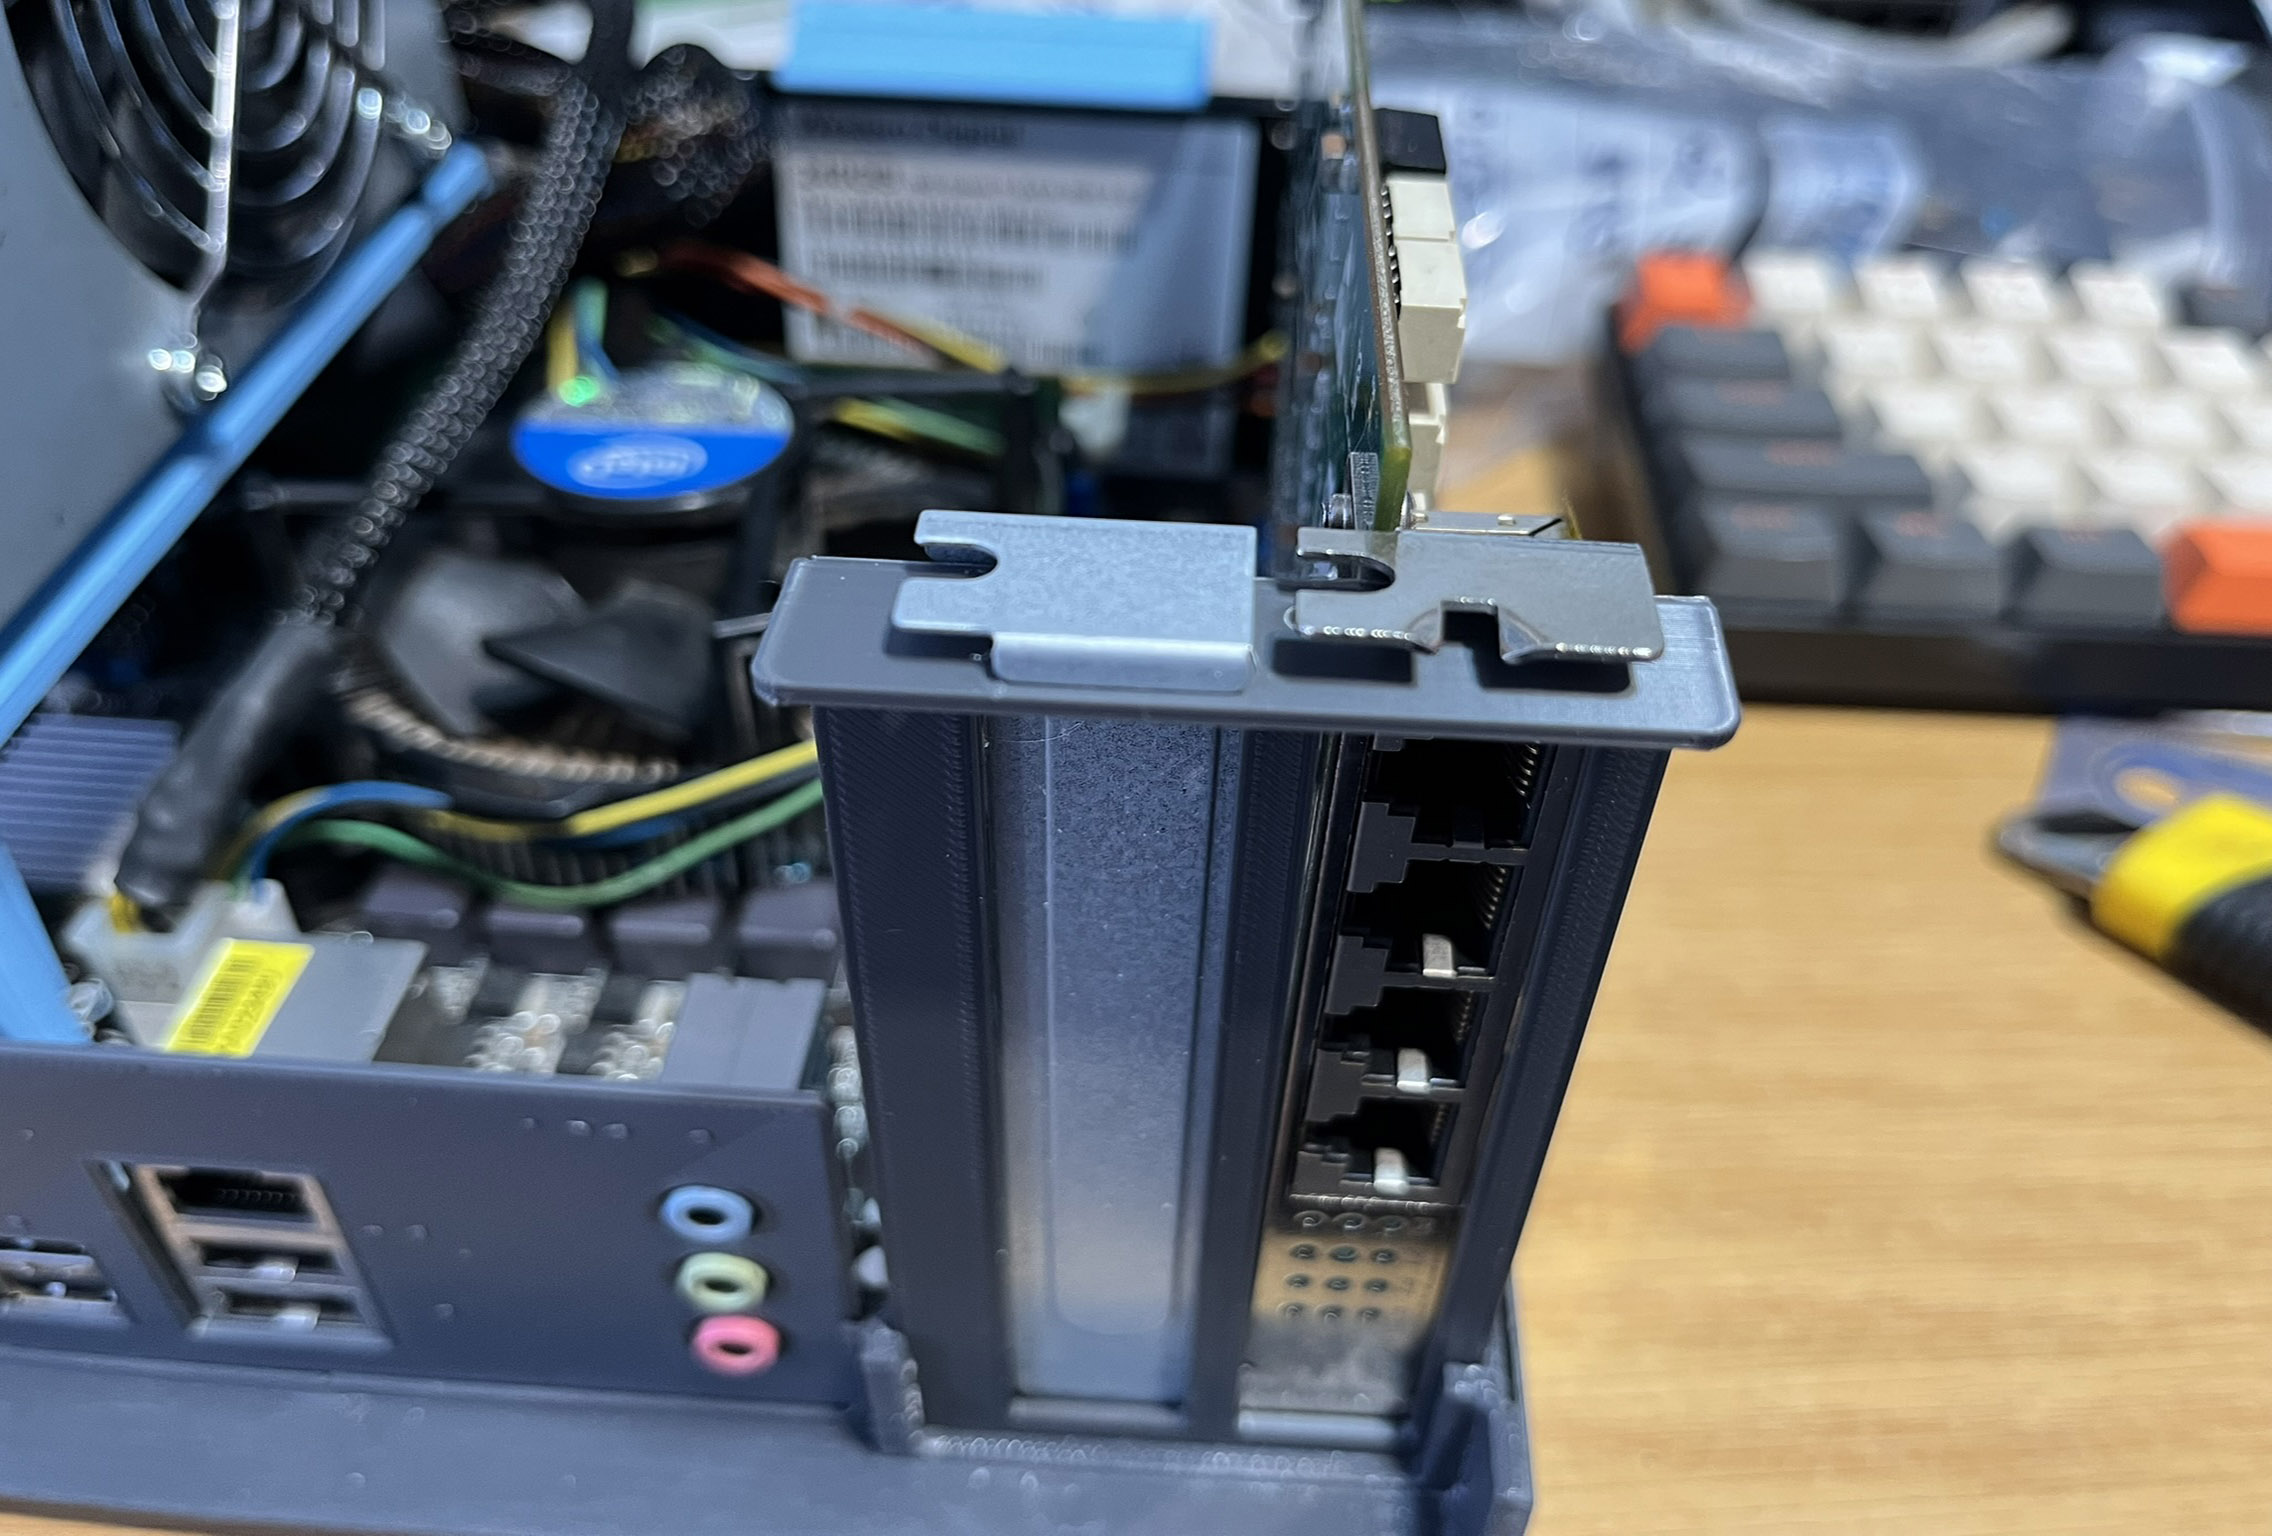
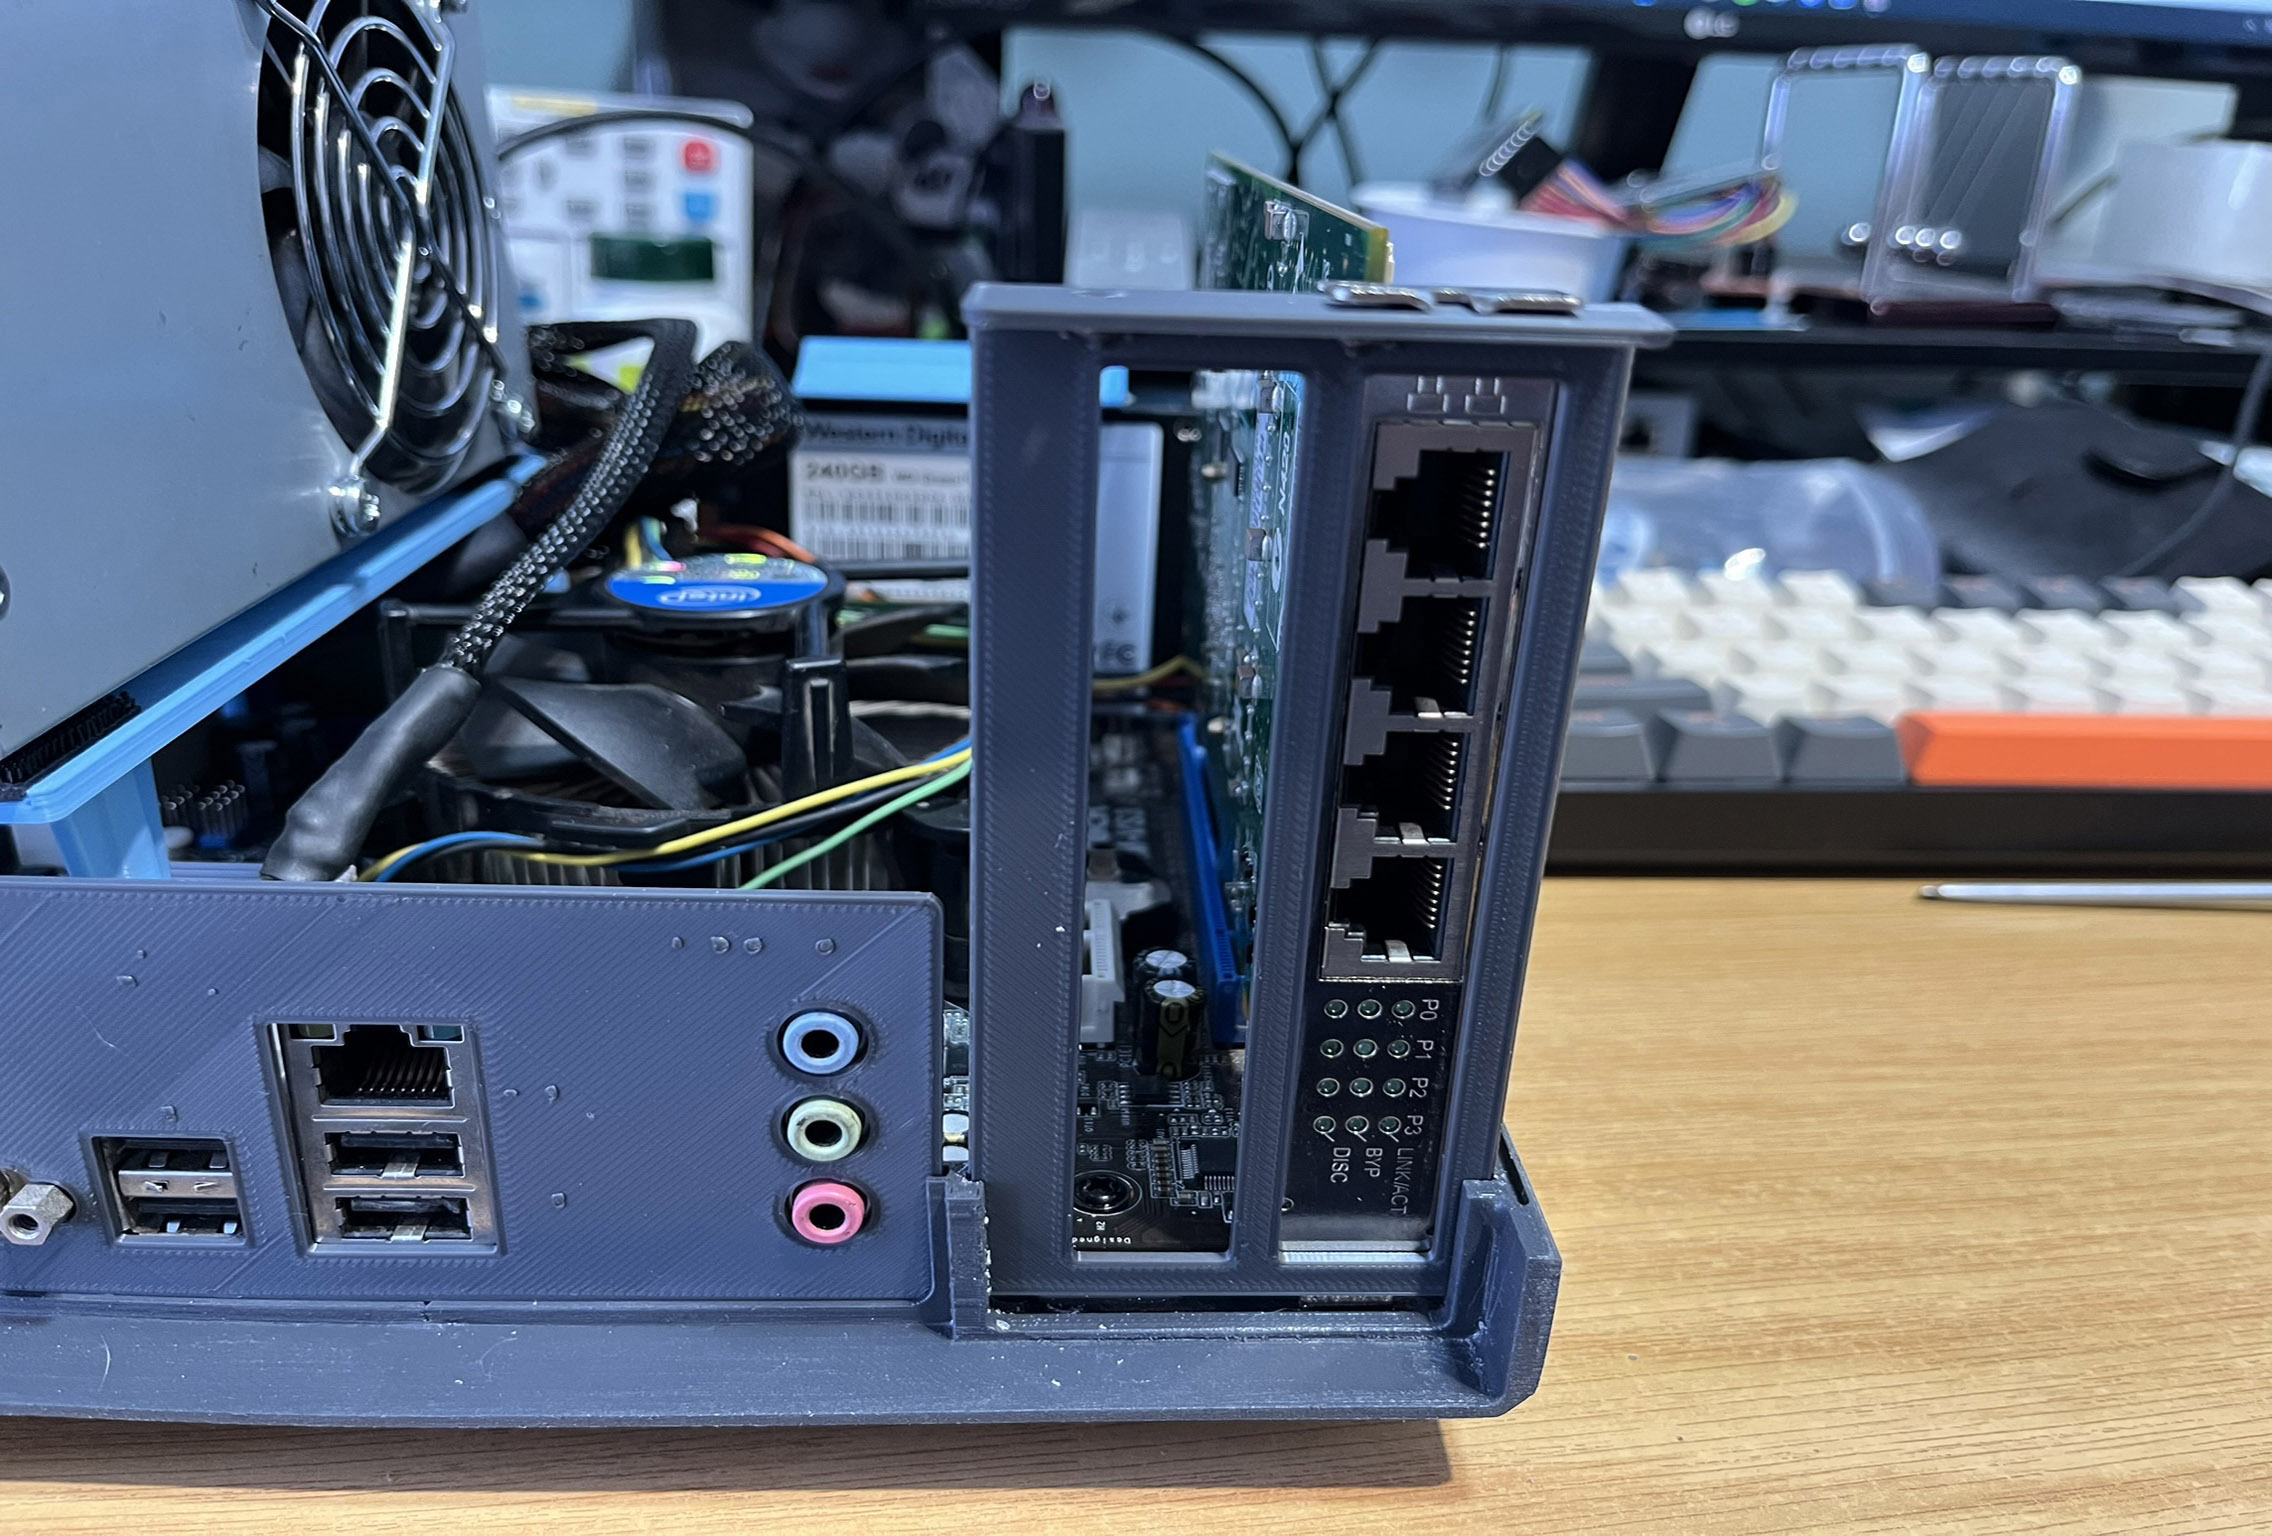
Once the dimesions were known, the panel or plate, could be designed. The gallery below shows the evolution of the design. I knew this part would need to have been fabricated first, as it would be critical to check for fit and its dimensions had to be verified. The reason is that this part would be fabricated from sheet metal and tolerances and so on needed to be accounted for.
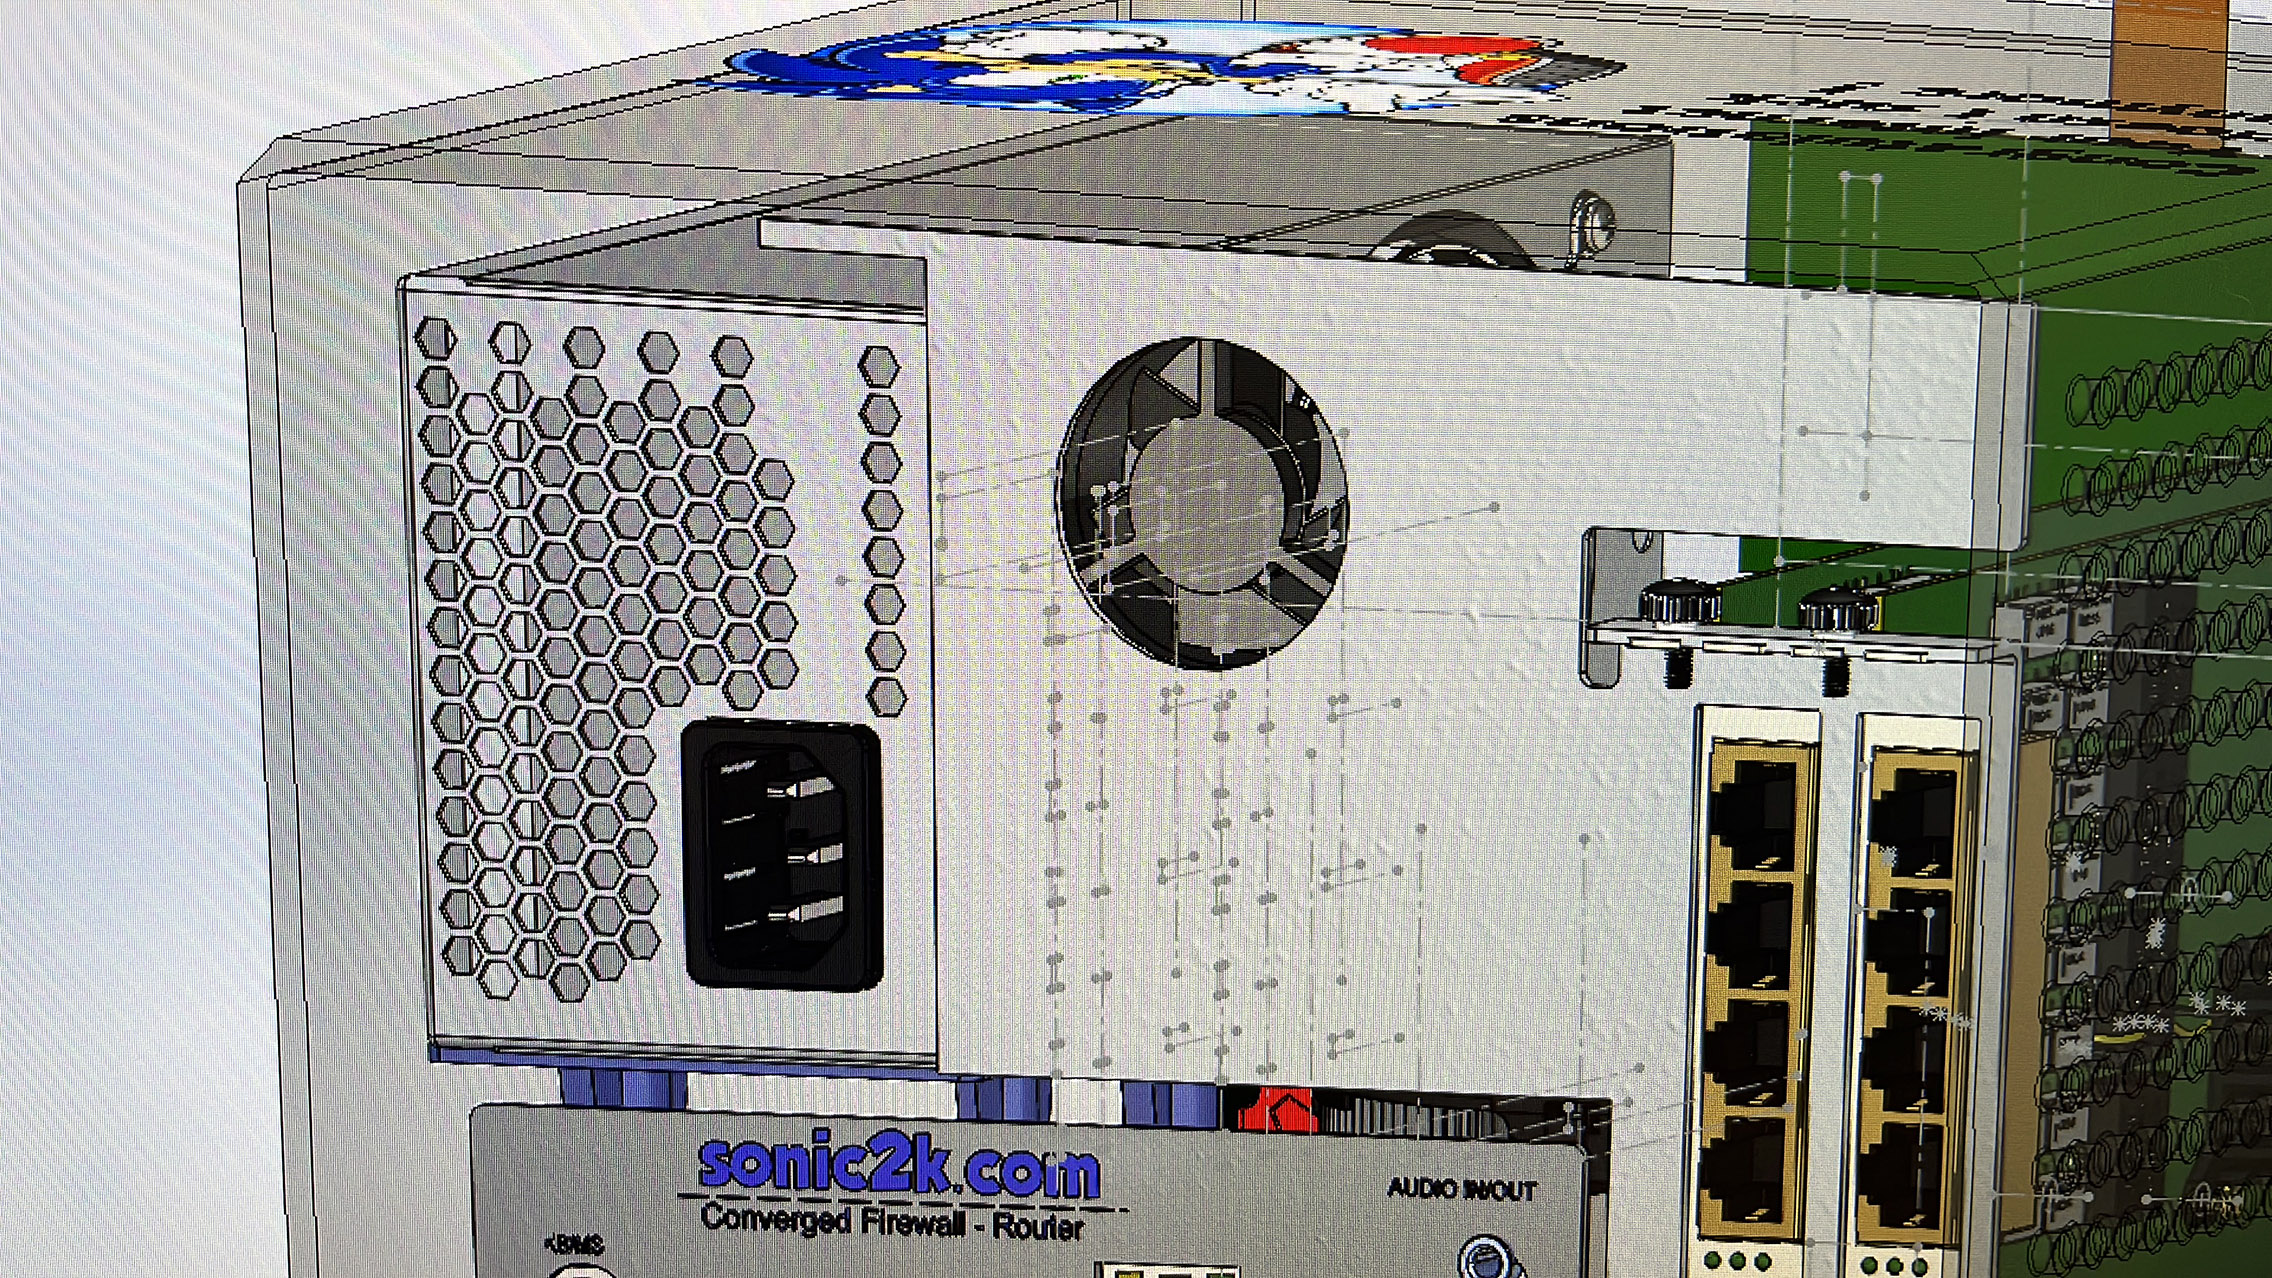
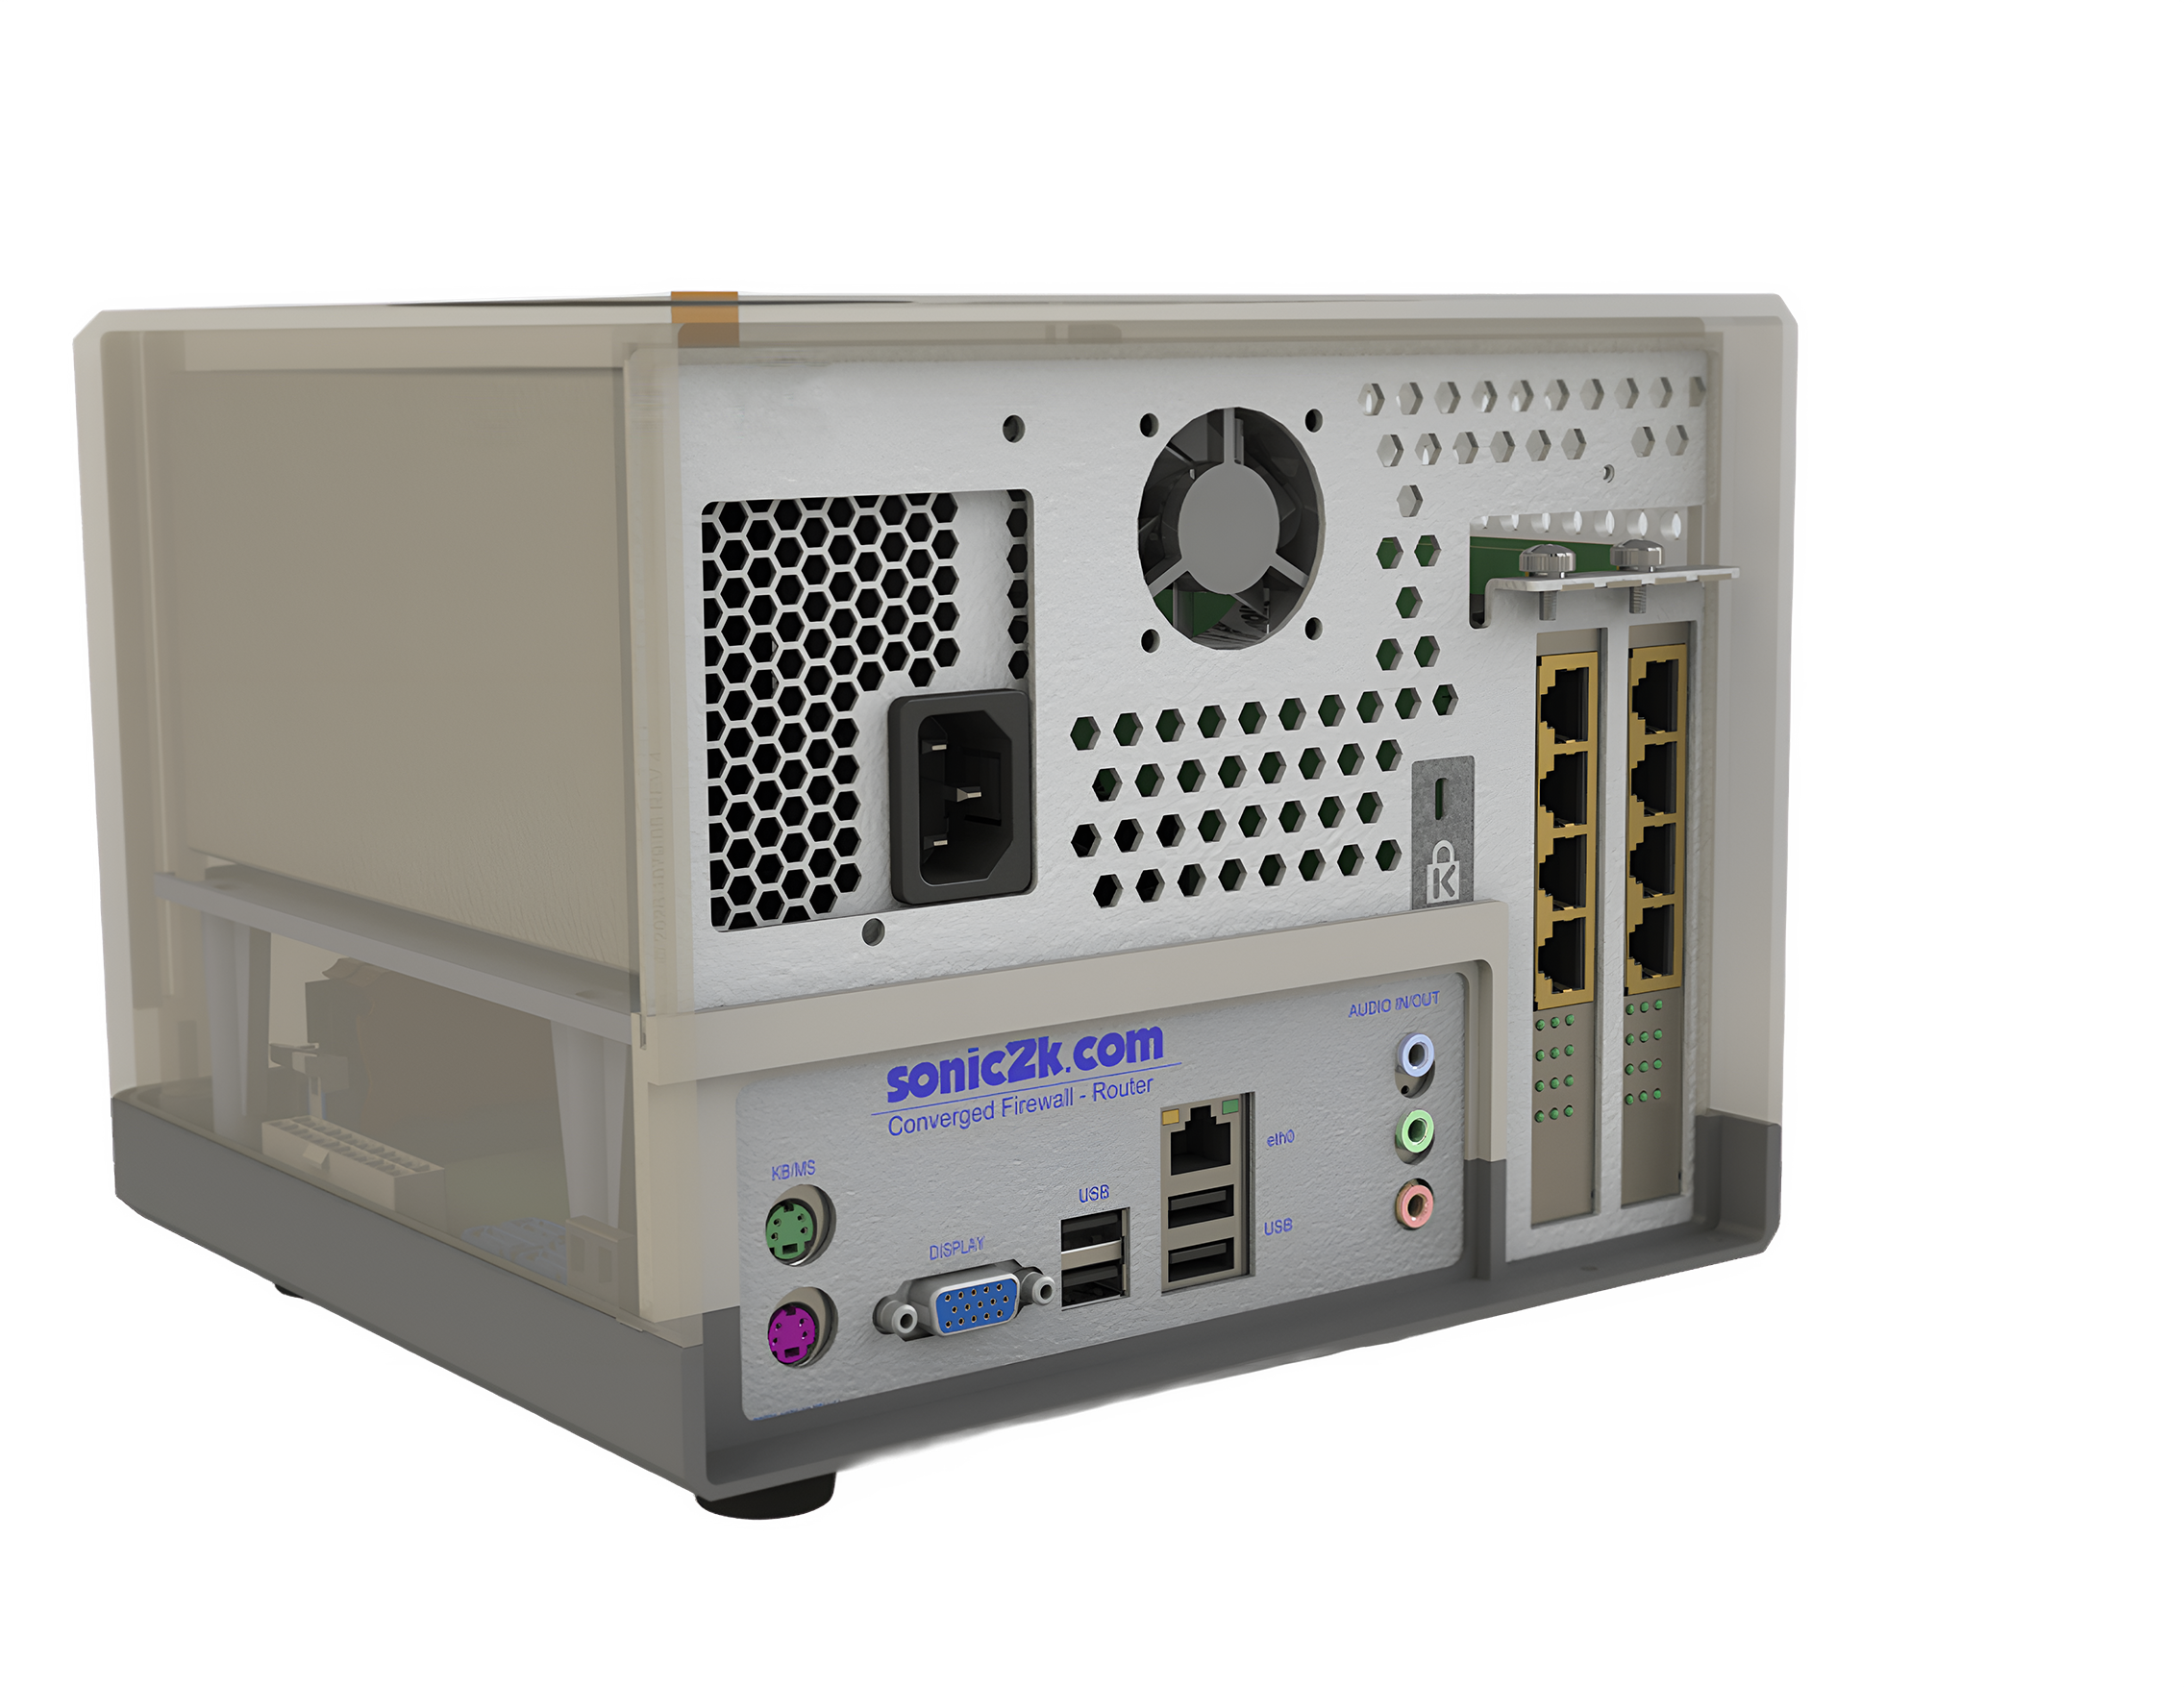
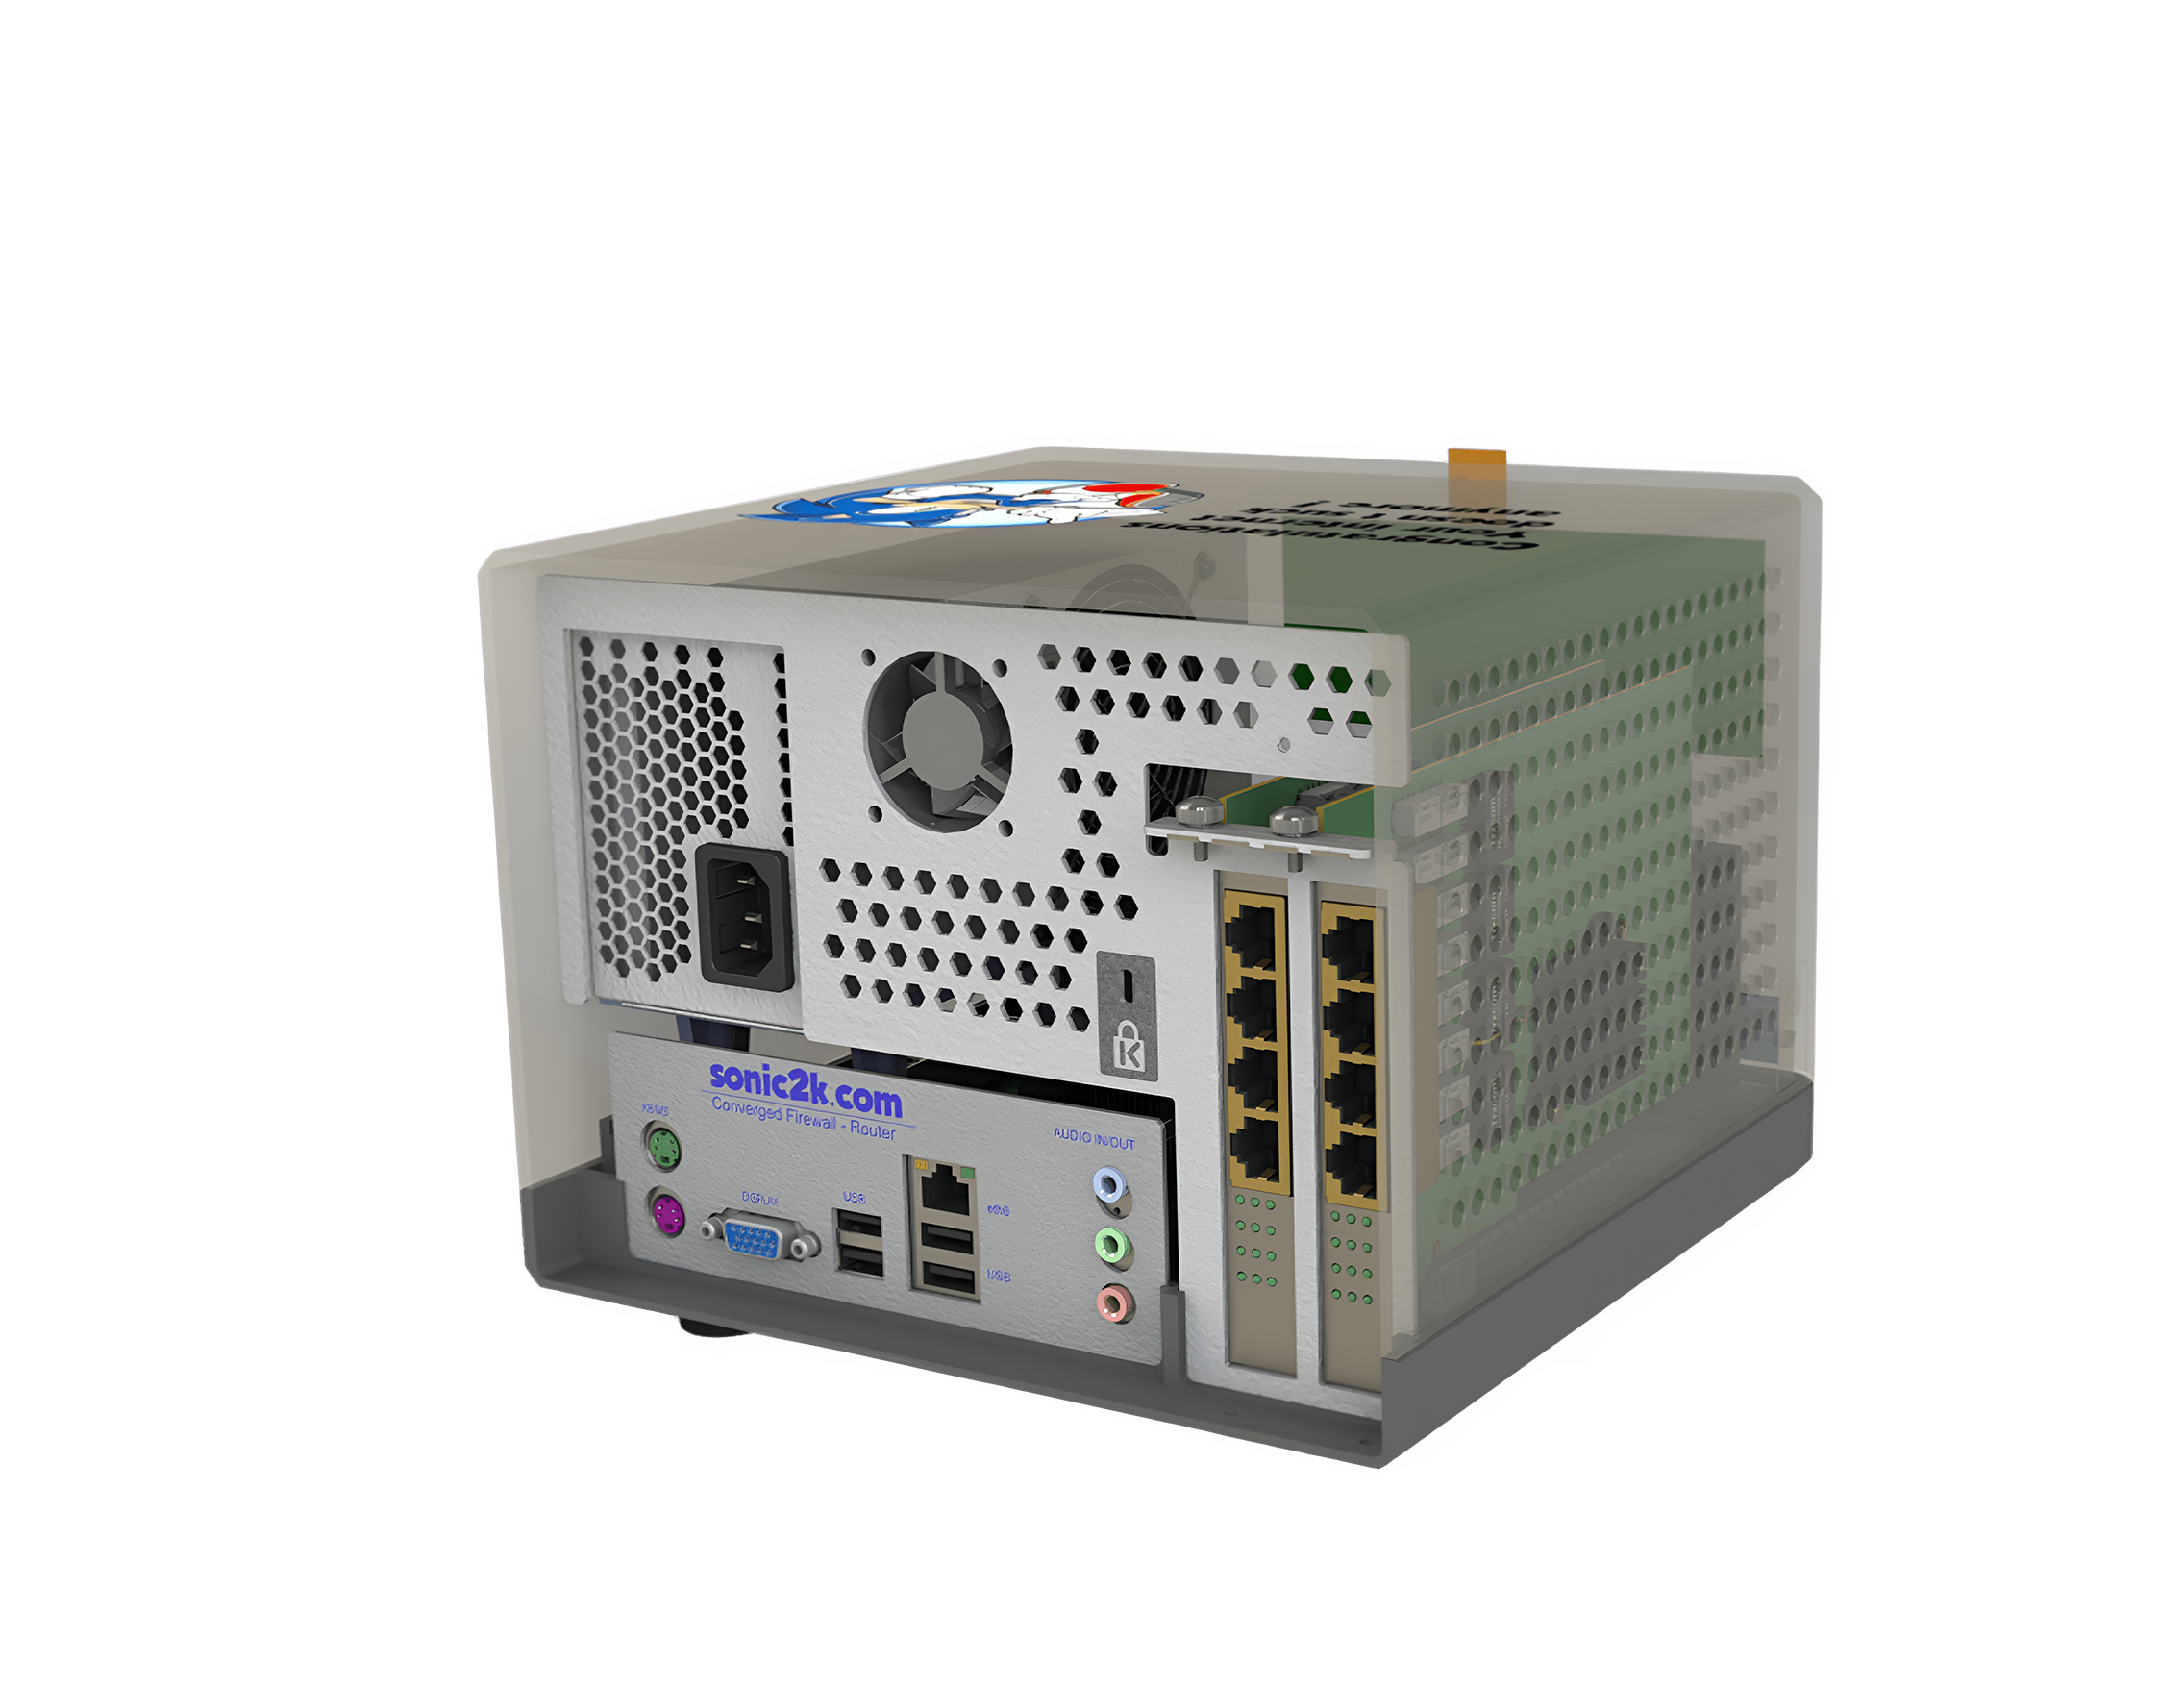
The part was then verified to be correct by means of 3D printing
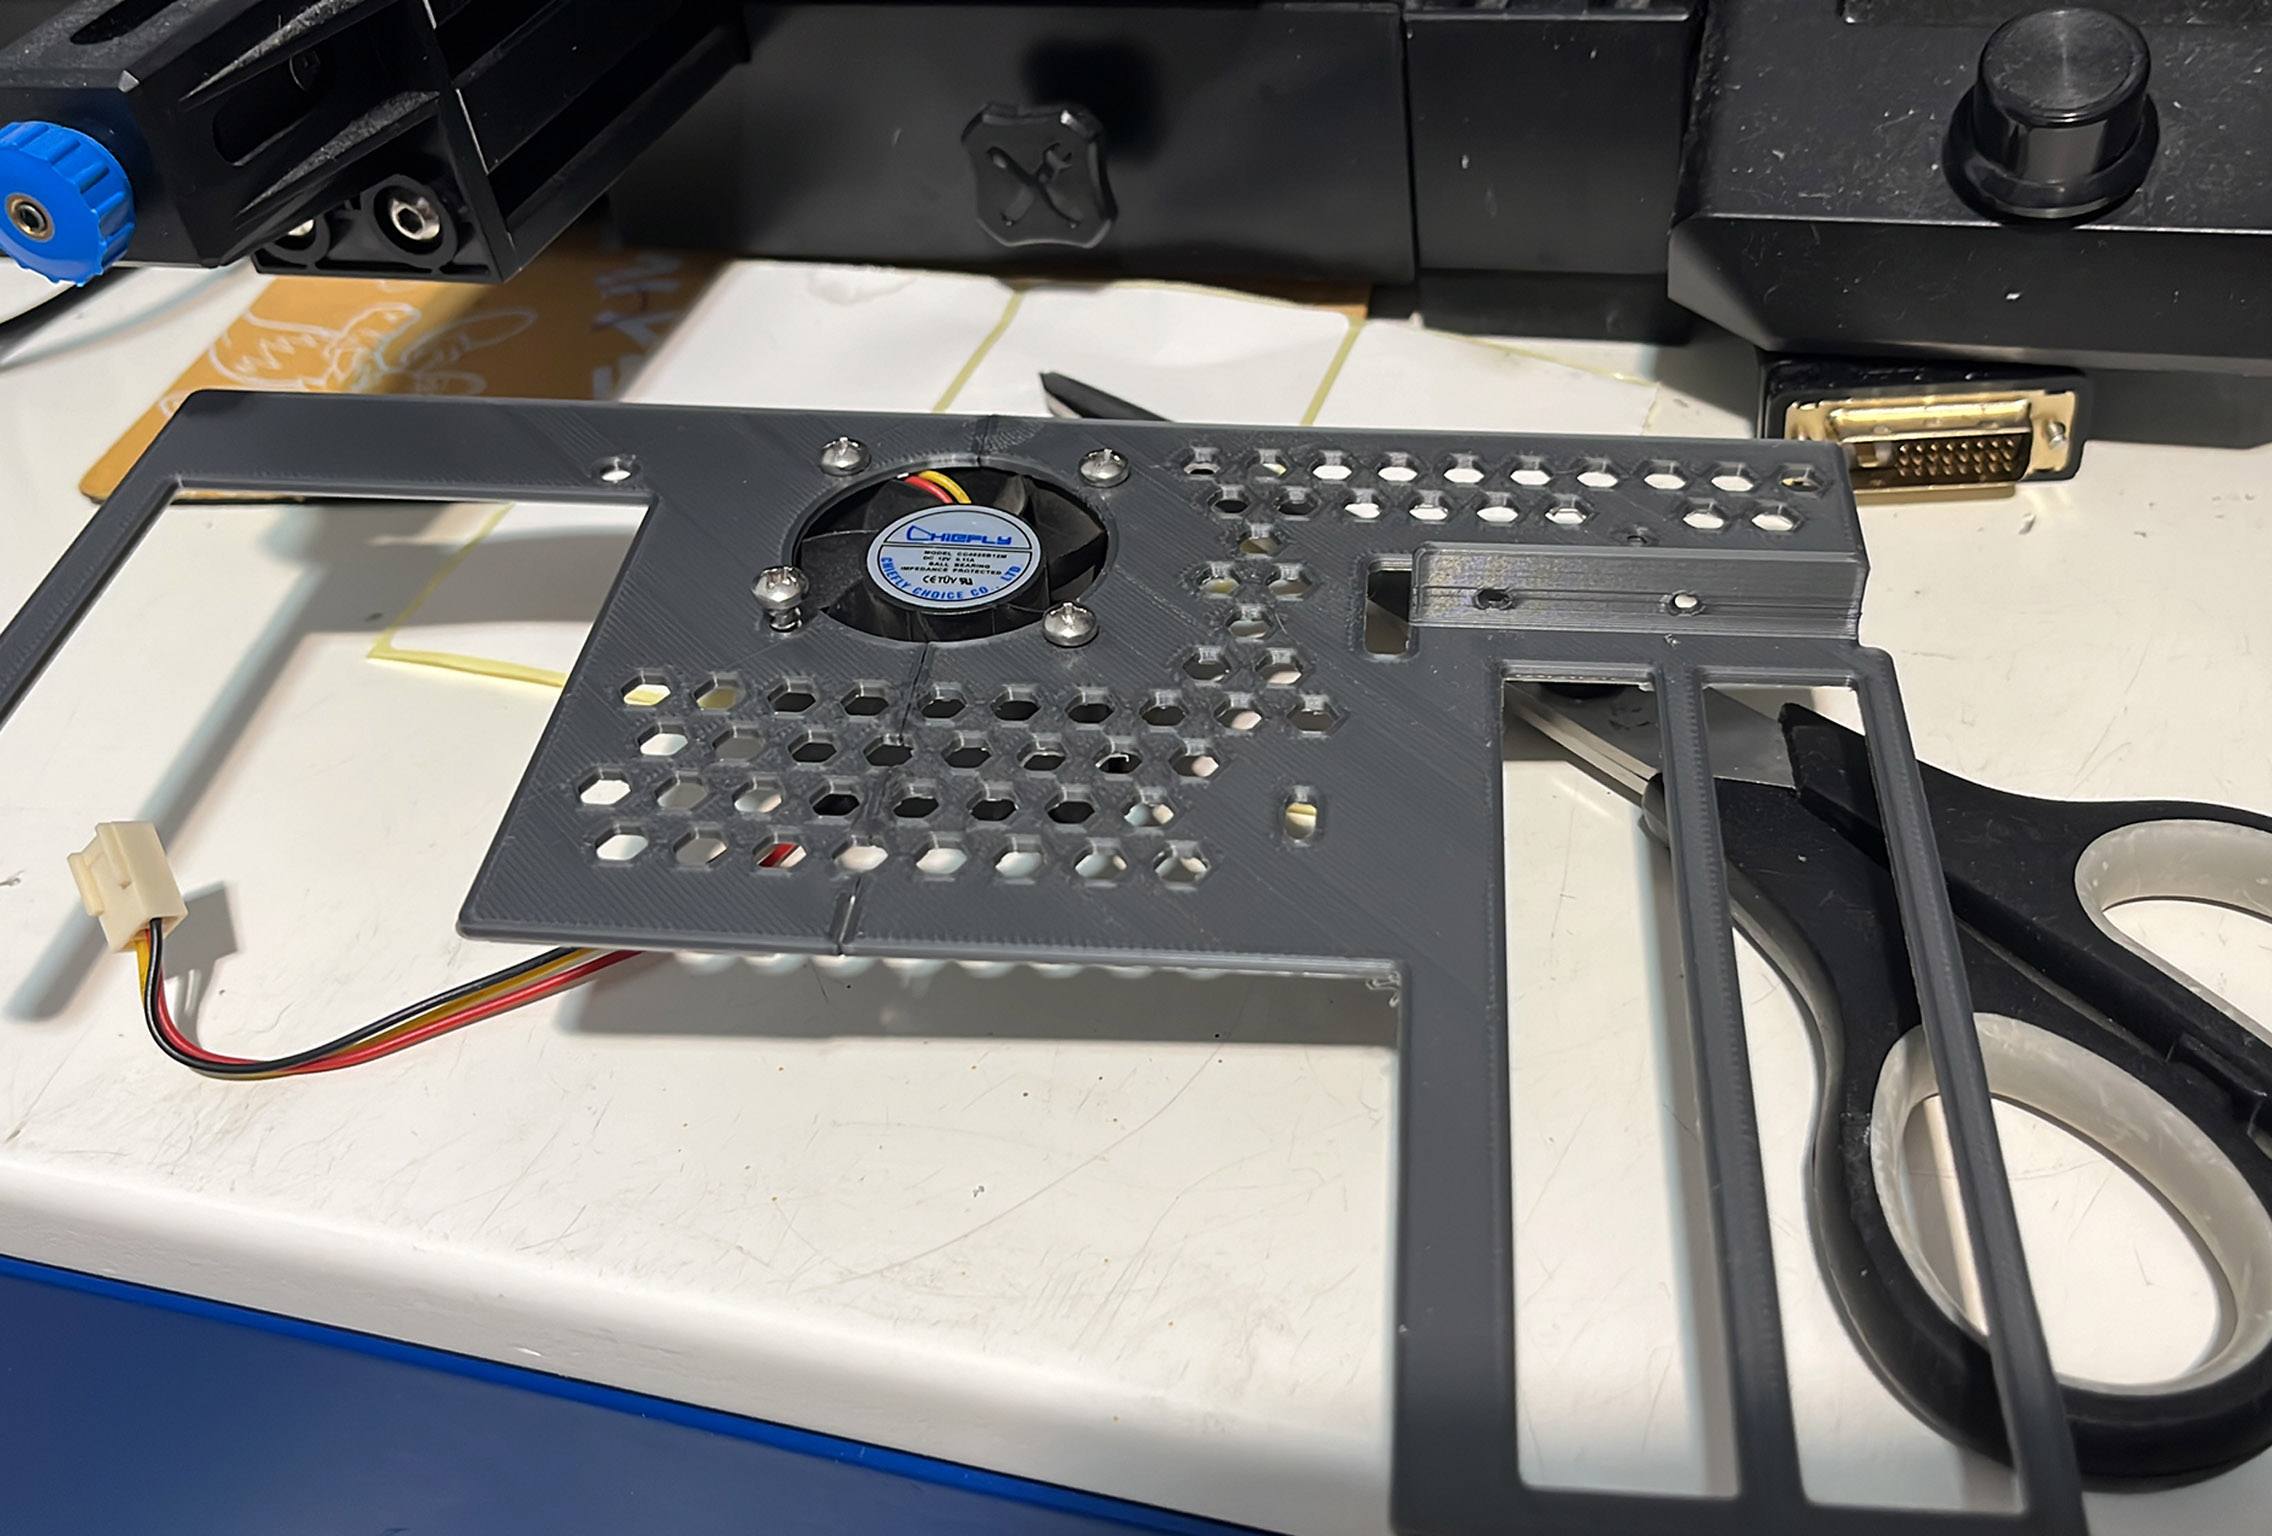
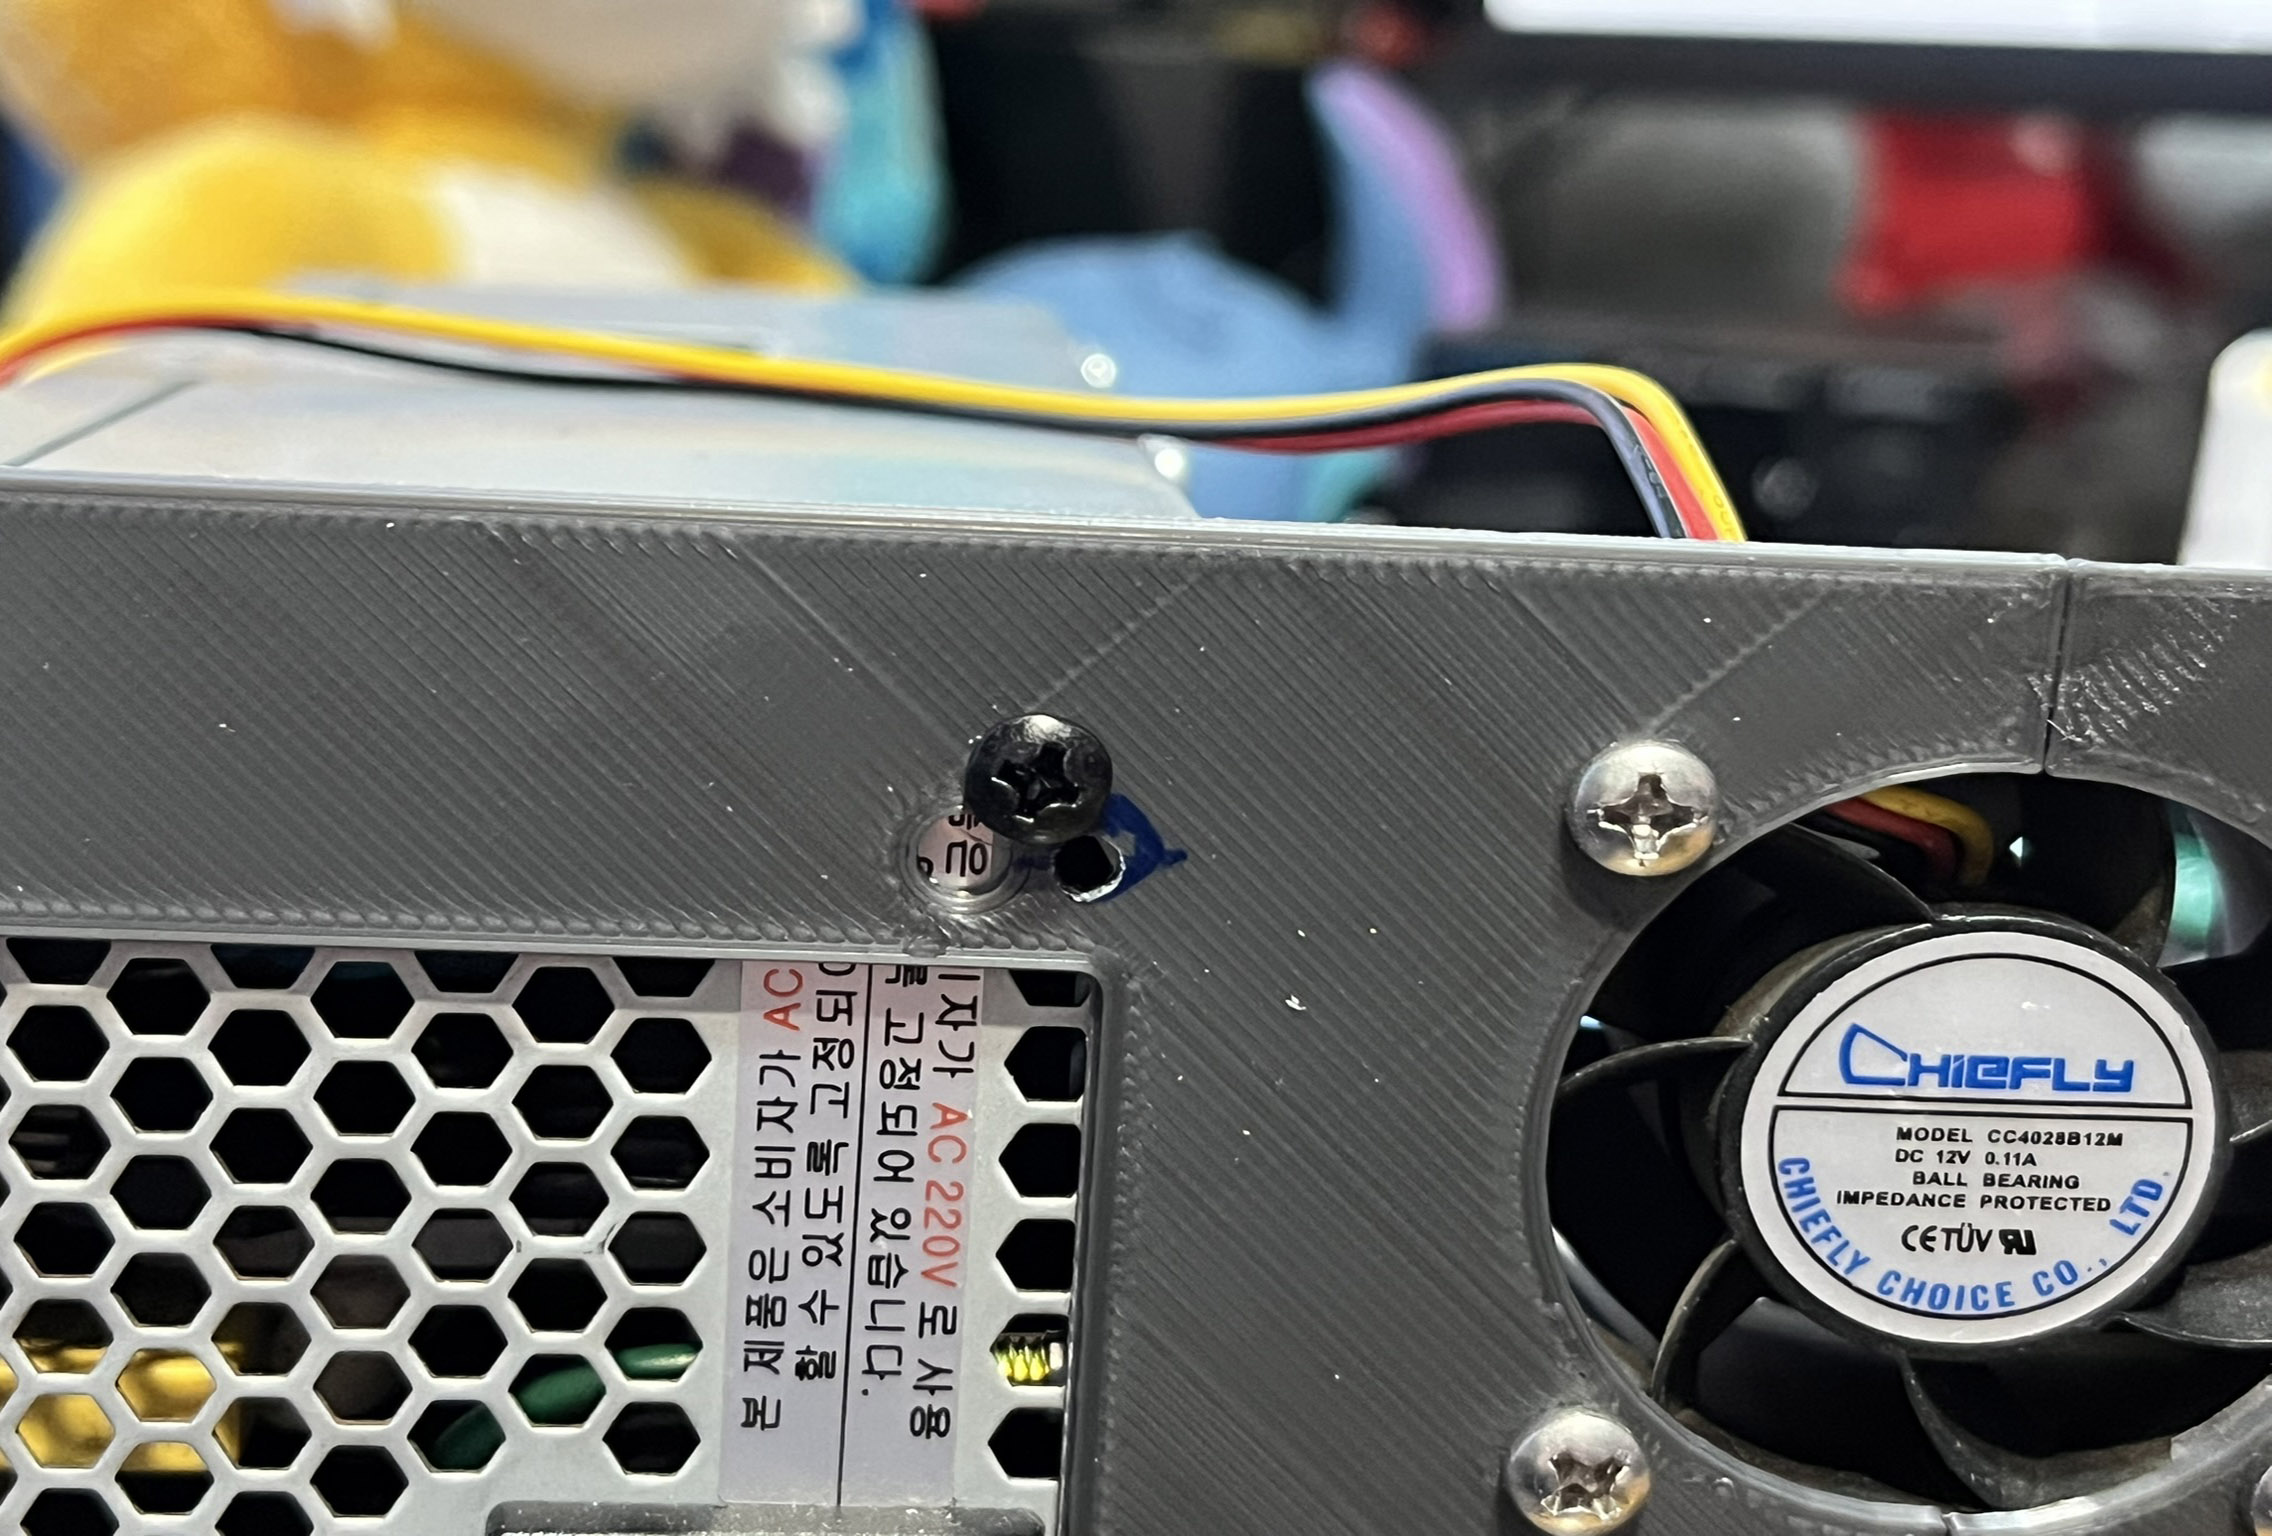
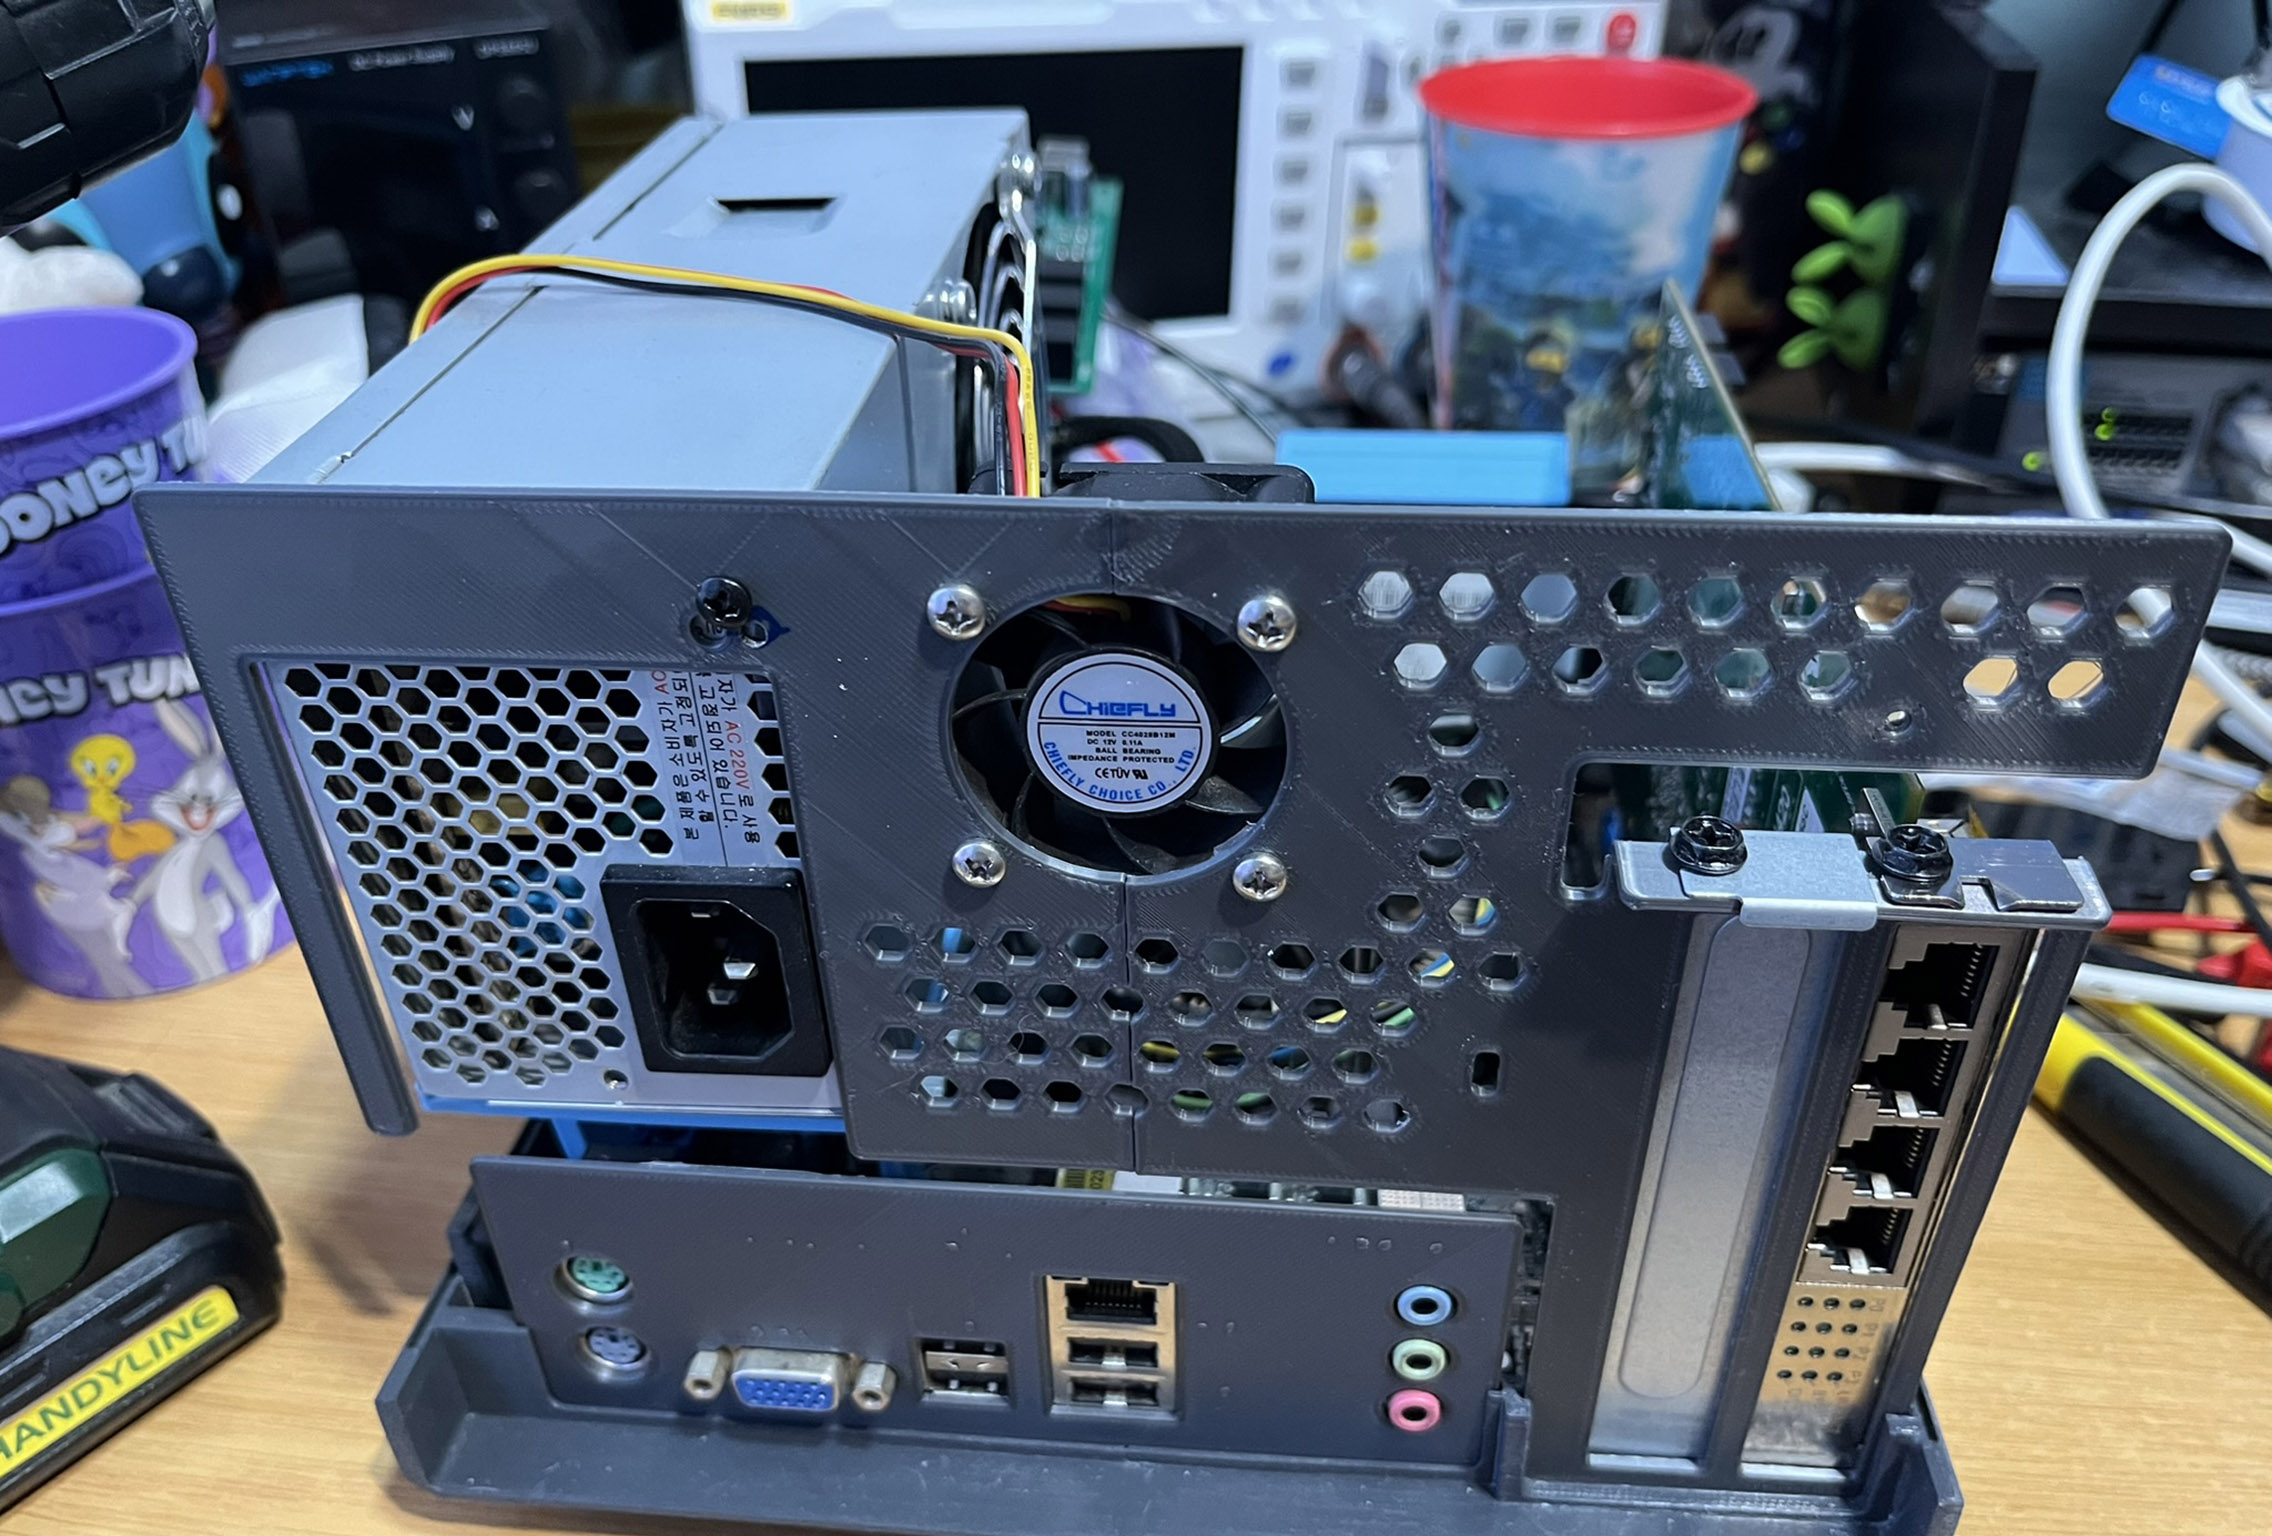
At this point, it was time to send the STL file to TechniPunch CC, a firm that specializes in sheet metal fabrication and cutting.
The turn-around time
was 9 working days. Before long the part arrived much to my excitement...
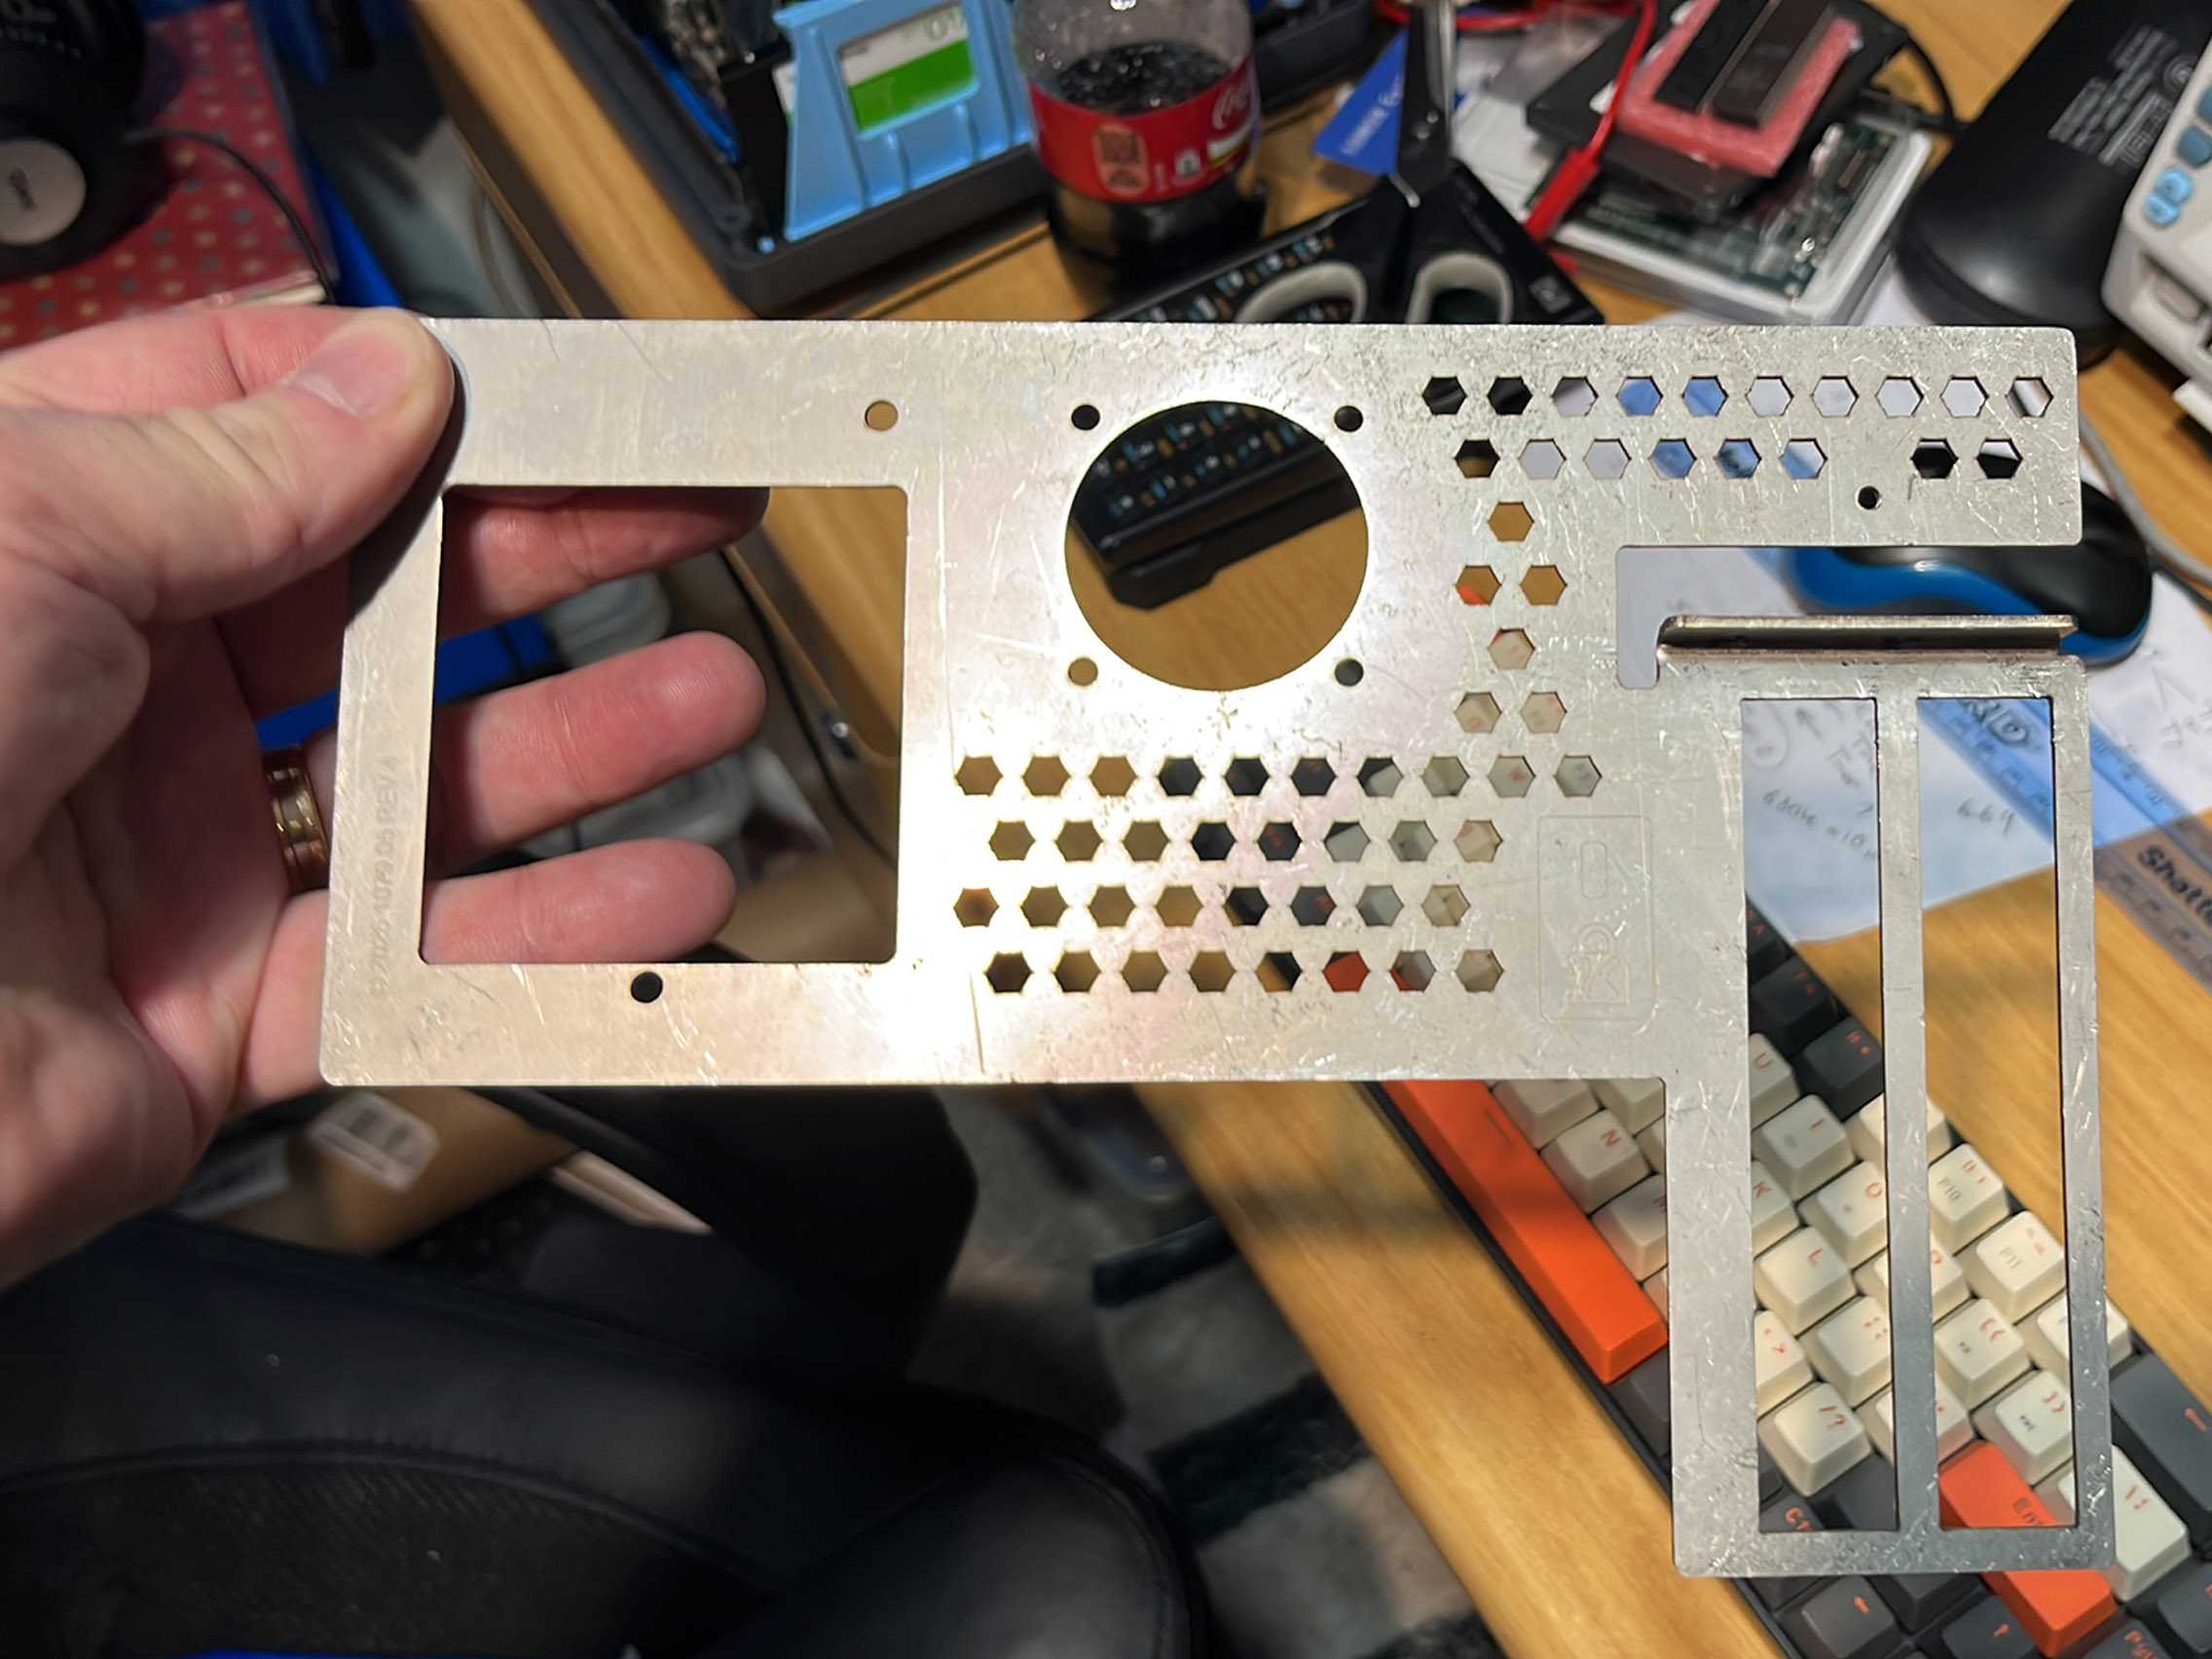
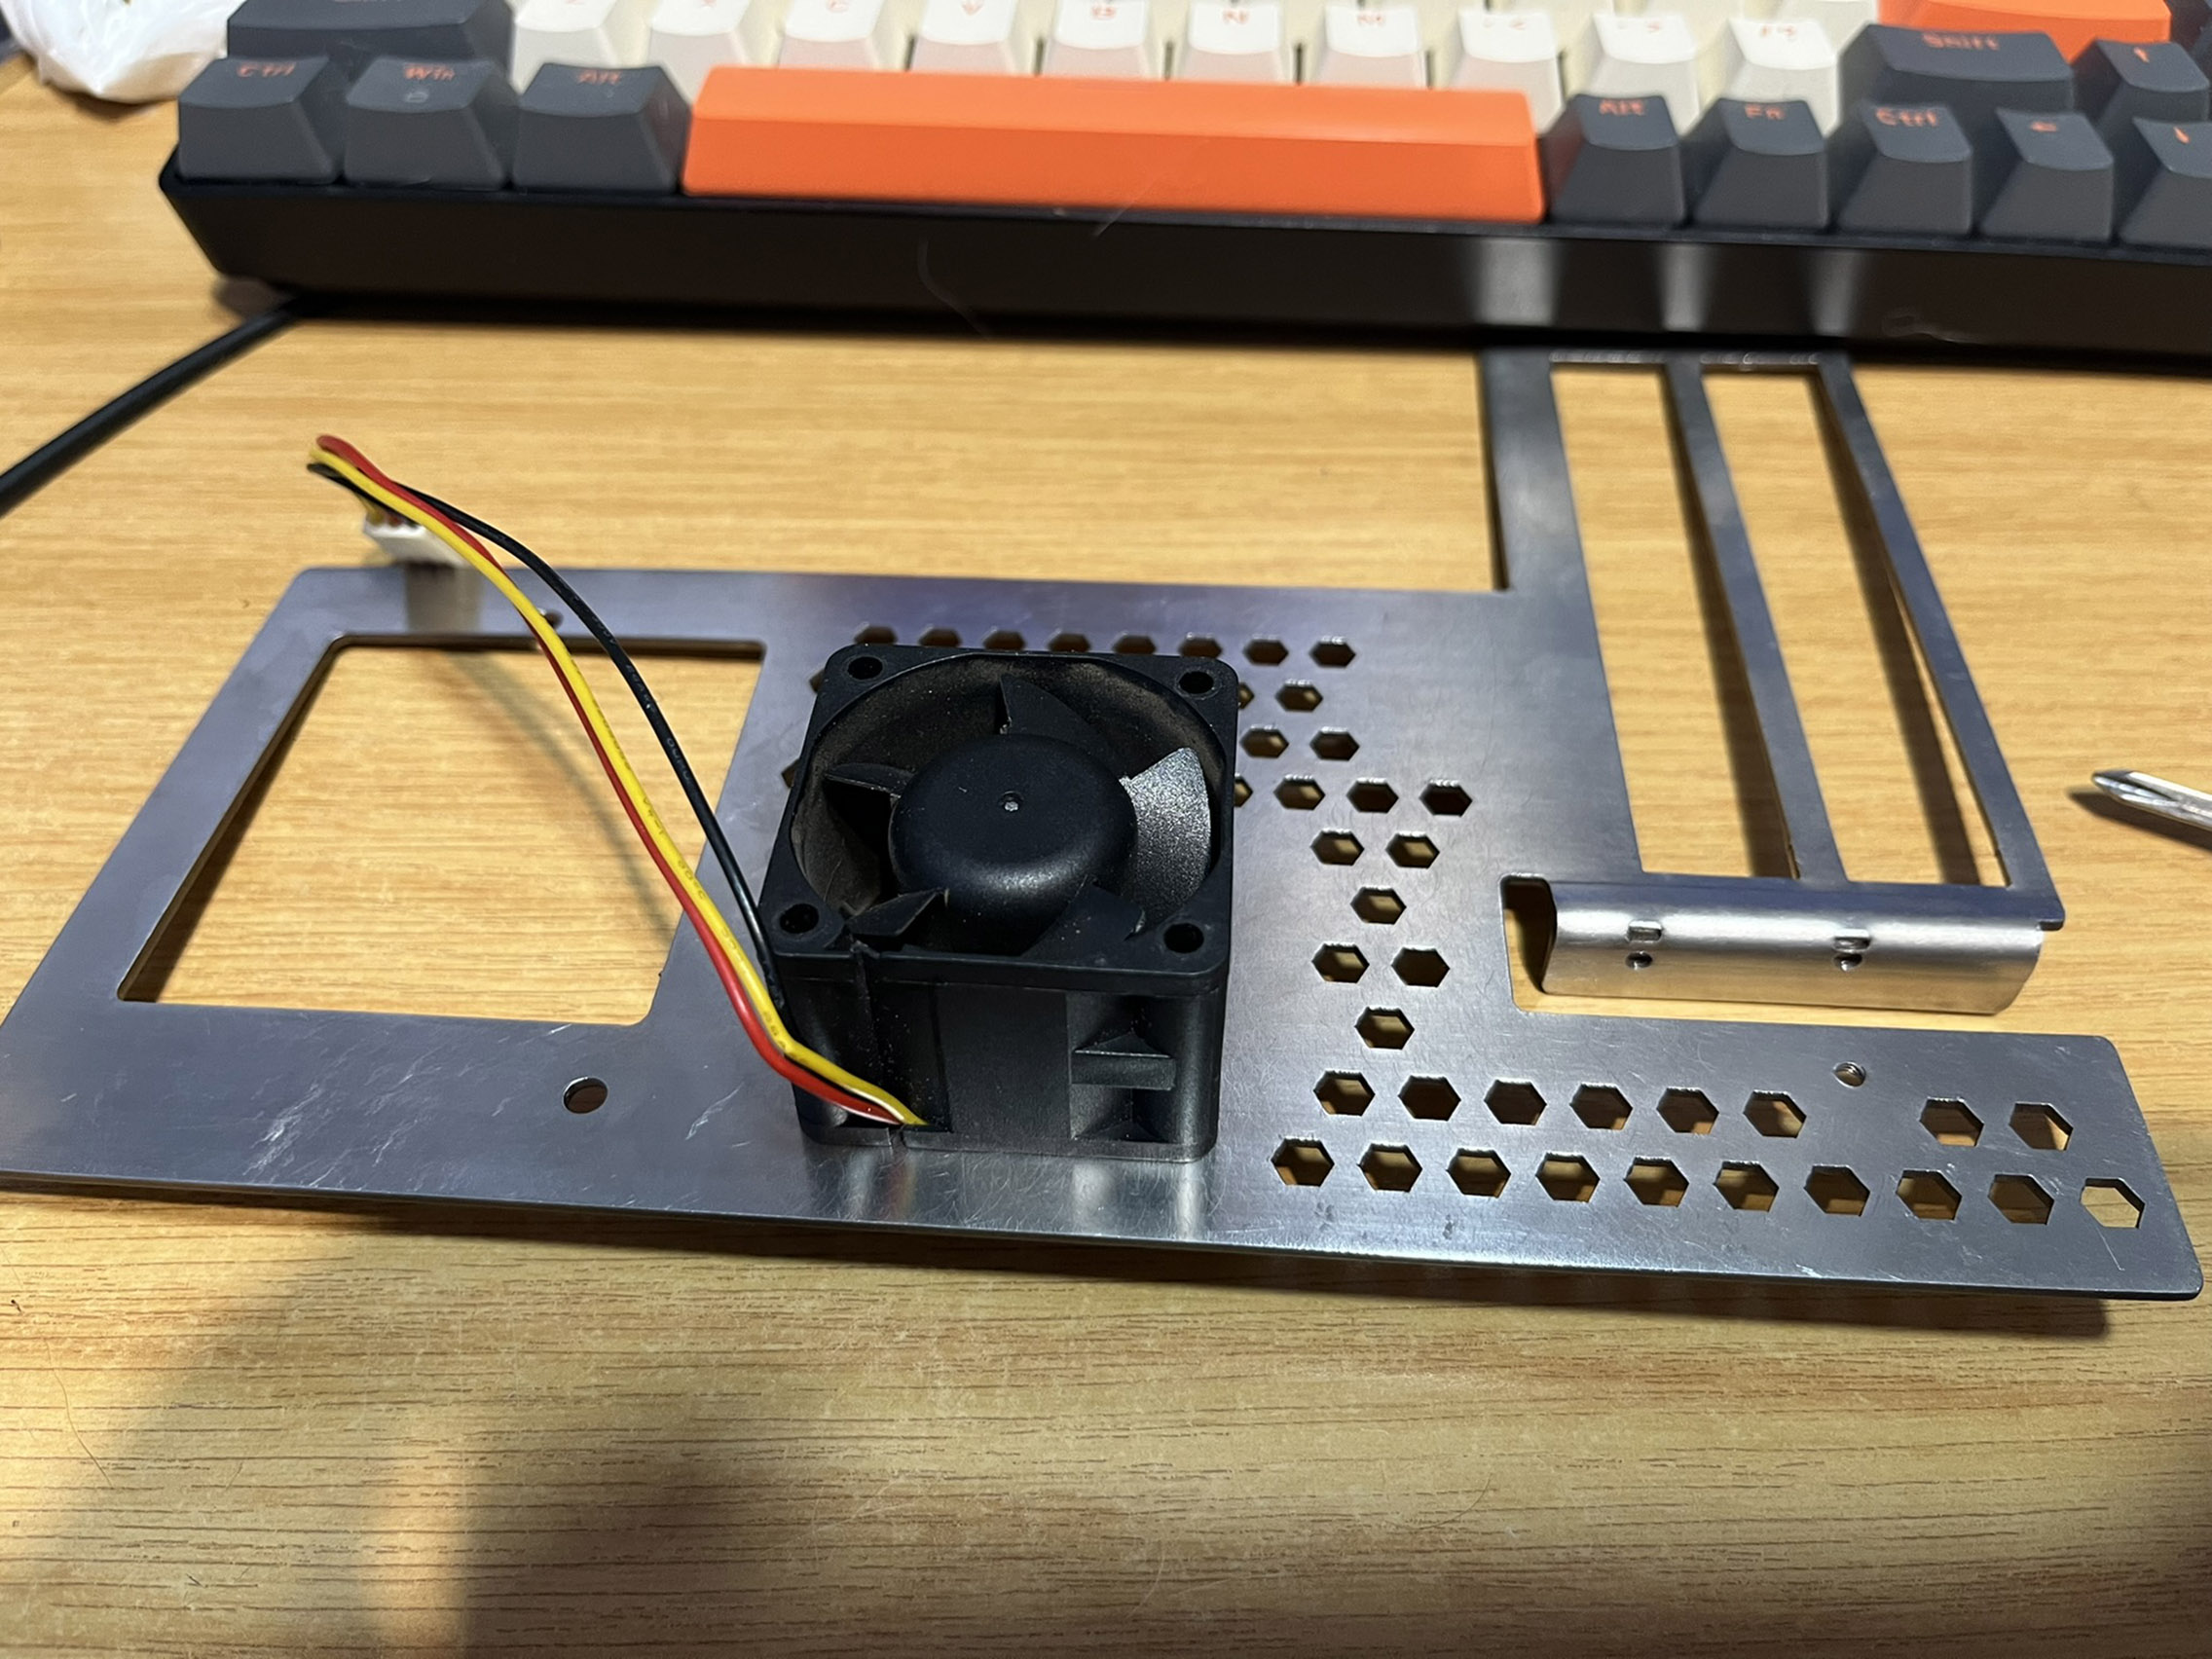
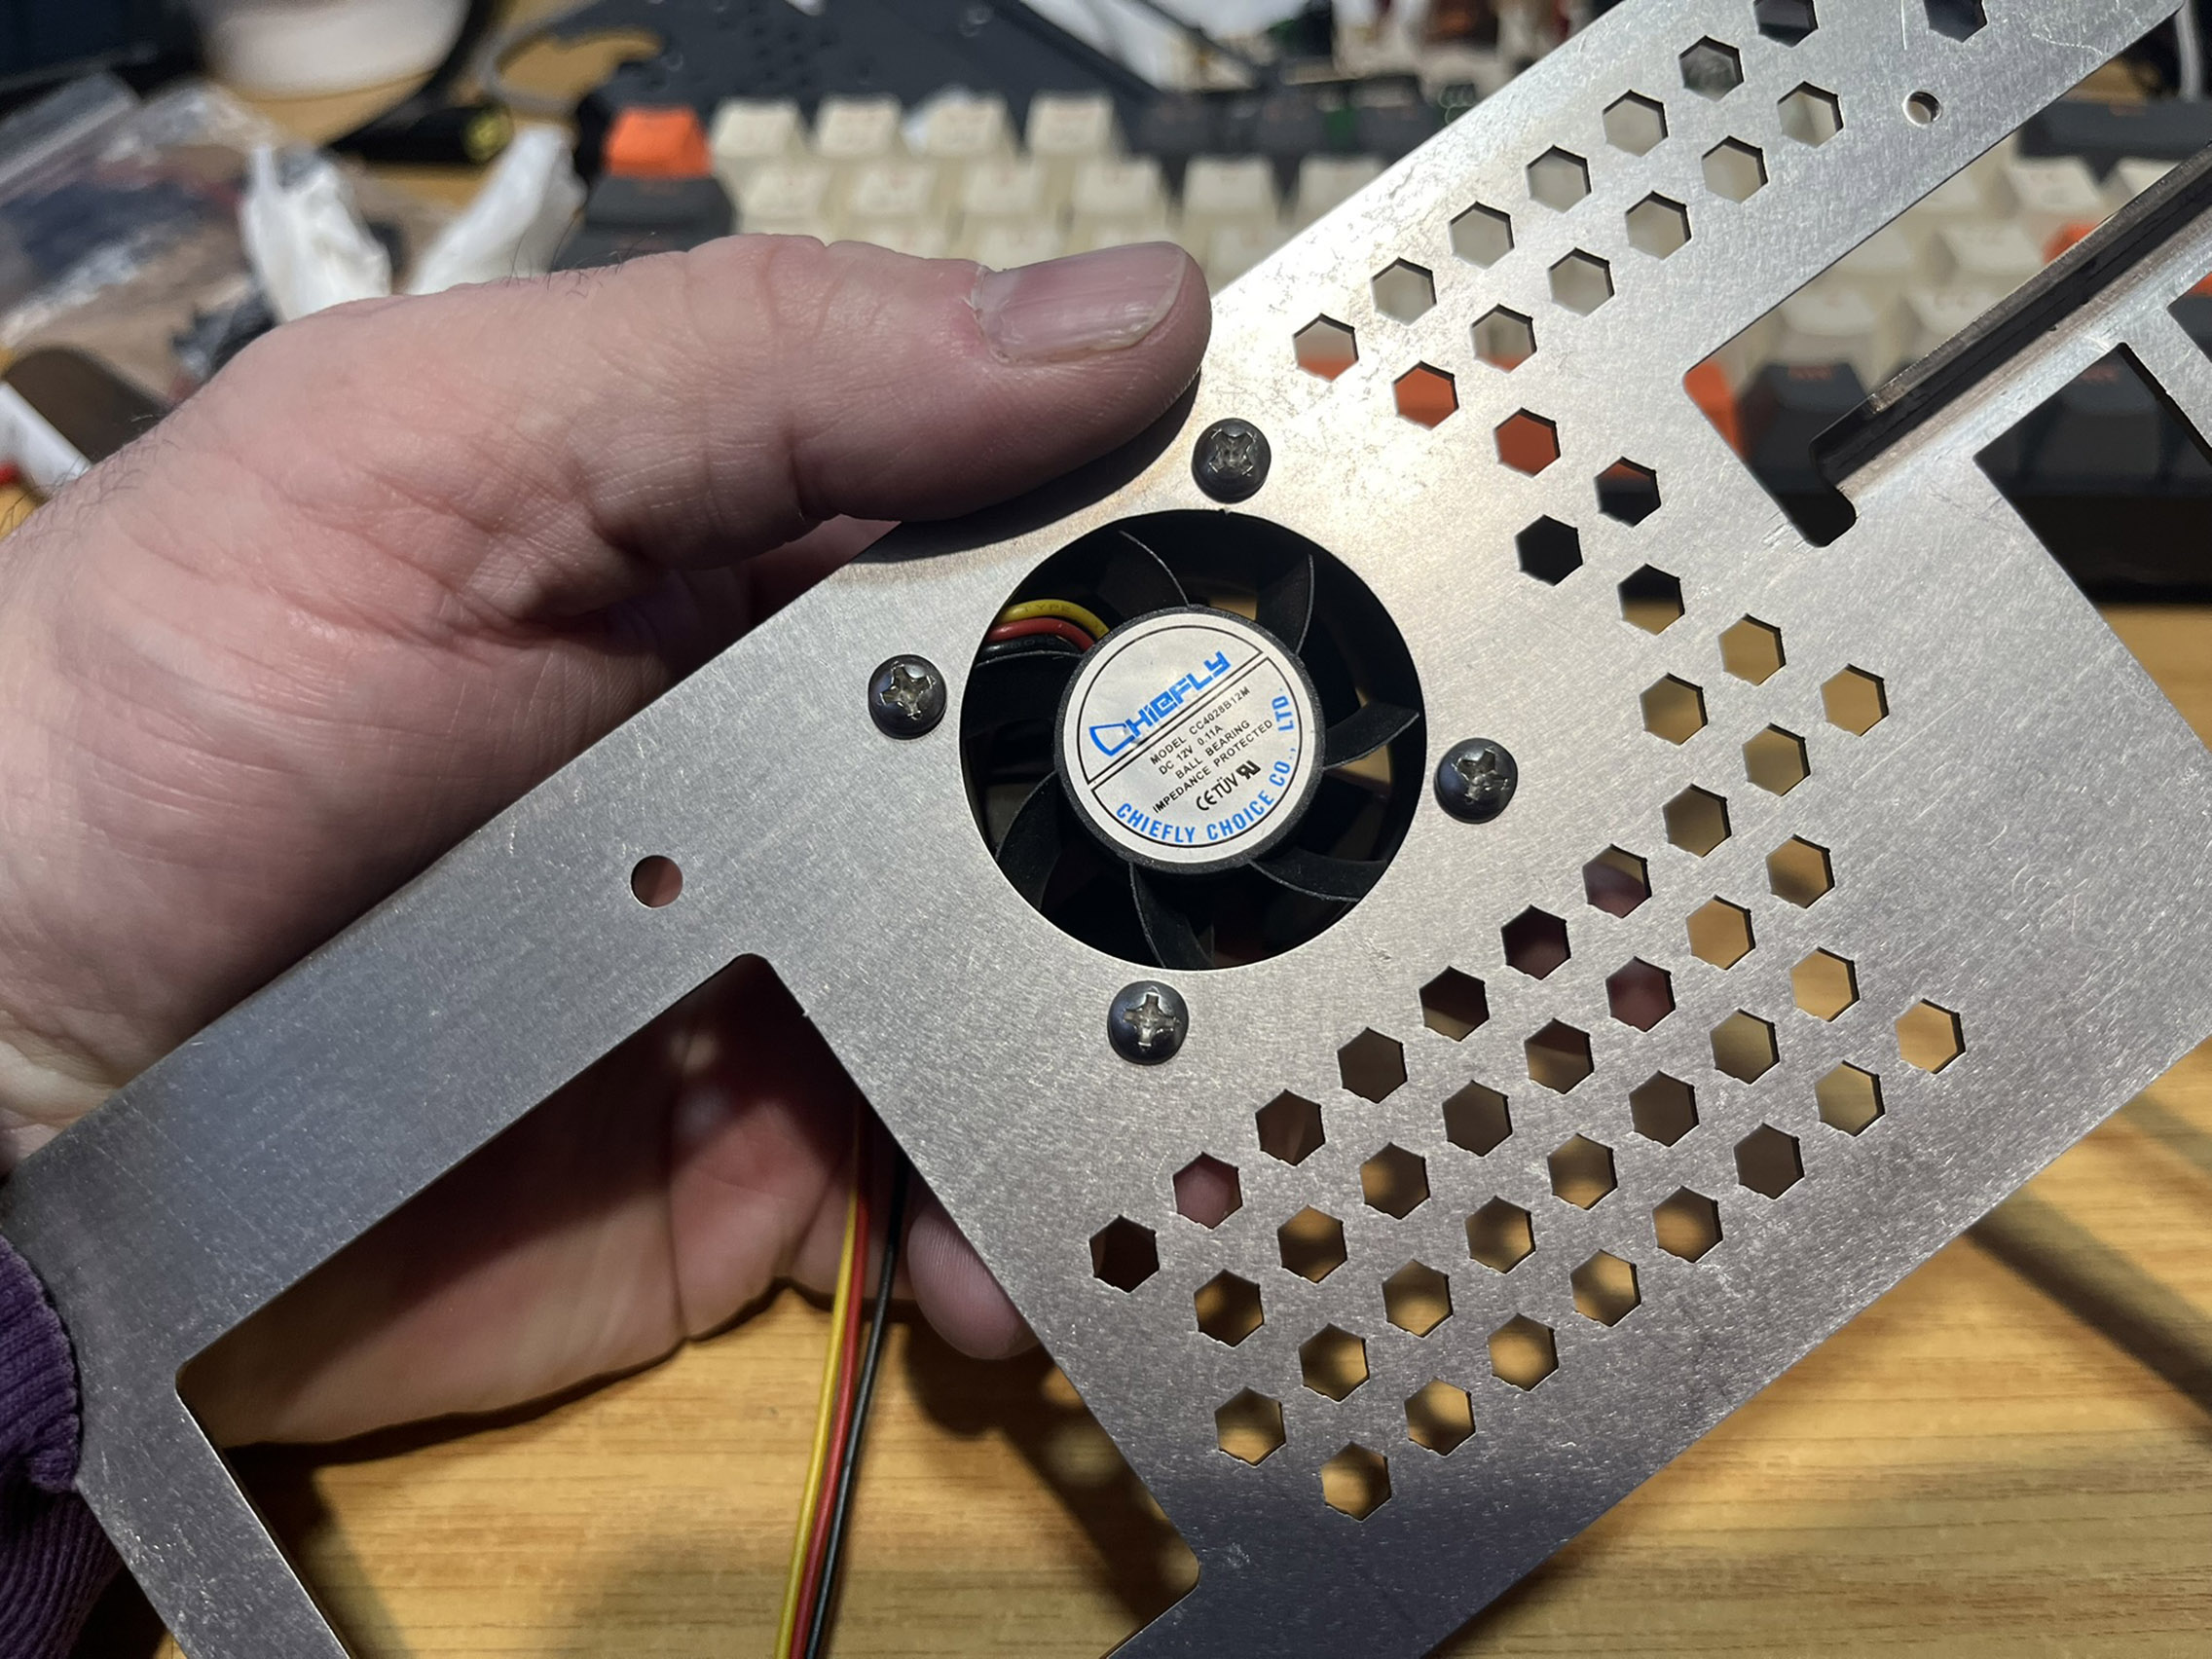
With everything fitting nicely, it was time to start work on the top part of the enclosure.